

Cabinet paint bonding is the process of applying a specialized bonding primer that creates a strong adhesive layer between slick cabinet surfaces and paint. Without it, topcoat paint peels off slick surfaces like laminate or thermofoil within 6–12 months. Products like Zinsser BIN and INSL-X Stix are specifically formulated to grip non-porous factory finishes where standard primers simply slide off. Understanding cabinet paint adhesion is the difference between a finish that lasts years and one that fails before your next kitchen refresh.
What is cabinet paint bonding and why does it matter?
Cabinet paint bonding is the industry term for using a bonding primer to create a mechanical and chemical grip between paint and a slick cabinet surface. Standard primers assume a porous surface. Kitchen cabinets rarely have one.
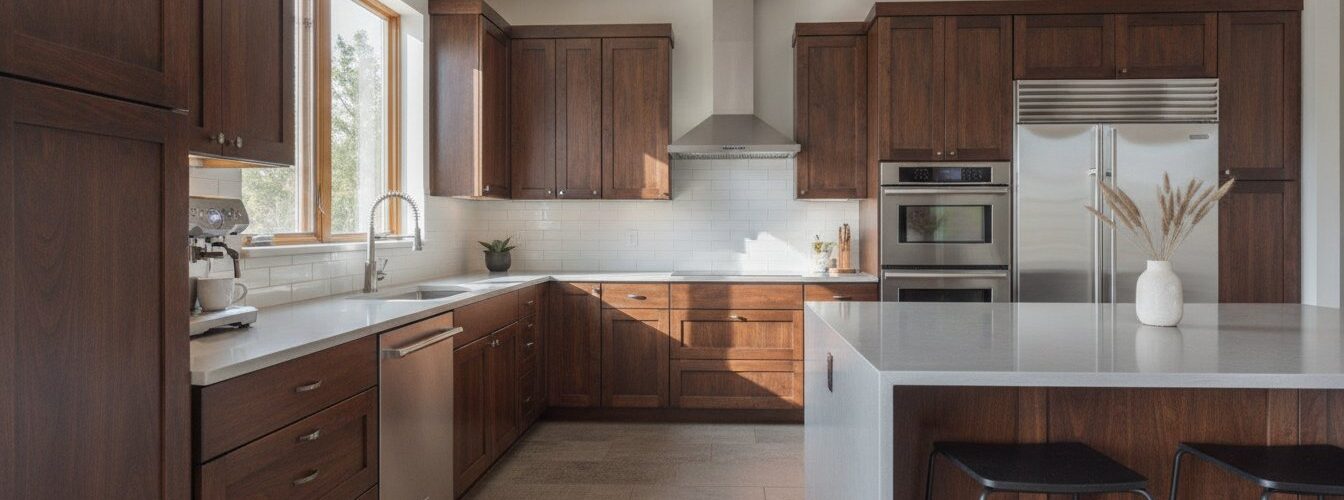
Most factory-finished cabinets ship with polyurethane coatings, lacquer, or thermofoil wraps. These surfaces are designed to resist moisture and grease, which makes them excellent for kitchens but nearly impossible for standard paint to grip. A bonding primer bridges this gap by using aggressive adhesion chemistry to stick to non-porous materials. Without it, you are essentially painting over a surface coated in a release agent.
The result of skipping this step is predictable. Paint begins to chip at edges and corners first, then peels in sheets within months. Proper bonding primer use improves adhesion, blocks stains, and creates a stable base for cabinet-grade topcoats. That foundation is what separates a durable finish from a frustrating redo.
Why do standard primers fail on kitchen cabinet surfaces?
Standard primers fail on kitchen cabinets because they rely on mechanical adhesion, meaning they need microscopic pores to grip. Slick factory finishes offer none.
Laminate, thermofoil, and polyurethane-coated cabinets behave like plastic at the surface level. Paint and standard primer cannot penetrate or key into these materials. The primer sits on top of the surface rather than bonding to it, and the topcoat follows the same fate. Add heat, humidity, and daily use in a kitchen, and the failure accelerates fast.
The most common failure points on slick cabinet surfaces include:
- Edges and corners: These areas flex slightly when doors open and close, breaking a weak primer bond first.
- Areas near the sink and stove: Heat and steam reduce adhesion on any primer not formulated for non-porous surfaces.
- Laminate seams: Moisture infiltrates at seams, lifting paint from underneath.
- Thermofoil surfaces: The vinyl wrap itself can delaminate, taking paint with it if the primer did not bond to the thermofoil directly.
Skipping bonding primer on slick surfaces is the single most common cause of peeling among DIY cabinet projects. The fix is not a better topcoat. The fix is the right primer underneath.
What types of bonding primers are available?
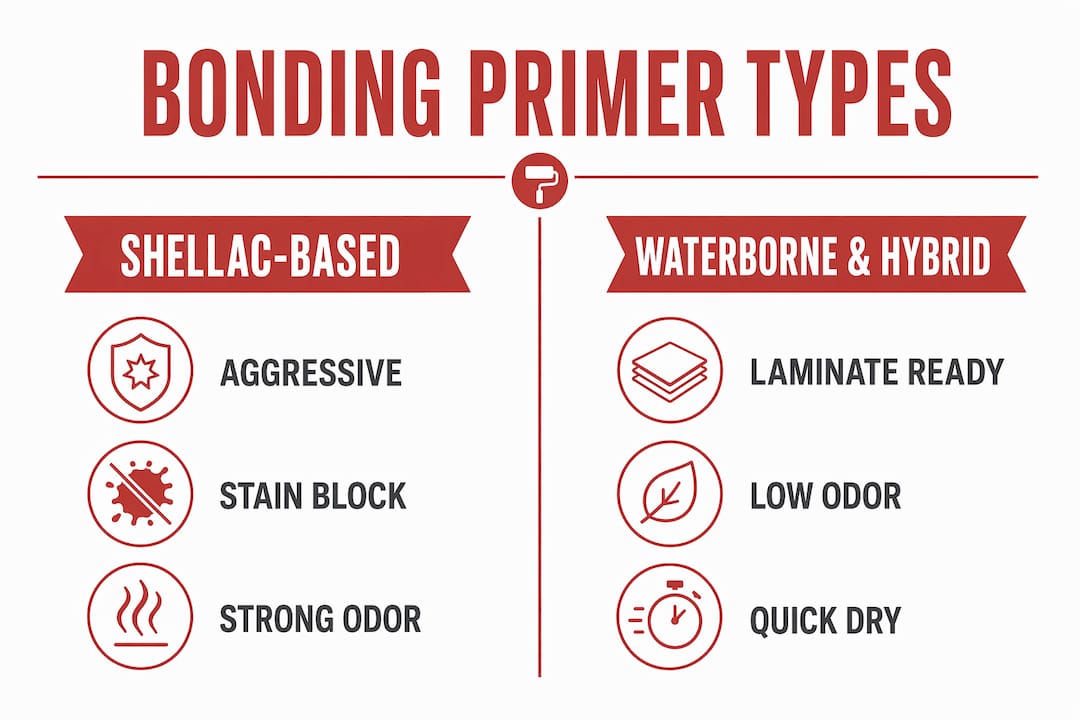
Three main categories of bonding primer work for kitchen cabinets. Each has a different chemistry, dry time, and best-use scenario.
Shellac-based primers like Zinsser BIN are the most aggressive option. They bond to nearly any surface, including glossy factory finishes, and offer excellent stain blocking. Zinsser BIN dries to touch in 15–20 minutes and accepts a recoat after 45 minutes. Full cure takes about 7 days. The tradeoff is strong odor and alcohol-based cleanup, which makes ventilation non-negotiable.
Waterborne bonding primers like INSL-X Stix are formulated specifically for laminate and plastic-like surfaces. They clean up with water, have lower odor, and work well in occupied homes. Dry times are longer than shellac-based options, typically 1–2 hours before recoat, but the adhesion on thermofoil and laminate is excellent.
Hybrid primers combine oil and water chemistry. They offer better adhesion than standard latex primers and lower odor than shellac, but they rarely match the grip of a dedicated bonding primer on the most challenging surfaces.
| Primer type | Best surface | Dry to recoat | Stain blocking | Cleanup |
|---|---|---|---|---|
| Shellac-based (Zinsser BIN) | All slick surfaces, heavy stains | 45 minutes | Excellent | Denatured alcohol |
| Waterborne bonding (INSL-X Stix) | Laminate, thermofoil, plastic | 1–2 hours | Good | Soap and water |
| Hybrid oil/water | Lightly glossy wood | 2–4 hours | Moderate | Soap and water |
Pro Tip: Test your chosen bonding primer on an inside cabinet door or a hidden panel before committing to the full project. Press a piece of tape firmly onto the dried primer after 24 hours and pull it off fast. If the primer lifts, switch products before you apply topcoat.
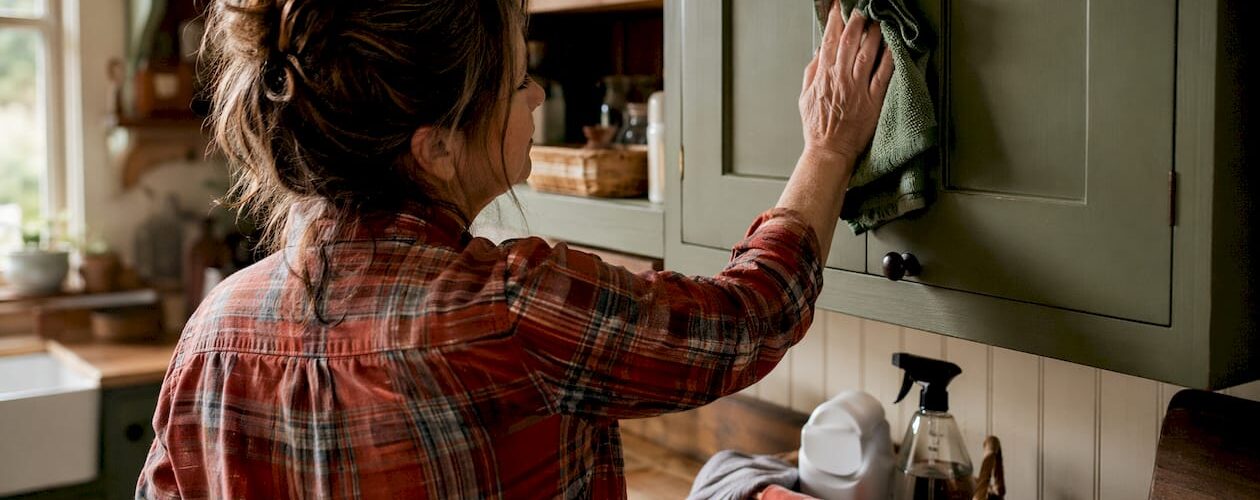
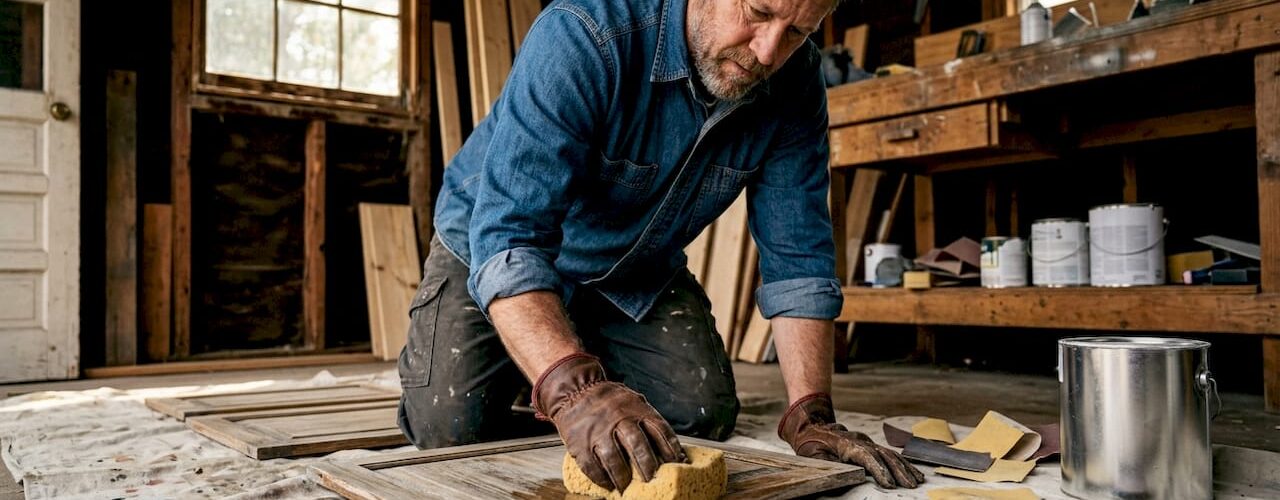
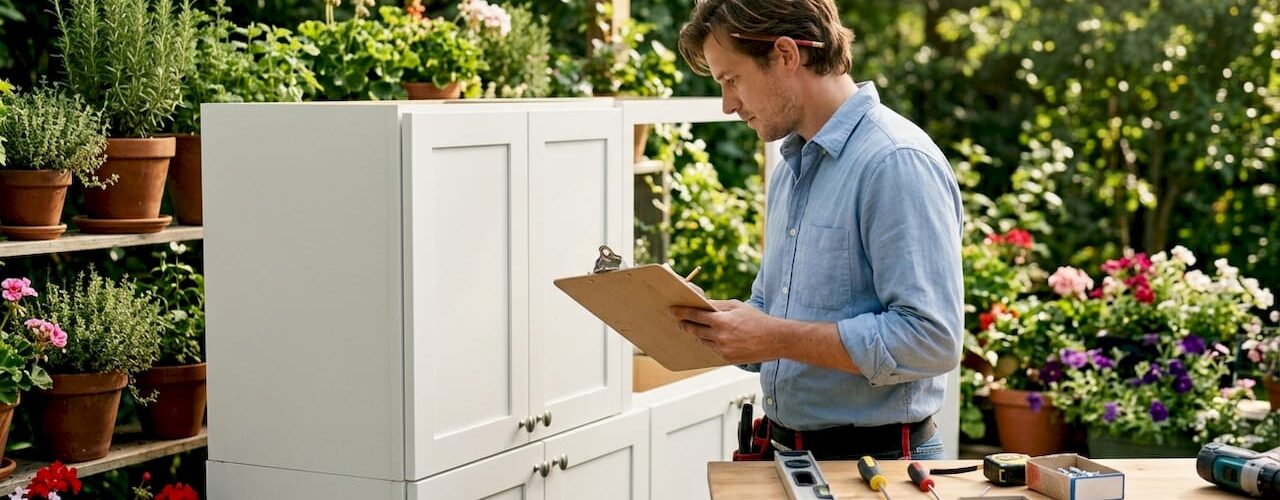
How to prepare cabinet surfaces for optimal paint bonding
Surface preparation determines whether your bonding primer performs at its best or just adequately. Preparation is not optional. It is the job.
Follow these steps before applying any primer:
- Remove all hardware and doors. Paint cabinets flat whenever possible. Vertical surfaces cause runs, and hardware creates masking headaches.
- Degrease every surface. Kitchen cabinets accumulate cooking oils and grease that primer cannot penetrate. Use a dedicated degreaser or TSP (trisodium phosphate) solution. Skipping degreasing causes primer to bond to grease instead of the cabinet surface, guaranteeing failure.
- Rinse and dry completely. Residual cleaner or moisture under primer creates adhesion problems. Give surfaces at least 30–60 minutes of dry time in a ventilated space.
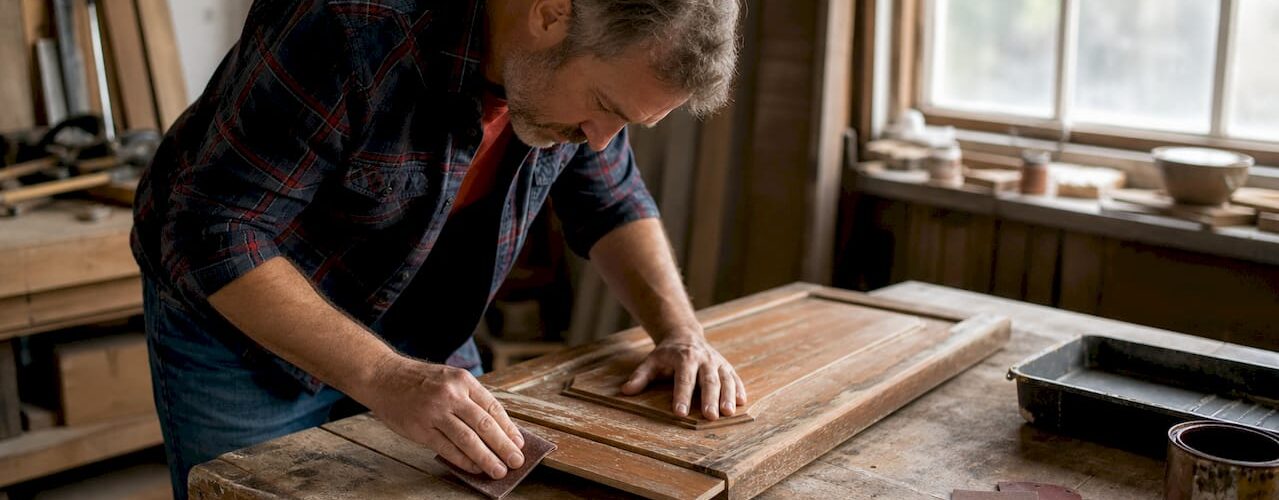
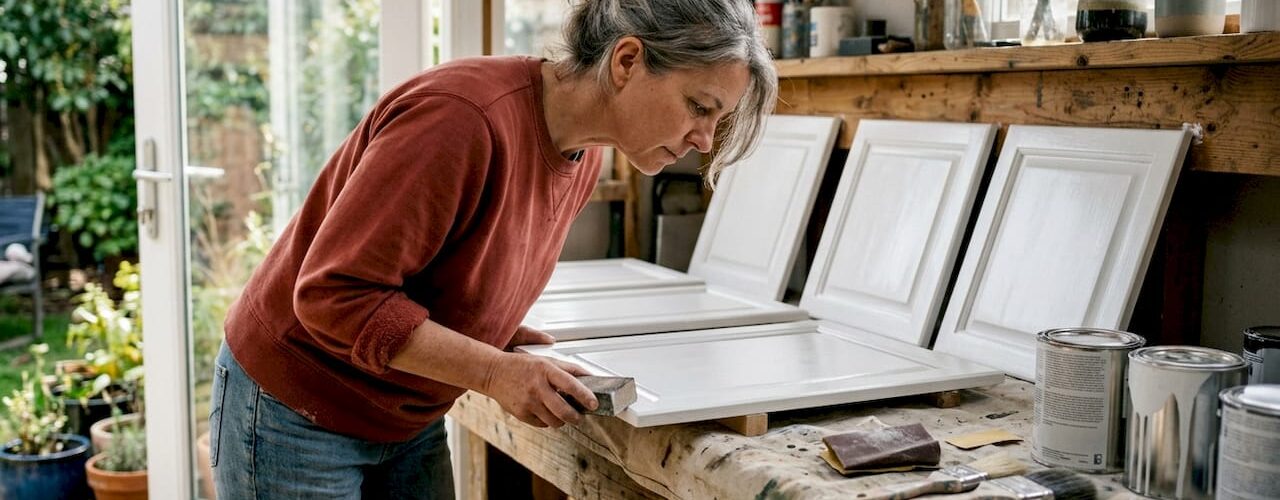
- Lightly scuff-sand the surface. Many bonding primers claim no sanding is needed. Professional painters recommend light scuff sanding anyway, using 220-grit paper to increase surface energy and give the primer more to grip. This step takes 10 minutes per door and adds years to the finish.
- Wipe away sanding dust. Use a tack cloth or a damp microfiber cloth. Any dust left behind creates texture under the primer.
- Inspect for damage. Fill chips or dents with a lightweight wood filler before priming. Sand smooth once dry.
Pro Tip: On laminate cabinets, use a liquid deglosser like Wilbond after cleaning and before sanding. It chemically etches the surface and gives bonding primer even more to grip on surfaces that are too slick for sanding alone to address.
For a deeper look at the full cabinet prep process, Cabinetsrefinishing outlines the exact preparation sequence used in their factory-finish work.
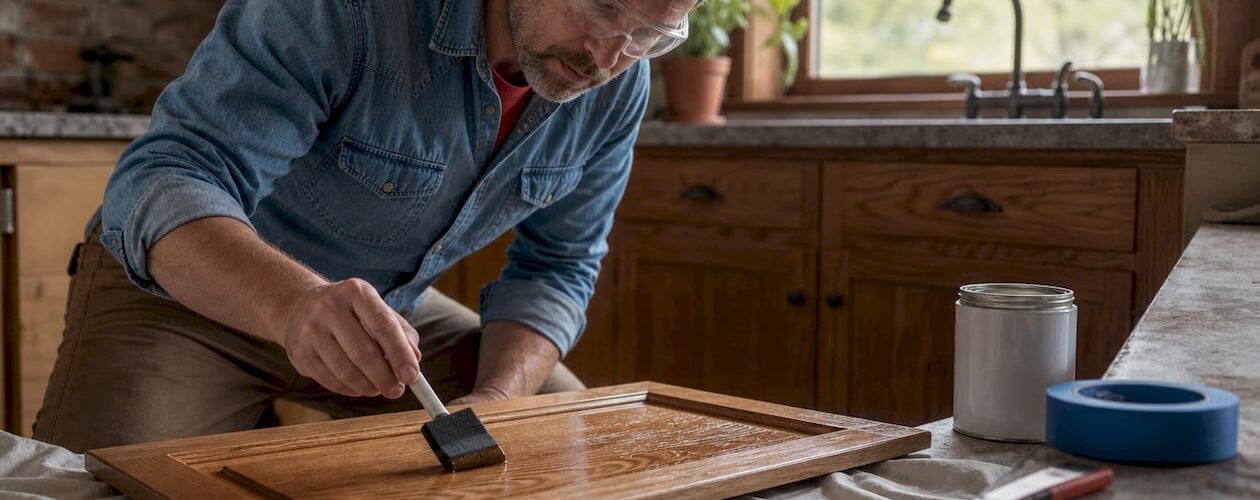
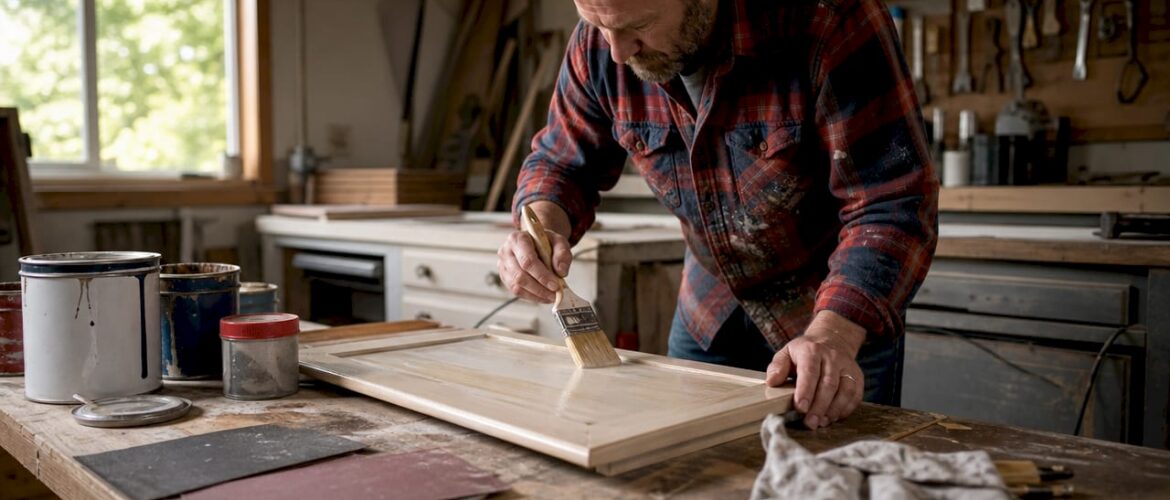
What is the effective application process for bonding primer?
Applying bonding primer correctly is as important as choosing the right product. The sequence and timing matter as much as the product itself.
- Apply a thin, even coat. Thick coats of bonding primer do not bond better. They take longer to cure and can crack. Two thin coats outperform one heavy coat every time.
- Use a foam roller for flat surfaces and a brush for edges. A foam roller minimizes texture and leaves a smoother base for topcoat. A 4-inch foam roller works well on cabinet doors.
- Respect the recoat window. Applying a second coat too soon traps solvents. Applying it too late on shellac-based primers can reduce intercoat adhesion. Follow the manufacturer’s timing exactly.
- Do not apply topcoat too early. Applying paint before primer is fully cured risks adhesion failure and peeling. For Zinsser BIN, that means waiting the full recoat time before topcoat, even though the surface feels dry in minutes.
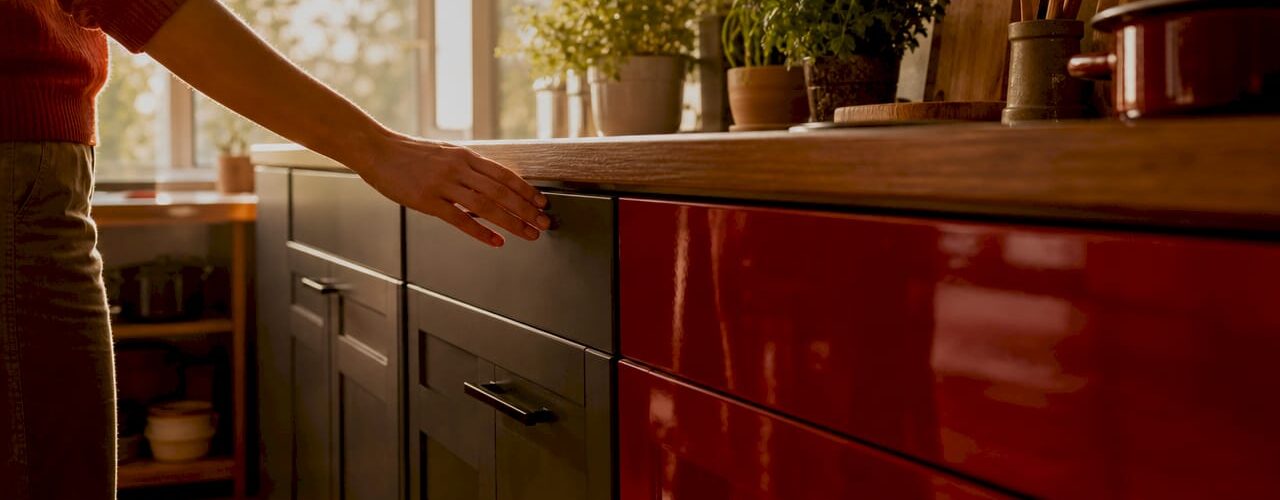
- Choose the right topcoat. Urethane-modified alkyd paints like Benjamin Moore Advance or Sherwin-Williams Emerald Urethane Trim Enamel are the standard recommendation for cabinet-grade durability. They level well and cure hard.
- Allow full cure before reinstalling. Most cabinet-grade topcoats reach full hardness in 7–30 days depending on product. Reinstalling doors too early causes scuffs and marks that look like paint failure but are actually just an uncured surface.
The step-by-step cabinet painting process from Cabinetsrefinishing covers primer application sequencing in detail for homeowners who want to follow a professional workflow.
Cabinet Painting Service Areas in Denver & Surrounding Cities, Cabinet Refinishing in Denverc County,
Serving Lakewood, CO, Littleton, CO, Golden, CO, Evergreen CO, Roxborough Park CO, Ken Carl Ranch CO,
Arvada, CO, Wheat Ridge, CO,
and Parker CO. Castle Pines CO. Englewood CO. Centennial CO.
Cabinet Painting in Arapahoe County, CO
Including Centennial, CO, Greenwood Village, CO,
Cherry Hills Village, CO, Englewood, CO,
and Aurora, CO.
Cabinet Painting in Adams County & Broomfield, CO
Common mistakes that ruin cabinet paint bonding
Most cabinet paint failures trace back to a short list of avoidable errors. Knowing them in advance saves a full redo.
- Using a standard drywall primer on slick cabinets. Products like Kilz Original or generic latex primers are not bonding primers. They work on drywall. They fail on laminate.
- Skipping the degreasing step. Grease is invisible once it dries. You cannot see it, but primer can feel it. Always degrease, even on cabinets that look clean.
- Painting over a glossy surface without scuffing. Even the best bonding primer benefits from a light scuff. Gloss reduces surface energy and limits how well any coating can grip.
- Rushing the recoat. Dry to touch does not mean ready for topcoat. Respect cure times printed on the can.
- Using the wrong primer for the surface type. A waterborne bonding primer designed for laminate may not perform as well on raw wood. Match the product to the substrate.
Pro Tip: Do a tape test 24 hours after applying bonding primer. Press a 2-inch strip of blue painter’s tape firmly onto the primed surface, then pull it off sharply. If primer comes with it, the surface was not clean or the primer was not the right match. Catching this before topcoat saves the entire project.
Key takeaways
Cabinet paint bonding requires a dedicated bonding primer, thorough degreasing, and proper cure time to prevent peeling on slick kitchen cabinet surfaces.
| Point | Details |
|---|---|
| Bonding primer is non-negotiable | Standard primers fail on laminate, thermofoil, and factory gloss within months. |
| Match primer to surface type | Use shellac-based primers for heavy stains; use waterborne bonding primers for laminate and thermofoil. |
| Degreasing comes before everything | Primer bonds to grease instead of the cabinet if you skip this step. |
| Scuff-sand even if the label says not to | Light 220-grit sanding increases surface energy and improves mechanical adhesion. |
| Cure time is not optional | Applying topcoat before primer cures fully causes peeling regardless of primer quality. |
Why bonding primer is the step most DIYers underestimate
I have seen hundreds of cabinet projects, and the pattern is always the same. Homeowners spend money on premium topcoat paint, buy quality brushes, and follow every tip about technique. Then they skip the bonding primer because the can of standard primer they already own says “multi-surface.” Six months later, the edges are peeling.
The uncomfortable truth about cabinet paint adhesion is that the topcoat is almost irrelevant if the primer underneath is wrong. Benjamin Moore Advance over a proper bonding primer on laminate will outlast any premium topcoat applied over a standard primer. The primer is the foundation. Everything else is decoration.
What I find most interesting is the “no sanding needed” claim on many bonding primers. It is technically true in a lab setting on a perfectly clean surface. Real kitchen cabinets are not lab specimens. They have micro-contamination from years of cooking, cleaning products, and handling. A light scuff with 220-grit paper takes 10 minutes per door and closes the gap between “probably fine” and “definitely right.”
Patience with cure times is the other piece most homeowners skip. Zinsser BIN feels bone dry in 20 minutes. Full cure is 7 days. Reinstalling cabinet doors on day two and then wondering why the finish marks easily is a predictable outcome. The chemistry needs time to complete. Give it that time and the finish holds up for years.
— Jesse
Professional cabinet refinishing in Denver that gets bonding right
Getting the primer selection, surface prep, and cure timing right on your own is absolutely possible. It takes the right products, patience, and a willingness to redo any step that does not pass a tape test.
For Denver homeowners who want a guaranteed factory-quality result without managing the process themselves, Cabinetsrefinishing applies a multi-layer system that starts with proper bonding primer on every surface type. Projects complete in 3–5 days, and refinishing costs range from $3,000 to $8,000 compared to $15,000 to $40,000 for full cabinet replacement. Call or text 720-219-9716 for a consultation or learn more about Denver cabinet refinishing services to see what a professionally bonded finish looks like on real kitchen cabinets.
FAQ
What is cabinet paint bonding in simple terms?
Cabinet paint bonding is applying a specialized bonding primer to slick cabinet surfaces so paint sticks properly and does not peel. Without it, standard paint fails on laminate, thermofoil, and factory-coated finishes within months.
Do I need a bonding primer if my cabinets are already painted?
Yes, if the existing paint is glossy or the surface is slick, a bonding primer still improves adhesion for the new topcoat. Lightly scuff-sand the existing paint, degrease, and apply bonding primer before repainting.
What causes cabinet paint to peel after painting?
Paint peels on cabinet surfaces primarily because of missing or incorrect bonding primer, skipped degreasing, or topcoat applied before primer fully cured. Slick factory finishes are the most common culprit.
Is Zinsser BIN the best primer for kitchen cabinets?
Zinsser BIN is the strongest option for stain blocking and adhesion on most surfaces, but INSL-X Stix outperforms it specifically on laminate and thermofoil. The best primer depends on your cabinet material.
How long should bonding primer dry before painting cabinets?
Dry time varies by product. Zinsser BIN accepts recoat after 45 minutes but reaches full cure in about 7 days. Waterborne bonding primers typically need 1–2 hours before recoat. Always follow the manufacturer’s instructions for your specific product.
Recommended
- How to Avoid Brush Marks When Painting Cabinets: A Pro’s Guide – Cabinet Refinishing and Cabinet Painting Denver 720-219-9716
- What Type of Paint is Best for Kitchen Cabinets? A Pro’s Guide – Cabinet Refinishing and Cabinet Painting Denver 720-219-9716
- Kitchen Cabinet Painting Process: A Pro’s Step-by-Step Guide – Cabinet Refinishing and Cabinet Painting Denver 720-219-9716
- Professional Laminate Cabinet Painting in Denver: The 2026 Guide to a Factory Finish – Cabinet Refinishing and Cabinet Painting Denver 720-219-9716