
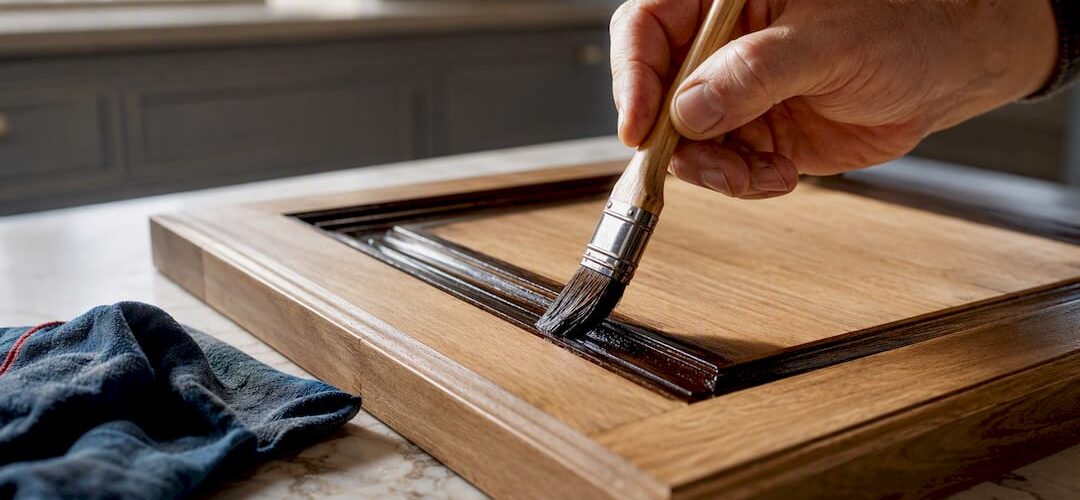
Glazing adds depth by pooling in grooves, corners, and trim to create an aged, dimensional look that flat paint can’t fake. The most forgiving starting point is an antique white base cabinet with a warm brown glaze wiped into the details. It’s a project a patient DIYer can tackle over a few weekends, though the section on hiring a pro below is worth reading before you buy a single brush.
TL;DR:
- Oil-based glaze is essential for stained cabinets, while water-based glaze is better suited for painted surfaces due to differing chemical interactions.
- Testing a sample in your kitchen’s lighting conditions before committing to a color combination helps avoid muddy or unintended effects.
- Off-site professional glazing typically outperforms DIY methods in durability and appearance, especially for detailed cabinet styles and high-traffic kitchens.
- Proper surface preparation, including degreasing, sanding, and full curing, is critical to prevent common glazing issues like blotchiness or uneven finish.
- Regular maintenance, such as prompt spill cleanup and avoiding abrasive cleaners, extends the life of a glazed cabinet finish.
Table of Contents
- Cabinet Glazing Ideas by Style and Kitchen Type
- Supplies and Materials for a Cabinet Glazing Project
- How to Glaze Cabinets: Three Methods That Work
- Cabinet Glazing Colors and Hardware Pairings
- DIY Cabinet Glazing vs Hiring a Professional
- Fixing Common Cabinet Glazing Mistakes
- Maintaining a Glazed Cabinet Finish Over Time
- Why We Favor a Factory Finish for Anything Beyond a Small Accent Piece
- Get a Factory Finish Without the Replacement Price Tag
- Sources
- FAQ
Cabinet Glazing Ideas by Style and Kitchen Type
The glaze color you choose does more work than any other decision in the project. Pairing the wrong glaze with the wrong base can flatten a kitchen instead of enriching it, and the wrong door profile can make even a great color combination disappear. Here’s how the most popular cabinet glazing colors play out in real kitchens.
- Antique white with warm brown glaze: The classic for traditional and transitional kitchens. Brown settles into raised panel details and gives new cabinets a sense of history without looking fake.
- Soft gray with charcoal glaze: A quieter, more modern take on the same idea. Works well in transitional spaces that want warmth without going full farmhouse.
- Sage green with bronze glaze: Common in organic and modern farmhouse kitchens right now, and the bronze glaze keeps the green from reading too bright or candy-colored.
- Navy or black glaze on lower cabinets: A dramatic choice for kitchen islands or lower runs when the uppers stay light. The glaze deepens the shadows in trim work and gives the piece a furniture-like finish.
- Tone-on-tone glazing: The subtlest option, usually saved for slab doors, where a glaze close in value to the base color adds texture without shouting for attention.
Door profile matters as much as color. Raised panel and beadboard doors have the grooves and recessed detail glaze needs to pool into, which is why they show off the technique best. Slab doors have almost no relief, so glazing there reads more like a subtle wash than a defined antique effect. According to research from Fargos Art on antique glaze color selection, testing a sample in the actual room, under the kitchen’s own lighting, is one of the most reliable ways to avoid picking a combination that looks great on a paint chip but muddy on the cabinet. If you want a broader primer on what glazing changes about a kitchen before committing to a color, this guide to cabinet glazing breaks down the visual mechanics further.
Supplies and Materials for a Cabinet Glazing Project
Buying the wrong glaze for your cabinet surface is the single most common reason a DIY glazing project stalls halfway through. The rule is simple: oil-based glaze for stained wood, water-based glaze for painted surfaces, because the two chemistries interact differently with what’s already on the cabinet.
- Glaze: Oil-based for stained cabinets you’re antiquing without repainting; water-based for cabinets you’ve already primed and painted, since it dries faster and cleans up with soap and water.
- Primer and paint: A bonding primer designed for cabinetry, followed by a cabinet-grade enamel. Full cure time before glazing matters more than most people expect. A paint that feels dry to the touch at 24 hours may still need several more days to cure hard enough to handle glaze and wiping without lifting.
- Application tools: Natural bristle brushes for oil-based glaze, synthetic brushes for water-based, plus lint-free cotton rags, a foam roller for larger flat panels, and tack cloths to pull dust off the surface before you start.
- Safety gear: A respirator rated for organic vapors, nitrile gloves, and good cross ventilation, especially with oil-based products.
- Topcoat: Polyurethane, polycrylic, or lacquer, chosen based on what’s underneath and how much abuse the cabinets will take.
Sealing the glaze once it’s cured is not optional if you want the finish to survive kitchen life. A durable topcoat locks the glaze in place and is what separates a cabinet that looks good for a season from one that looks good for years, according to ShunShelter’s glazing guide. Polyurethane holds up best against grease and water near the sink and stove; polycrylic is easier to work with but softer over time.
Pro Tip: Buy a quart of your chosen topcoat and test it on a scrap piece with dried glaze before committing to the full kitchen. Some polyurethanes yellow slightly over an antique white base, which can shift your whole color scheme months after the project’s done.
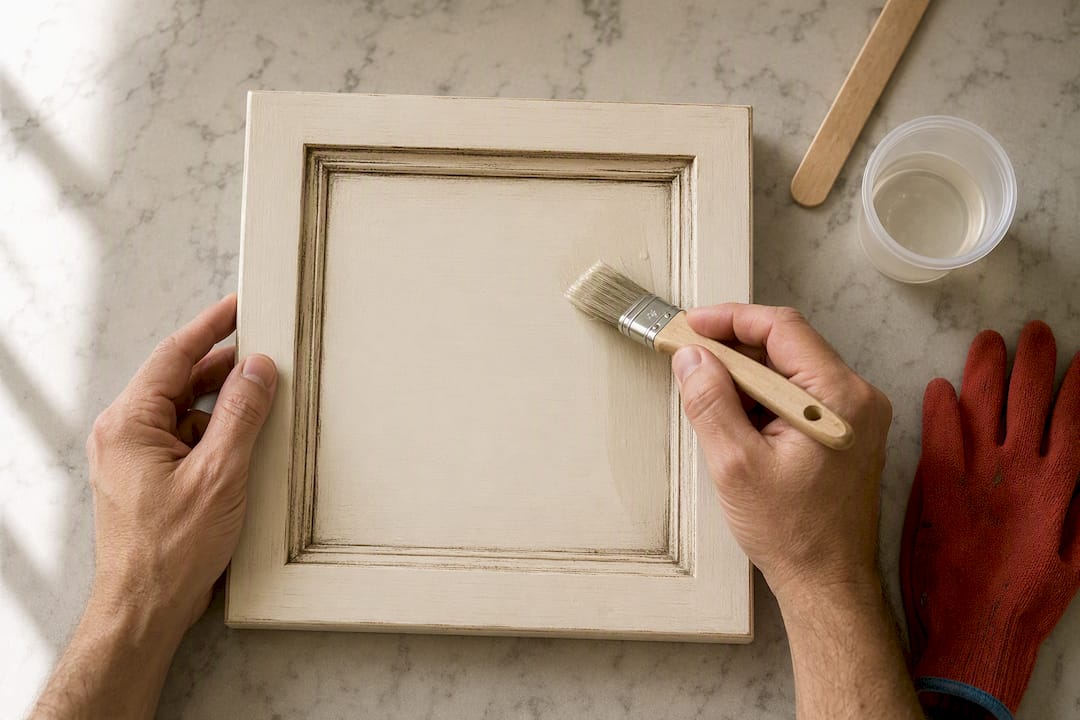
For the surface prep that has to happen before any of this, these cabinet refinishing preparation steps walk through degreasing and sanding in more detail than we can cover here.
How to Glaze Cabinets: Three Methods That Work
Every cabinet glazing technique starts in the same place: prep. Skip it and no amount of glazing skill will save the finish.
Full prep sequence:
- Remove all doors, drawer fronts, and hardware, and label each piece so reassembly doesn’t turn into a puzzle.
- Degrease every surface thoroughly. Kitchen cabinets carry a film of cooking grease that stops paint and glaze from bonding, even when the surface looks clean.
- Sand to knock down the sheen and smooth any old finish, then wipe away dust with a tack cloth.
- Prime, then paint (or leave stained wood as is if you’re glazing directly over stain).
- Let everything cure fully. Rushing this step is the single most common reason DIY glazing projects fail.
Once the base coat has cured, pick your method based on the look you want and the door style you’re working with.
Rag or wipe-back method, the most common approach for most home projects:
- Apply glaze to a small section, one or two doors at a time, since working time is short.
- Use a lint-free rag to wipe back the excess while the glaze is still wet, leaving color in the grooves and a light film on the flat areas.
- Work in the direction of the wood grain or panel lines for a more natural look.
Brush-in method, best for doors with deep carving or heavy detail:
- Load a brush with glaze and push it directly into corners and crevices where a rag can’t reach.
- Wipe the surrounding flat area with a rag to control how much color stays visible.
- This method gives you more control over depth in ornate trim but takes longer per door.
Glazing over existing stain, for cabinets you’re antiquing without repainting:
- Use an oil-based glaze only, since it’s compatible with stained wood and won’t lift the finish underneath.
- Expect slower drying than water-based glaze over paint, which gives you more time to adjust but also more time for dust to settle into the wet surface.
- Always test on a hidden panel or the inside of a door first. Oil-based glaze reacts differently depending on how much stain and sealer are already on the wood.
Practical glazing technique guidance from ShunShelter recommends applying glaze in small sections and using paint thinner to correct oil-based mistakes before they set, which gives you a real safety net if a section comes out too heavy. Let the glaze cure fully, generally 24 to 48 hours depending on humidity, before applying any topcoat. If you want a second pass for more depth, apply it after the first layer has dried, not while it’s still tacky. For a deeper walkthrough of technique variations, Cabinetsrefinishing’s DIY glazing guide covers layering and distressing steps in more depth.
Cabinet Glazing Colors and Hardware Pairings
Color and hardware are really one decision, not two. Pick them separately and you risk a cabinet that looks finished but never quite right.
- Cream base + coffee glaze + antique brass hardware: warm, traditional, and forgiving in almost any kitchen lighting.
- Gray base + charcoal glaze + brushed nickel hardware: cool and modern, works well with quartz or marble-look counters.
- Sage base + bronze glaze + oil-rubbed bronze hardware: organic and current, common in the modern farmhouse kitchens trending through 2026.
- Navy base + black glaze + gold accents: bold and dramatic, best reserved for an island or accent wall of cabinets rather than the whole room.
Lighting changes how every one of these combinations reads. A gray that looks cool and clean under bright daylight can shift blue or even purple under warm LED bulbs, and a glaze that looked rich in the paint store can look muddy against your actual counters and floor. According to HowStuffWorks’ guide to finishing wooden furniture, the contrast between base color and glaze is what makes the finish read as intentional rather than dirty, which is why a sample panel tested in your own kitchen matters more than any photo online.
Hardware matching comes down to undertone, not just metal color. A brushed nickel pull can clash with a warm-toned glaze the same way a warm brass pull clashes with a cool gray base, even though both are technically “silver” or “gold” finishes. Pick one metal finish for the whole kitchen rather than mixing several, and decide early whether you want contrast (dark hardware against light glazed cabinets, which tends to look crisp and current) or a tone-on-tone match, which reads quieter and often more expensive. For more on how finish and tone selection plays out across cabinetry types, Shutter World’s guide to kitchen finishes covers similar undertone logic for shutters and cabinetry alike.
DIY Cabinet Glazing vs Hiring a Professional
A realistic DIY glazing timeline for a full kitchen runs two to four weeks of weekend work, factoring in prep, drying time between coats, and the inevitable second attempt on a few doors. A professional factory-finish crew typically completes the same kitchen in three to five days, because doors get sprayed off-site in a controlled environment while the rest of the kitchen stays usable.
Cost is where the two paths really diverge. A professional refinishing and glazing project generally runs $3,000 to $8,000, compared with $15,000 to $40,000 for a full cabinet replacement. DIY materials for the same kitchen might run a few hundred dollars, but that number doesn’t account for your time, the risk of a botched finish, or the cost of redoing a section that didn’t turn out right.
- Choose DIY if you have a small kitchen, simple slab or shaker doors, and realistic expectations about a slightly less uniform finish.
- Choose a professional if your cabinets have heavy detail, you want a warranty on the work, or you can’t tolerate weeks of half-finished doors stacked in the garage.
- Choose a professional if durability is the priority. Off-site spraying and factory-finish sealing generally holds up better under daily kitchen use than brushed or rolled topcoats applied at home, according to Allbright Painting’s comparison of painting and refacing costs.
Pro Tip: If you’re on the fence, glaze one accent piece yourself first, like a small island or a bathroom vanity, before committing to a full kitchen. It tells you fast whether you have the patience for the wipe-back timing before you’re a week into your only kitchen.
Fixing Common Cabinet Glazing Mistakes
Blotchy glaze is almost always a wiping problem, not a product problem. If some sections look darker or heavier than others, feather the edges with a clean, barely damp rag while the glaze is still workable, blending the heavy spots into the lighter ones. If it’s already dried unevenly, a light sanding followed by a fresh, thin glaze coat usually corrects it.
Glaze that “doesn’t show” almost always comes down to insufficient contrast between the base color and the glaze. If your base and glaze are too close in value, the antique effect disappears. Try a darker glaze, or apply a second thin layer to build depth gradually rather than starting over with a heavier first coat.
Humidity and temperature both affect drying speed more than most people expect. Glaze that dries too fast leaves brush or rag marks because you can’t wipe it back in time; glaze that dries too slow attracts dust and can sag on vertical surfaces. Aim for a room around 65 to 75 degrees Fahrenheit with moderate humidity, and avoid glazing on the most humid days of the summer if you can help it.
If a mistake sets before you catch it, a rag dampened with mineral spirits (for oil-based glaze) or warm water (for water-based) can usually lift it while it’s still fresh. Once glaze has fully cured, correcting it means sanding back to the base coat, which is the point where many DIYers decide to call in help. For a broader list of what typically goes wrong, this guide to common cabinet painting mistakes covers issues beyond glazing specifically.
Maintaining a Glazed Cabinet Finish Over Time
A glazed finish lasts as long as its topcoat is treated well, and kitchen cabinets take more daily abuse than almost any other painted surface in the house. Wipe spills and grease splatter promptly with a soft, damp cloth rather than letting them sit, since grease breaks down some topcoats faster than plain water exposure does.
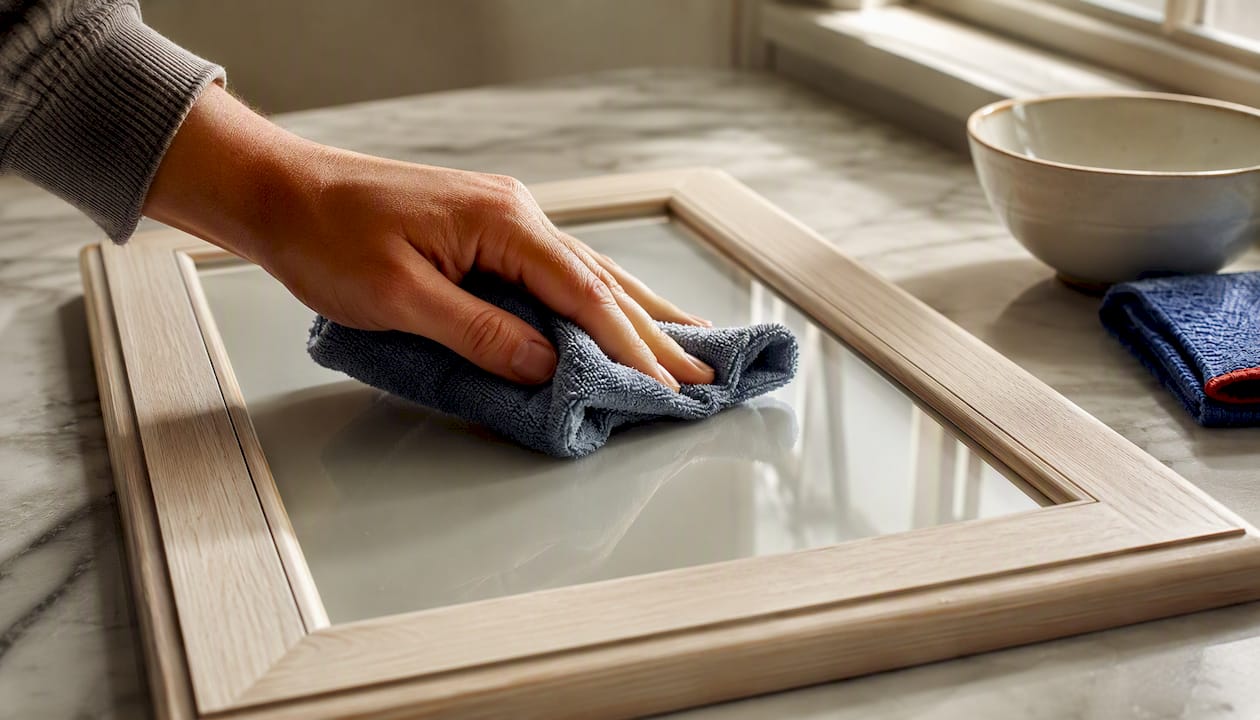
Avoid abrasive sponges or strong solvent cleaners on glazed surfaces. A mild dish soap diluted in warm water handles most kitchen grime without stripping the sheen off the topcoat. Steer clear of ammonia-based glass cleaners near cabinet finishes too, since they can dull polyurethane and polycrylic over repeated use.
Hardware creates the most wear points on a glazed cabinet, since hands touch the same spots near knobs and pulls dozens of times a day. Check periodically for thinning finish around those high-contact areas, and touch up with a small amount of matched glaze and topcoat before bare wood shows through.
Keep the kitchen’s humidity reasonably stable if possible. Wood cabinets expand and contract with big swings in moisture, and repeated movement can eventually cause fine cracking in a glazed finish, especially at panel seams. A properly cured and sealed glaze job, done with the right prep, should hold up for many years of normal kitchen use before it needs a refresh.
Why We Favor a Factory Finish for Anything Beyond a Small Accent Piece
Glazing rewards patience, but kitchens are unforgiving spaces. Grease, steam, and daily hand contact stress a finish in ways a dresser or bathroom vanity never sees. That’s why a factory-finish approach, with doors sprayed off-site and multiple sealed layers, tends to outlast a brushed or rolled DIY glaze on high-traffic cabinets, even when the DIY work is done carefully.
A homeowner tackling one accent piece or a small kitchen with simple door profiles can absolutely get a great result doing it themselves. A full kitchen with detailed panel doors, or a family that wants the finish to look new a decade from now, is usually better served by a professional glazing approach that controls spray conditions and cure time more precisely than a garage setup can.
— Jesse
Get a Factory Finish Without the Replacement Price Tag
Glazing your own cabinets can absolutely work, but a full kitchen with detailed doors, uneven prep, and a topcoat applied in less than ideal conditions is where most DIY projects lose their shine within a year or two. Cabinet Refinishing Denver sprays every door off-site under controlled conditions, so you get the pooled, dimensional glaze look without the streaking, dust nibs, or uneven cure that come with brushing at home.

Most projects run three to five days from start to finish, with pricing typically landing within an affordable range depending on kitchen size, door style, and the finish you choose, less costly than a full cabinet replacement. Color matching, custom glaze combinations, and protective topcoats are all part of the process. When you request a quote, have your kitchen’s rough size, door style, and the finish look you’re after ready, whether that’s antique white with a brown glaze or something bolder like navy with black. Get a cabinet refinishing estimate started today and find out what a factory finish actually costs for your kitchen.
Sources
- Antique Glazing Kitchen Cabinets: A Step-By-Step Guide | ShunShelter
- Antique Glaze Cabinet Color Selection (Expert Guide 2026) | Fargos Art
- Cost of Painting vs Refacing Cabinets: Which is Best?
- Guide to decorating wooden furniture (HowStuffWorks)
FAQ
What are some good glazes for kitchen cabinets?
Antique white with a brown glaze, soft gray with charcoal, and sage green with bronze are the most reliable combinations, since each pairs a light or muted base with a glaze that has enough contrast to show up in the trim.
What kitchen cabinet colors will look outdated in 2026?
Heavy yellow-toned oak stains and flat builder-grade honey finishes are aging quickly, while updated neutrals like soft gray, sage, and warm white with glaze accents continue to hold up in current kitchens.
How can I make my old kitchen cabinets look new again?
Refinishing with a proper degrease, sand, and prime sequence followed by paint or stain and an optional glaze is far more affordable than replacement, and a factory-finish refinish from a professional generally delivers the most durable result.
Are glazed cabinets still in style?
Yes, though the look has evolved. Heavy, dark antique glazing has given way to subtler tone-on-tone and warm neutral pairings that still add depth without reading as dated or overly ornate.
Recommended
- Cabinet Glazing Technique: A DIY Homeowner’s Guide: in 2026.
- $1,200–$3,500 to Glaze Cabinets: Homeowner Quotes in 3–5 Days
- Pen Glazing Cabinets: DIY Methods and When to Hire a Pro
- Touch Up Paint for Kitchen Cabinets: When to DIY vs. Professional Refinishing in Denver – Cabinet Refinishing and Cabinet Painting Denver 720-219-9716