
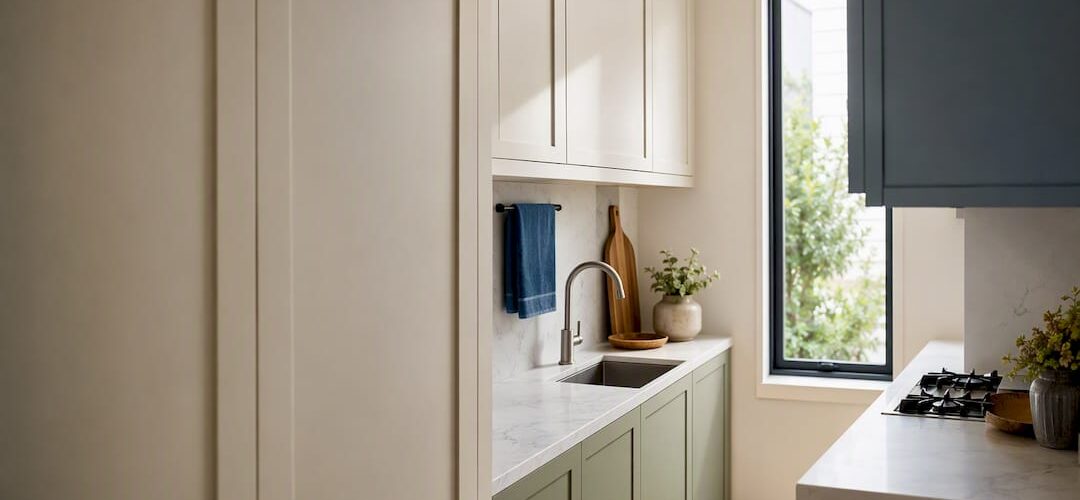
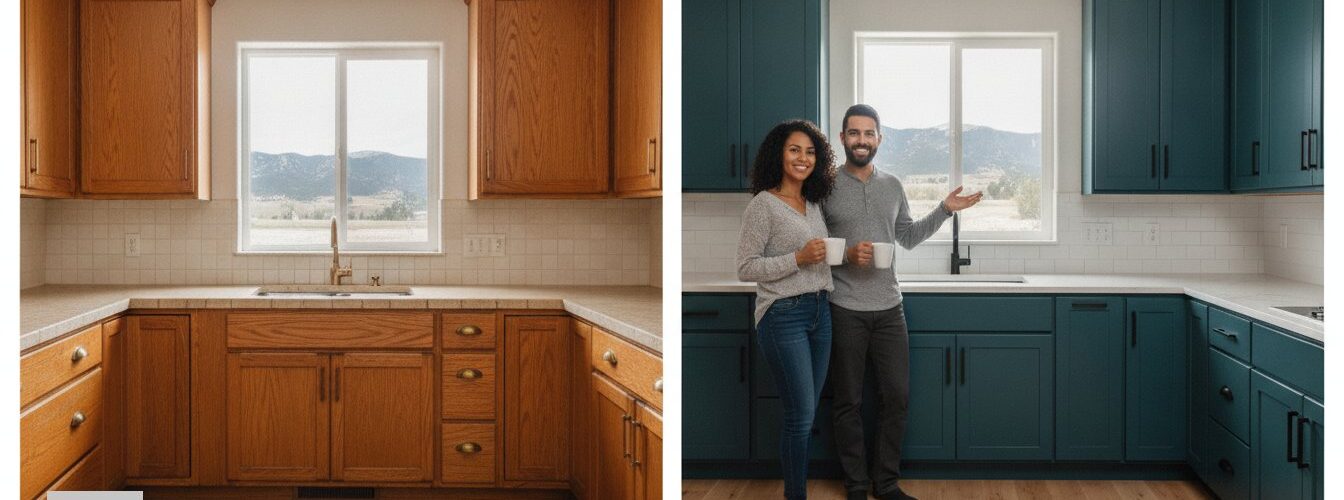
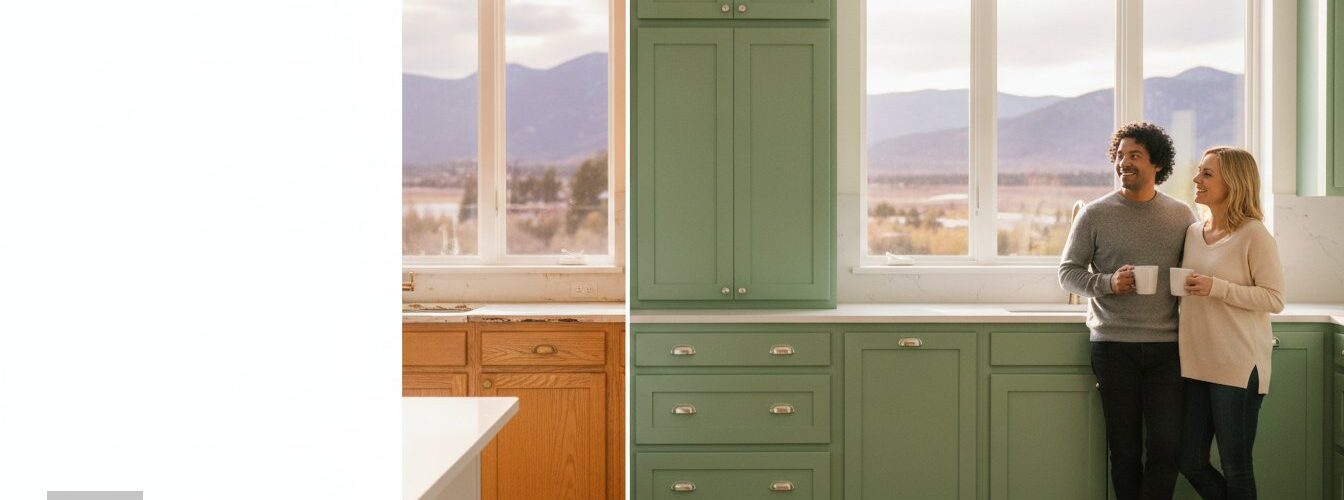
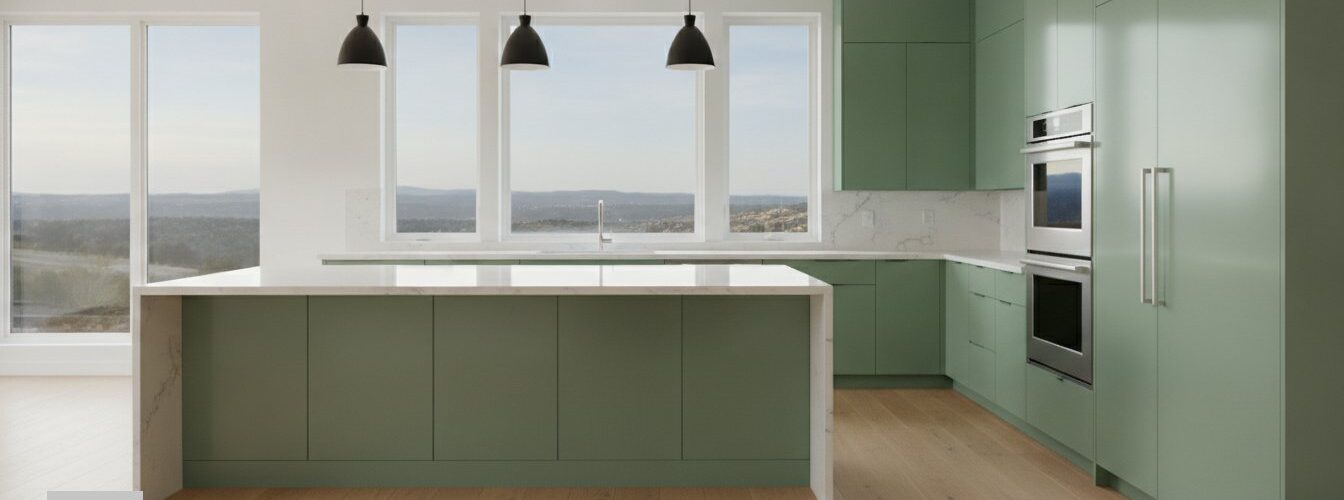
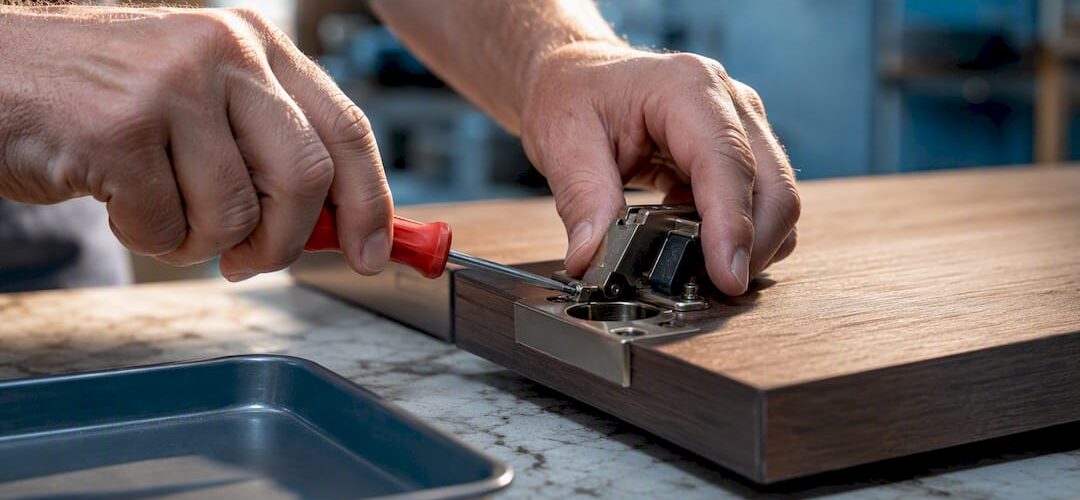
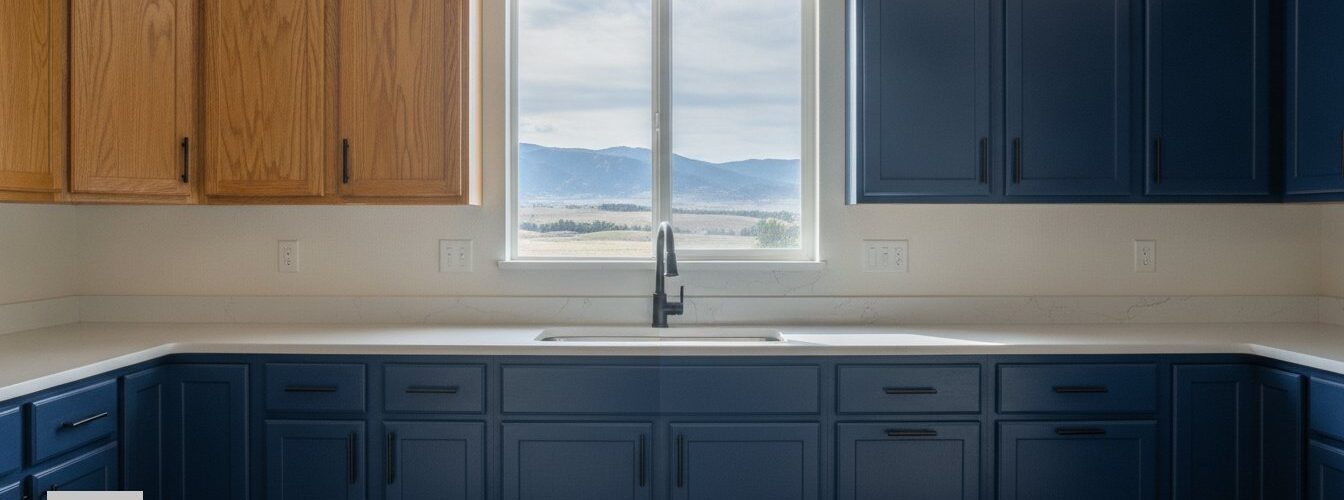
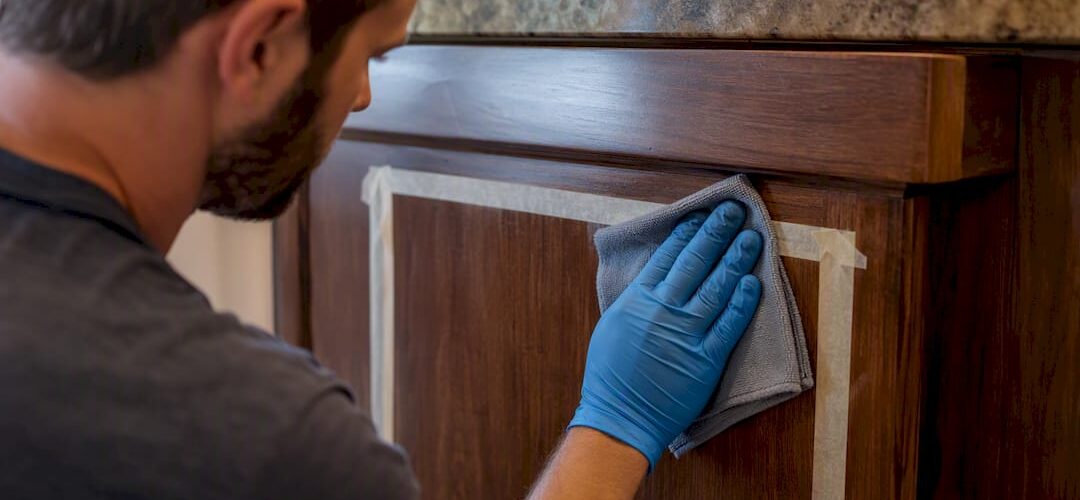
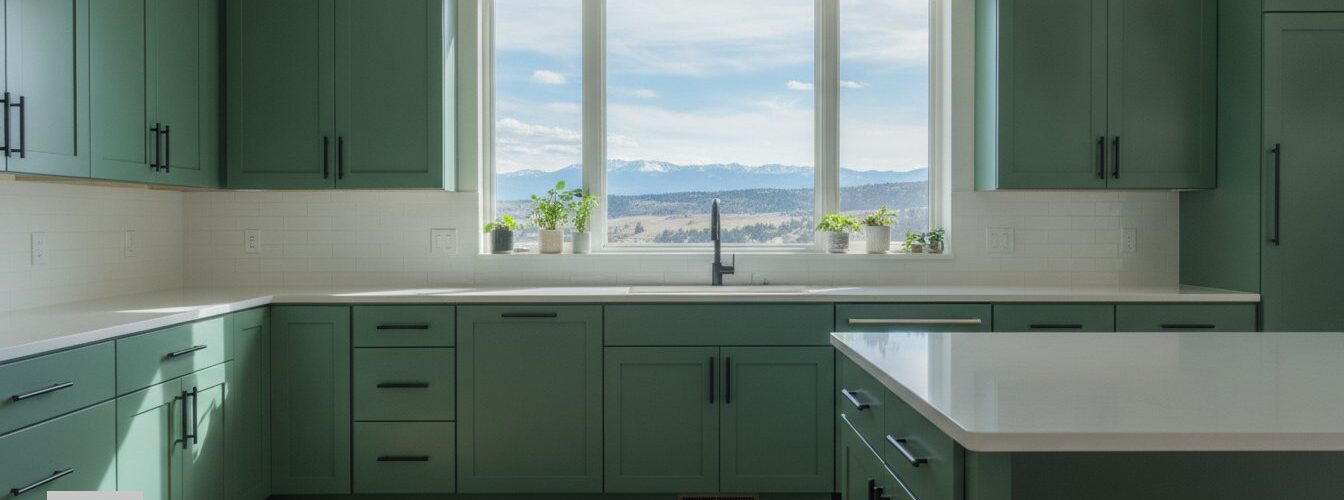
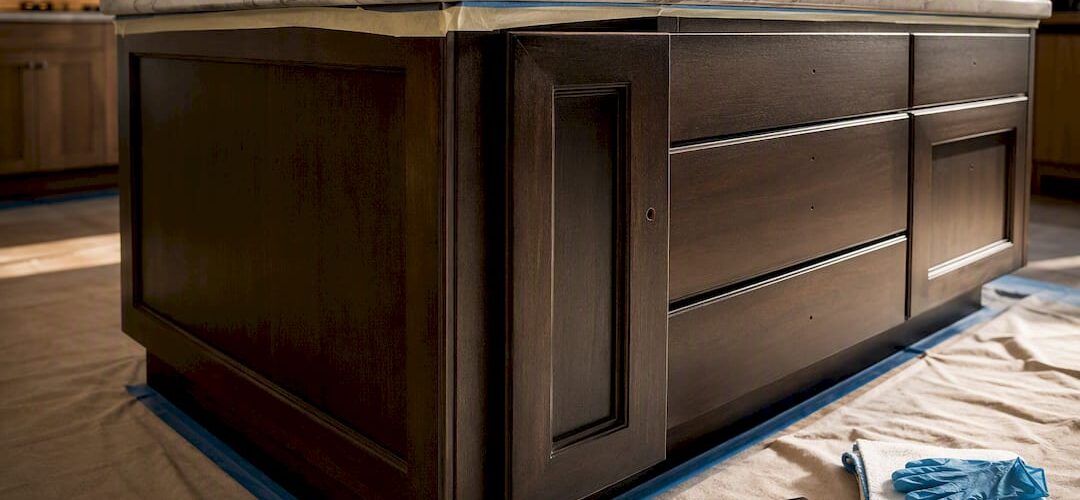
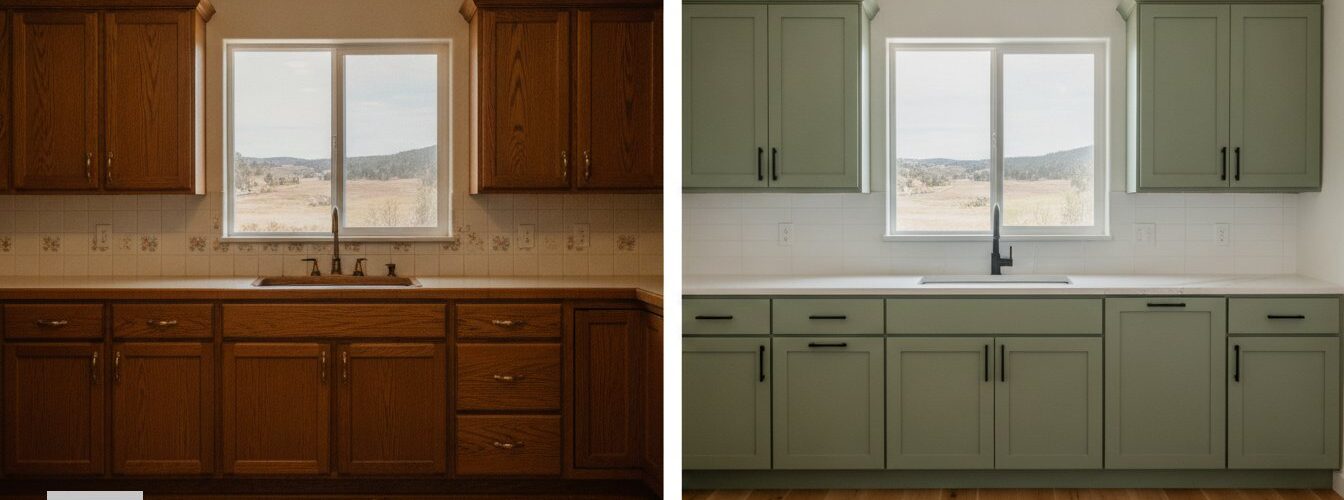
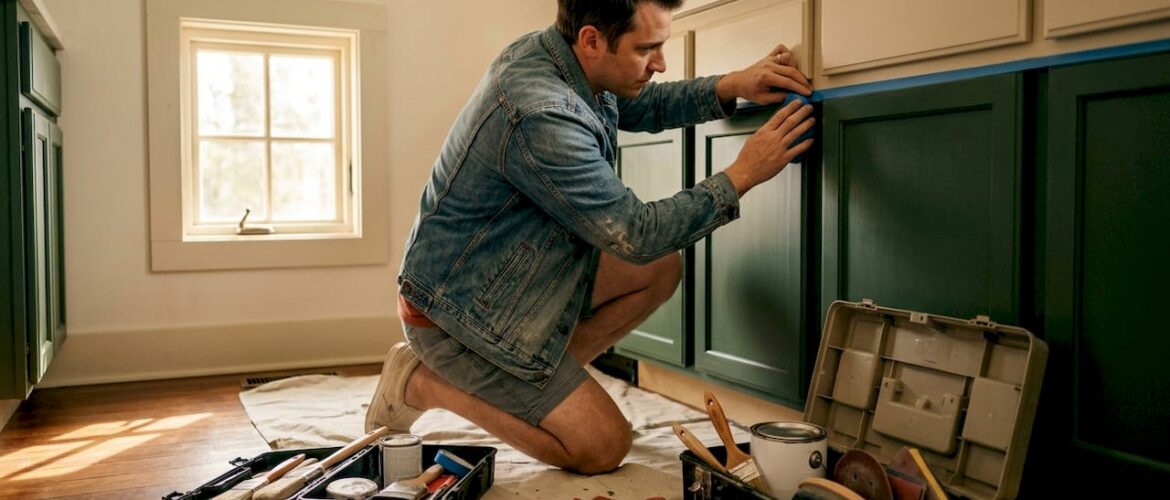
Two-tone kitchen cabinet refinishing is the practice of applying two coordinated colors or finishes to different cabinet sections, typically pairing lighter upper cabinets with darker lower cabinets or a contrasting island. Refinishing costs 30–50% of full replacement, which makes it one of the most budget-friendly kitchen upgrades available. The process follows the same core steps as single-color refinishing, with added attention to masking, color sequencing, and finish consistency across both zones. This two tone kitchen cabinet refinishing guide covers every stage, from choosing your materials to applying the final topcoat, so you can get professional-looking results without professional prices.
What tools, materials, and finishes do you need for two-tone cabinet refinishing?
The right supplies determine whether your finish lasts two years or twenty. Cutting corners on materials is the single most common reason DIY cabinet projects fail early.
Essential tools and materials:
- Sandpaper in 80, 120, and 220 grit
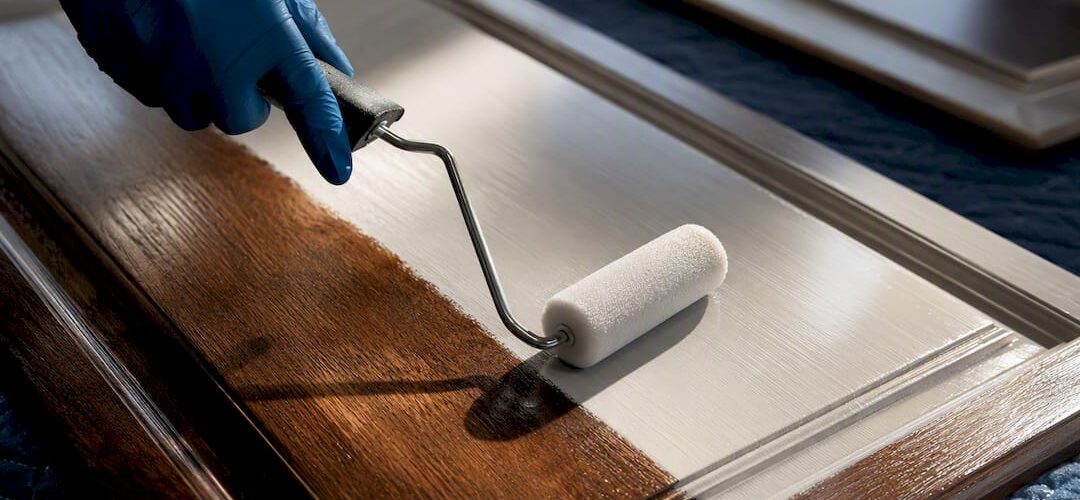
- Foam rollers (4-inch) and angled brushes for detail work
- Painter’s tape (3M ScotchBlue or equivalent) and plastic sheeting
- TSP (trisodium phosphate) or a heavy-duty degreaser
- Bonding primer or shellac-based primer for slick or laminate surfaces
- Acrylic-alkyd hybrid enamel paint in your two chosen colors
- Clear protective topcoat (conversion varnish or waterborne polyurethane)
- Tack cloths, drop cloths, and a dedicated workspace
Choosing the right finish sheen matters more than most homeowners expect. Satin is the most popular sheen for kitchen cabinets, used in approximately 65% of factory-painted projects as of 2026. Satin balances easy cleaning with a soft, glare-free look that suits most kitchen styles. Semi-gloss is preferred by 62% of homeowners for its superior durability and moisture resistance. Semi-gloss holds up better near sinks and stovetops, which makes it a strong choice for lower cabinets in a two-tone scheme.
| Finish type | Best for | Key advantage |
|---|---|---|
| Satin | Upper cabinets, dry zones | Soft look, easy to clean |
| Semi-gloss | Lower cabinets, near sink | Moisture and scuff resistant |
| Matte | Accent pieces only | Hides surface imperfections |
| Conversion varnish | Topcoat over any finish | Hardest, most durable protection |
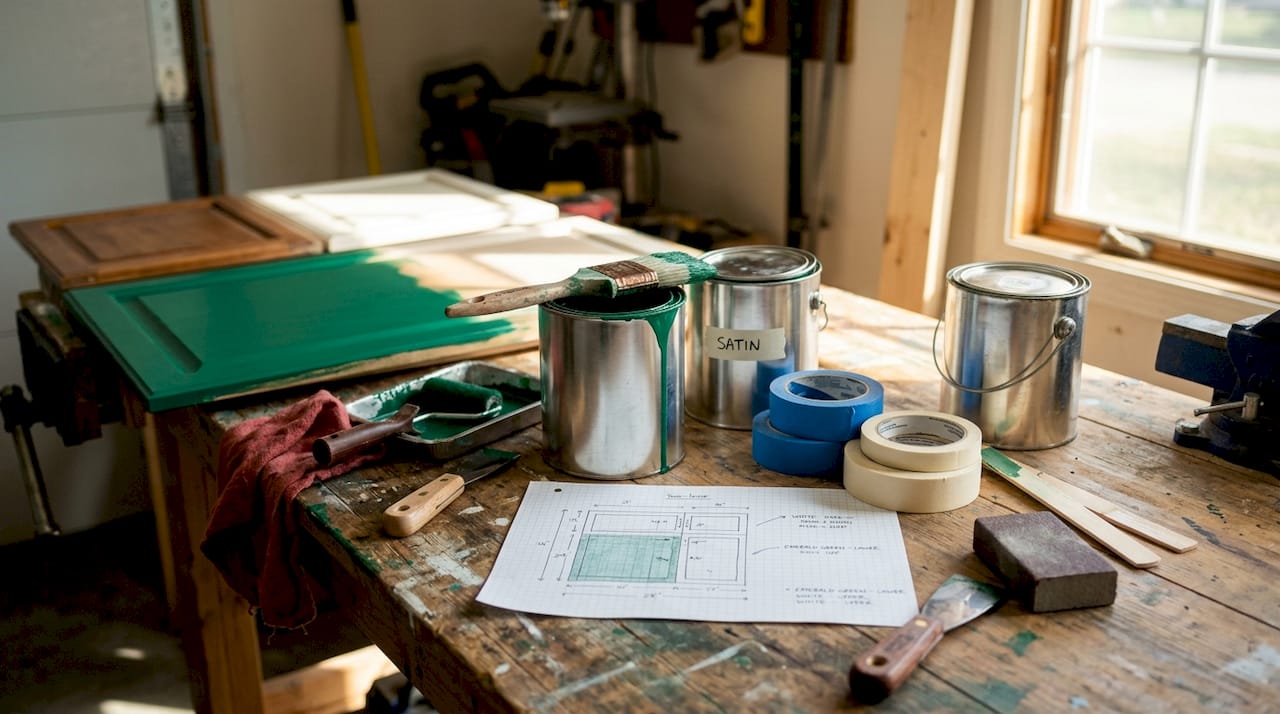
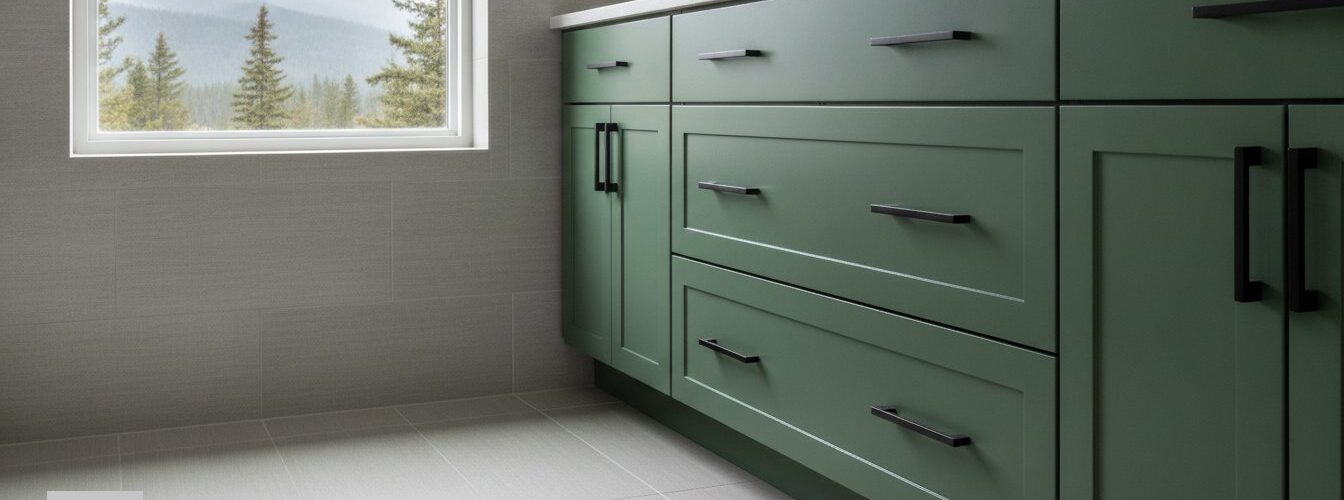
24% of homeowners now use two-tone cabinet schemes to add depth and visual interest. The most common pairings combine a warm stained wood on lower cabinets or an island with soft painted neutrals on upper cabinets. For painted two-tone looks, navy or forest green lowers with white or cream uppers remain a reliable combination that photographs well and ages gracefully.
Pro Tip: Professional-grade acrylic-alkyd hybrid enamels cure harder than standard latex paint. They resist yellowing and cracking far better, which is worth the extra cost per gallon on a project you want to last.
For guidance on choosing the right sheen, Cabinetsrefinishing has a detailed breakdown of how each finish level performs in real kitchen conditions.
How to prepare your kitchen cabinets for two-tone refinishing
Preparation accounts for at least 70% of the final result. A beautiful paint job applied over a greasy, unsanded surface will peel within months.
Step-by-step preparation process:
- Remove all cabinet doors, drawers, and hardware. Label each door with a piece of tape and a marker so you know exactly where it goes back. Photograph the layout before you start.
- Degrease every surface thoroughly. Degreasing with heavy-duty agents like TSP is critical to prevent peeling and ensure paint adhesion. Kitchen grease is invisible in many spots but will cause paint to lift if you skip this step. Wipe down all surfaces twice, and let them dry completely.
- Sand with 120-grit sandpaper to scuff the existing finish. Always sand in the direction of the wood grain. For laminate or thermofoil cabinets, use a liquid deglosser instead of aggressive sanding to avoid delamination.
- Fill any dents, scratches, or holes with a lightweight wood filler. Let it cure fully, then sand flush with 150-grit paper.
- Wipe all surfaces with a tack cloth to remove every trace of dust before priming. Dust trapped under primer creates a rough, uneven base that shows through the final coat.
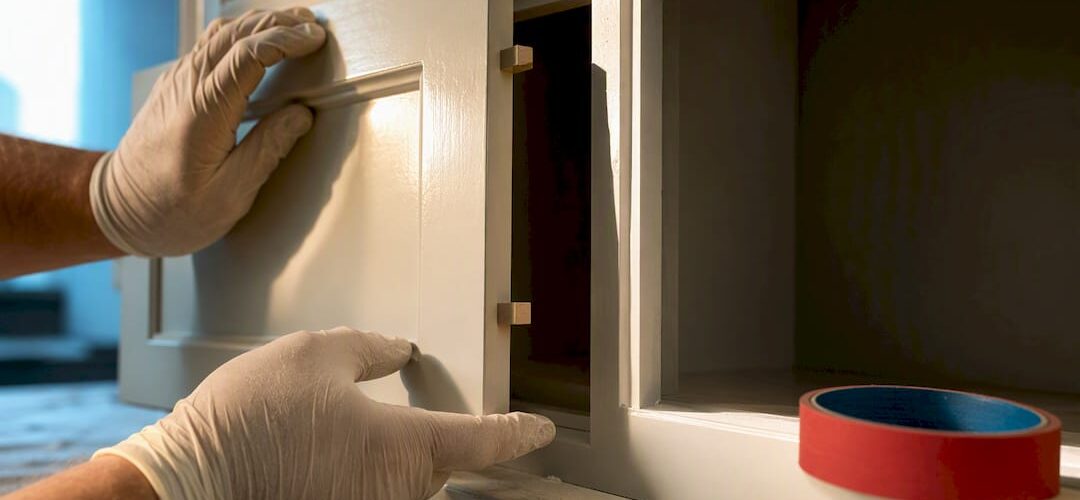
- Mask your two-tone boundary line precisely. Apply painter’s tape along the line where your two colors will meet. Press the tape edge firmly with a putty knife or your fingernail to eliminate gaps.
For a deeper look at removing kitchen grease before painting, Cabinetsrefinishing covers the full degreasing process with product recommendations.
Pro Tip: Seal the tape edge by brushing a thin coat of your base color over it before applying the second color. This fills any micro-gaps in the tape and guarantees a crisp, clean line between your two tones.
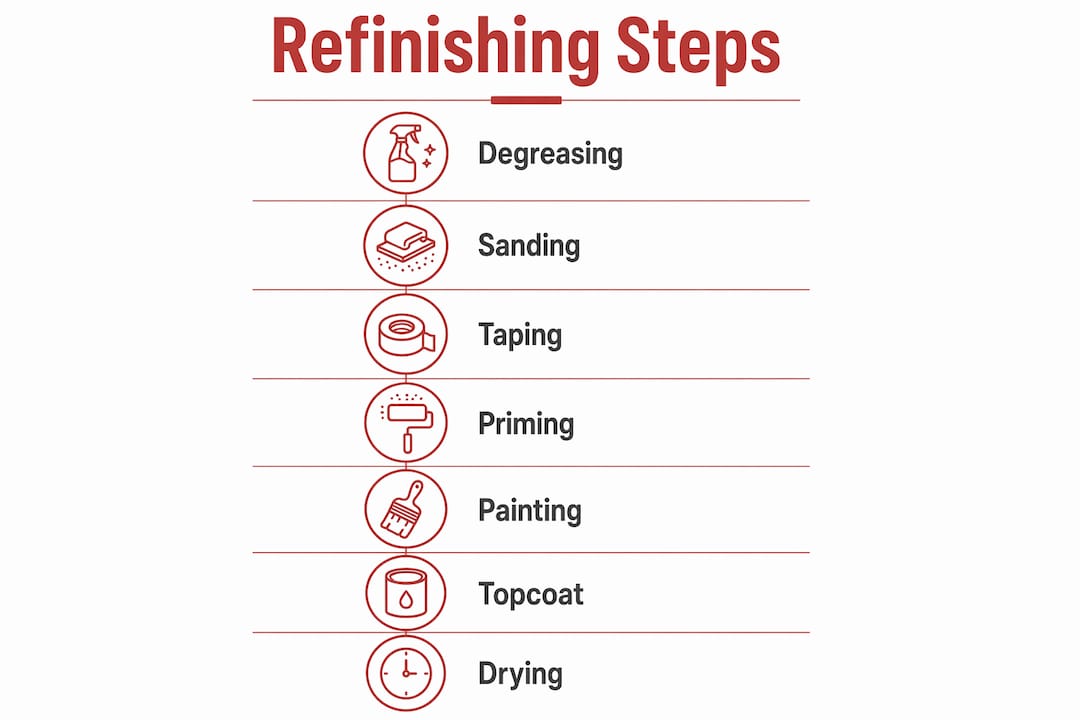
Step-by-step process to paint and finish your two-tone kitchen cabinets
Painting order and coat thickness are where most DIY projects either succeed or fall apart. Follow this sequence carefully.
- Apply bonding primer to all surfaces. Use a shellac-based primer on any slick, stained, or previously painted surface. Let it dry fully per the manufacturer’s instructions, then sand lightly with 220-grit paper and wipe clean.
- Paint the lighter color first. Painting the lighter color before the darker one prevents color contamination and makes corrections easier. Apply a thin first coat to seal the surface.
- Apply two to three coats of your lighter color, sanding lightly with 220-grit between each coat. Thin first coats seal the surface and reduce lap marks. Thicker coats cause drips and uneven drying.
- Mask the lighter-color zone once it has cured for at least 24 hours. Apply painter’s tape along the boundary, seal the edge as described above, and cover the finished cabinets with plastic sheeting.
- Apply your darker color using the same thin-coat approach. Two to three coats with light sanding between each will give you a uniform, smooth finish.
- Apply a clear protective topcoat. Conversion varnish is the industry gold standard for moisture and scratch resistance. Waterborne polyurethane is a practical DIY alternative that is easier to apply and clean up.
| Application method | Best for | Key consideration |
|---|---|---|
| Foam roller | Flat cabinet faces | Minimizes brush marks |
| Angled brush | Detail areas, edges | Requires steady hand |
| Airless sprayer | Doors and drawer fronts | Fastest, smoothest result |
| Brush and back-roll | Large flat panels | Combines coverage and smoothness |
Pro Tip: Spray application of conversion varnish delivers the most durable finish. If you are brushing or rolling, apply multiple thin coats and sand between each one with 320-grit paper for a near-spray-quality result.
A step-by-step painting process guide from Cabinetsrefinishing walks through each coat in detail, including drying times specific to Denver’s climate.
What mistakes should you avoid in two-tone cabinet refinishing?
Even experienced DIYers make these errors. Knowing them in advance saves you from stripping and starting over.
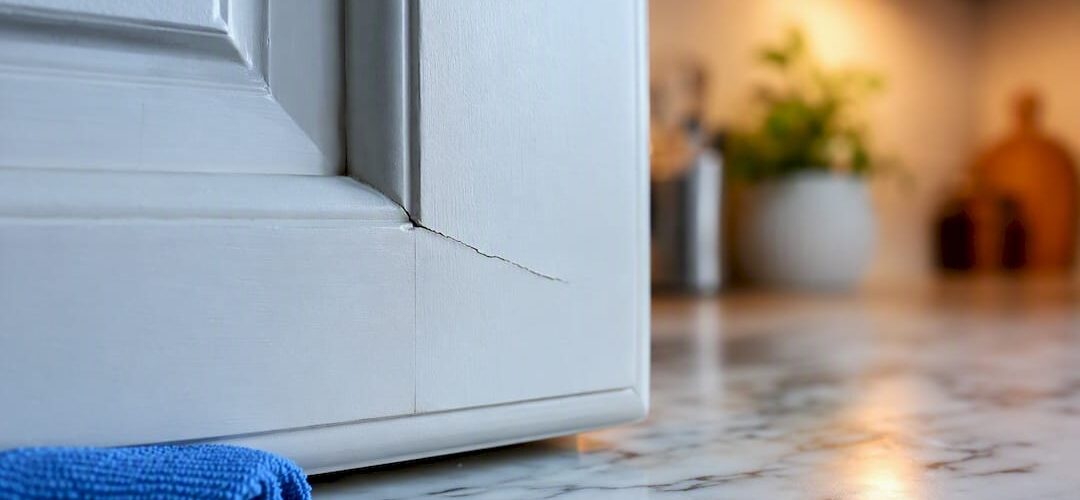
- Skipping degreasing. Grease is invisible under certain lighting but creates a barrier that prevents primer from bonding. Paint will peel within weeks on an undegreased surface.
- Poor tape application. Tape that is not pressed firmly against the surface allows paint to bleed under the edge. The result is a wavy, unprofessional line between your two colors.
- Applying coats that are too thick. Thick coats drip, sag, and dry unevenly. Thin coats take longer but produce a far smoother result.
- Using the wrong primer. Standard drywall primer does not bond to slick cabinet surfaces. Bonding primer or shellac-based primer is required for any previously finished or laminate cabinet.
- Rushing between coats. Paint that feels dry to the touch is not cured. Applying the next coat too soon traps solvents and causes adhesion failure later.
- Skipping the topcoat. Paint alone is not durable enough for kitchen cabinets. The topcoat is what protects against moisture, grease, and daily wear.
The finish system matters more than any single product. The right combination of sheen, paint type, surface prep, and application technique determines how long your cabinets hold up. Skipping any one element weakens the entire system.
Pro Tip: Site-painted cabinets typically need touch-ups within 3–5 years, while factory finishes can last 15–20 years. Managing that expectation upfront helps you plan for maintenance and choose the most durable products available to DIYers.
For a full list of DIY painting mistakes to avoid, Cabinetsrefinishing has documented the ten most common errors and how to fix them.
Key Takeaways
Two-tone cabinet refinishing succeeds when preparation, paint sequencing, and a durable topcoat system work together from the first step to the last.
| Point | Details |
|---|---|
| Degreasing is non-negotiable | TSP or a heavy-duty degreaser must be used before sanding or priming to prevent peeling. |
| Paint lighter color first | Applying the lighter tone before the darker one prevents contamination and simplifies corrections. |
| Topcoat determines durability | Conversion varnish or waterborne polyurethane protects the finish far better than paint alone. |
| Sheen choice affects maintenance | Satin suits upper cabinets; semi-gloss handles moisture better on lower cabinets near sinks. |
| Thin coats outperform thick ones | Multiple thin coats with sanding between each produce a smoother, longer-lasting finish. |
What I’ve learned from watching two-tone projects go right and wrong
Most homeowners focus all their energy on color selection. They spend hours comparing paint chips and almost no time thinking about surface prep or topcoat chemistry. That is the wrong order of priorities.
The color is the easy part. A warm navy lower cabinet paired with soft white uppers will look good regardless of the exact shade you choose. What separates a finish that looks great for a decade from one that starts chipping in year two is the prep work and the topcoat. I have seen beautiful color combinations ruined by a single skipped degreasing step.
The other thing most guides underplay is patience between coats. Acrylic-alkyd hybrid enamels need real cure time, not just dry-to-touch time. Rushing that window is the most common reason a DIY finish feels soft or scratches easily after installation.
My honest recommendation: if your cabinets have a heavily stained or laminate surface, invest in a shellac-based primer. It costs more and smells worse, but it is the only reliable way to get paint to stick to those surfaces long-term. Skipping it to save $40 on primer will cost you a full redo within two years.
Two-tone cabinetry is one of the highest-impact, lowest-cost upgrades you can make to a kitchen. Done right, it looks custom. Done fast, it looks like a DIY project. The difference is almost entirely in how much time you spend before you open the first can of paint.
— Jesse
When a professional finish makes more sense
Two-tone refinishing is achievable as a DIY project, but some kitchens are better candidates for professional work.

Cabinetsrefinishing uses a factory-finish methodology that applies multiple protective layers under controlled conditions. That process delivers results that last significantly longer than site-applied coatings. For homeowners with laminate cabinets, extensive surface damage, or a tight timeline, professional refinishing costs $3,000–$8,000 compared to $15,000–$40,000 for full replacement. Projects are completed in 3–5 days. If you want a two-tone kitchen makeover without the prep work and drying time, contact Cabinetsrefinishing at 720-219-9716 to get a quote.
FAQ
What is the best paint finish for two-tone kitchen cabinets?
Satin works well for upper cabinets, while semi-gloss is the better choice for lower cabinets near moisture sources. Both sheens clean easily and hold up to daily kitchen use.
How many coats of paint do kitchen cabinets need?
Two to three coats of paint over a primed surface is the standard. Sand lightly with 220-grit paper between each coat for the smoothest result.
Do I need a topcoat over cabinet paint?
A clear topcoat is required for durability. Conversion varnish is the most durable option; waterborne polyurethane is a practical DIY alternative that is easier to apply.
How do I get a clean line between two cabinet colors?
Apply painter’s tape along the boundary, press the edge firmly, then brush a thin coat of the base color over the tape before applying the second color. This seals micro-gaps and prevents paint bleed.
How long does DIY cabinet refinishing take?
Refinishing typically takes 2–4 weekends when you account for drying and curing times between coats. Rushing the process is the most common cause of finish failure.
Recommended
- Two-Tone Kitchen Cabinet Painting: The Ultimate Guide for a Stunning Makeover – Cabinet Refinishing and Cabinet Painting Denver 720-219-9716
- Two-Tone Kitchen Cabinets Denver: The Modern Guide to Refinishing – Cabinet Refinishing and Cabinet Painting Denver 720-219-9716
- Painting Just Upper or Lower Cabinets: Denver’s Guide to the Two-Tone Kitchen Trend – Cabinet Refinishing and Cabinet Painting Denver 720-219-9716
- Cabinet Color Combinations That Work: 2026 Guide – Cabinet Refinishing and Cabinet Painting Denver 720-219-9716