


Multi-unit cabinet refinishing is a surface restoration process that refreshes existing kitchen cabinets by stripping old finishes and applying new coatings through a staged, repeatable workflow. Unlike full cabinet replacement, this method preserves the existing cabinet boxes while transforming their appearance at a fraction of the cost. Cabinetsrefinishing puts the price of professional refinishing at $3,000–$8,000, compared to $15,000–$40,000 for full replacement. Understanding how multi-unit cabinet refinishing works helps homeowners and DIY enthusiasts plan smarter kitchen renovations, set realistic timelines, and avoid the most common mistakes that cause finishes to fail early.
What are the main steps in multi-unit cabinet refinishing?
Multi-unit cabinet refinishing follows a defined sequence of phases that separates on-site and off-site tasks to keep kitchens usable throughout the project. The industry term for this approach is a hybrid logistics workflow, and it is the standard method for any project covering more than one kitchen at a time.
Cabinet Painting Service Areas in Denver & Surrounding Cities, Cabinet Refinishing in Denver County,
Serving Lakewood, CO, Littleton, CO, Golden, CO, Evergreen CO, Roxborough Park CO, Ken Carl Ranch CO,
Arvada, CO, Wheat Ridge, CO,
and Parker CO. Castle Pines CO. Englewood CO. Centennial CO.
Cabinet Painting in Arapahoe County, CO
Including Centennial, CO, Greenwood Village, CO,
Cherry Hills Village, CO, Englewood, CO,
and Aurora, CO.
Cabinet Painting in Adams County & Broomfield, CO
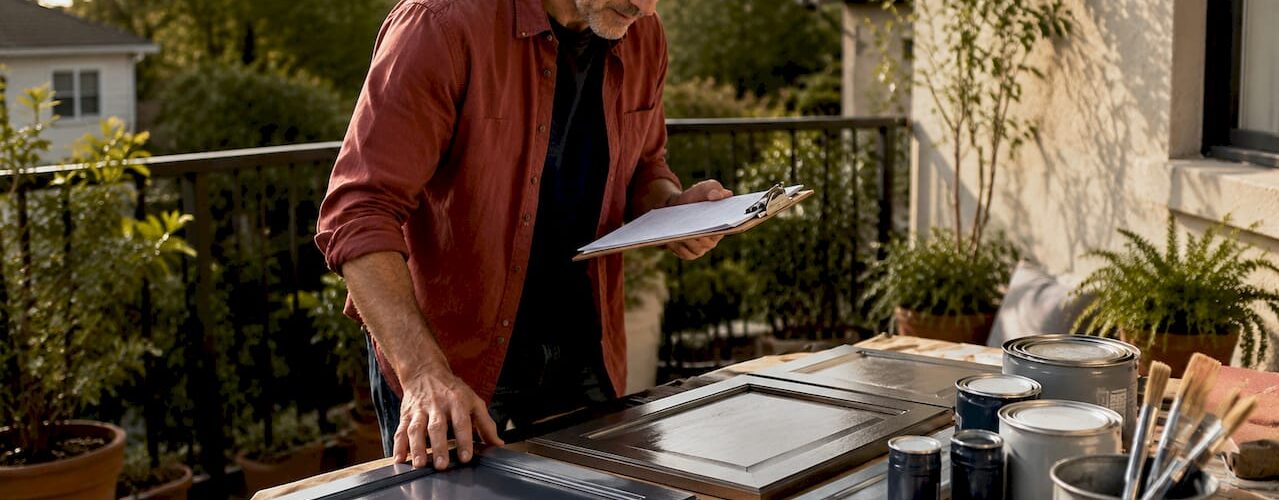
Phase 1: Removal and containment
Every project starts with removing all cabinet doors, drawer fronts, and hardware. Crews label each piece so reinstallation is exact. On-site, they set up containment zones to protect countertops, appliances, and flooring from dust and overspray. Cabinet frames and boxes stay in place and receive their own surface preparation at this stage.
Phase 2: Off-site door and drawer finishing
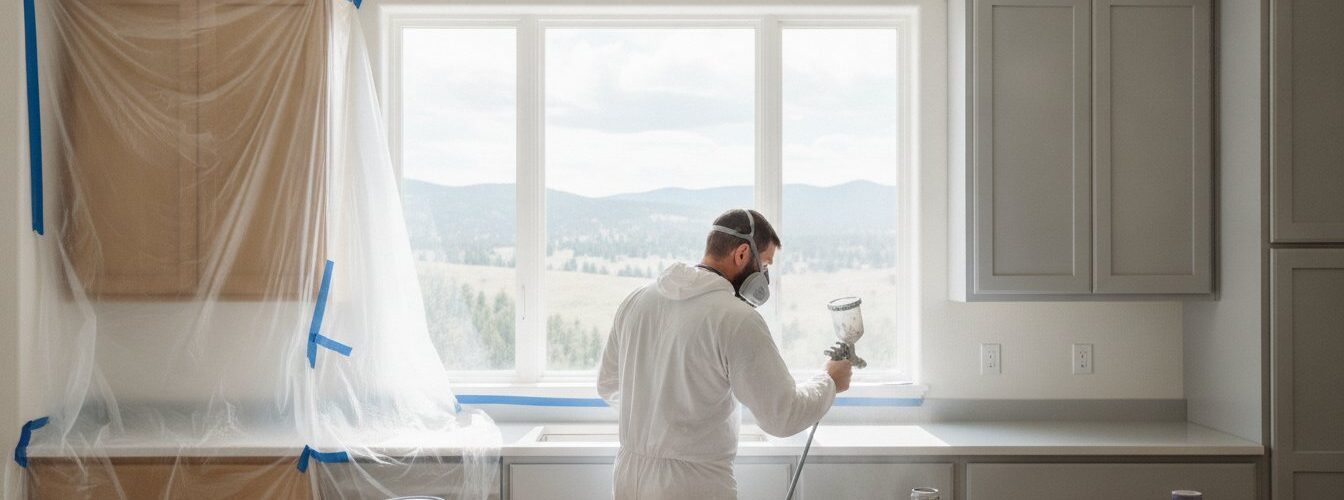
Doors and drawer fronts travel to a controlled spray environment off-site. This is where off-site spraying produces cleaner, more durable results than on-site work alone. A controlled setting eliminates airborne dust contamination and allows for consistent application of materials like Italian 2K polyurethane, which cures to a hard, factory-grade finish. Multiple thin coats go on in sequence, with proper dry time between each layer.
Phase 3: On-site frame preparation and finishing
While doors cure off-site, crews work on the cabinet boxes still mounted in the kitchen. This parallel workflow is the key efficiency gain in multi-unit projects. Frames get degreased, scuff sanded, primed with a bonding primer, and finished with matching topcoats. The split workflow approach shortens kitchen downtime significantly compared to finishing everything on-site in sequence.
Phase 4: Reinstallation and quality check
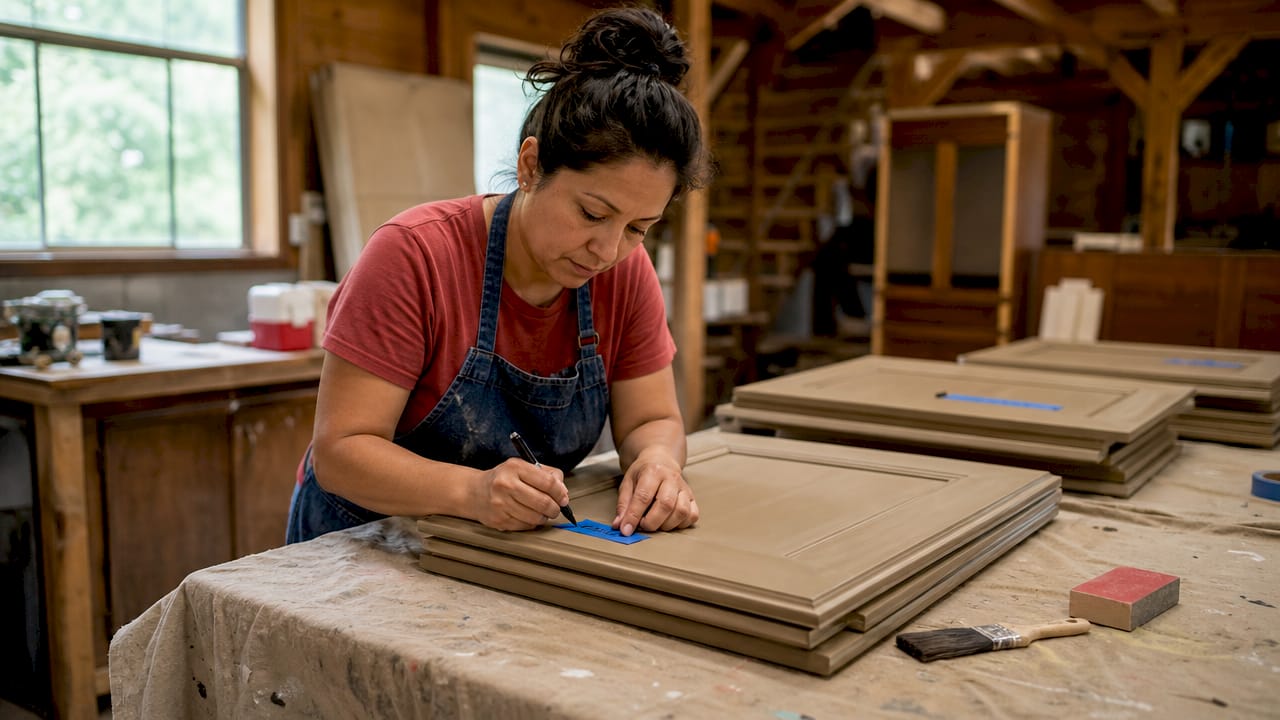
Finished doors and drawers return to the kitchen for reinstallation. Hardware goes back on, hinges get adjusted, and crews do a final quality inspection. Smaller kitchens finish closer to 10 days total. Large kitchens with complex layouts or multi-tone finishes can take the full two weeks or longer.

Pro Tip: Label every door and drawer with painter’s tape and a number before removal. Reinstallation goes twice as fast, and you avoid the frustration of forcing mismatched hinges.
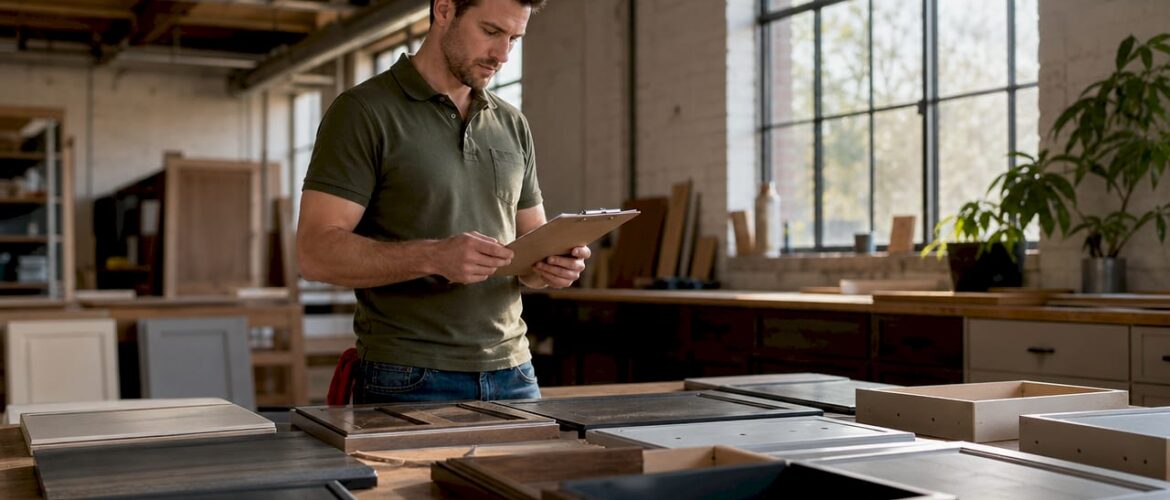
How does standardizing specs benefit multi-unit projects?
Standardizing cabinet specifications across multiple units is the single most effective way to control costs and maintain consistent quality over time. A standardized spec program locks in color palette, door style, hardware type, and finish product so every unit looks identical and reorders are straightforward.
The practical benefits stack up quickly:
- Predictable cost per unit. Fixed specs mean fixed pricing. You know the material and labor cost before the crew walks in the door.
- No reorder surprises. When a door gets damaged six months later, you order the exact replacement without hunting for a discontinued color match.
- Consistent appearance. Every kitchen in a multi-unit building looks cohesive, which matters for resale value and tenant satisfaction.
- Simpler maintenance. Crews already know the materials and process, so touch-up work takes less time and costs less money.
The rollout process for a standard spec program follows four steps: pilot one unit to validate the spec, write a one-page spec sheet with product names and finish codes, train every crew member on the document, and review the spec annually to catch any discontinued materials before they become a problem.
A year-round refresh program with locked specs also prevents vendor price creep. When you order the same products consistently, suppliers treat you as a volume buyer rather than a one-time customer.
Pro Tip: Keep a physical sample board with your approved door style, color chip, and hardware piece attached. Store one in your maintenance office and one with your refinishing contractor. Disputes about color drift disappear.
What cabinet refinishing techniques matter most for DIYers?
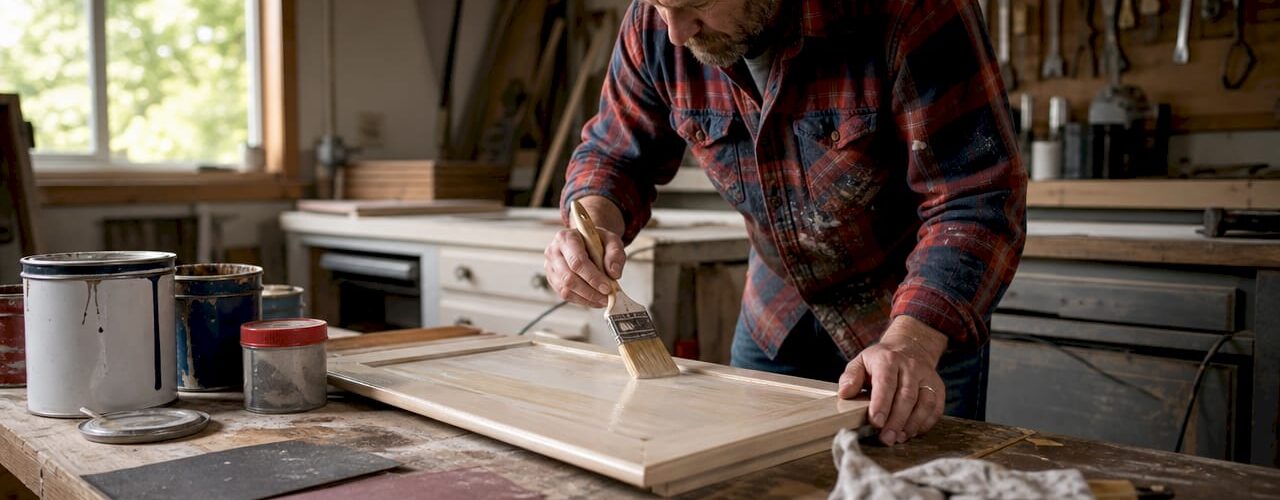
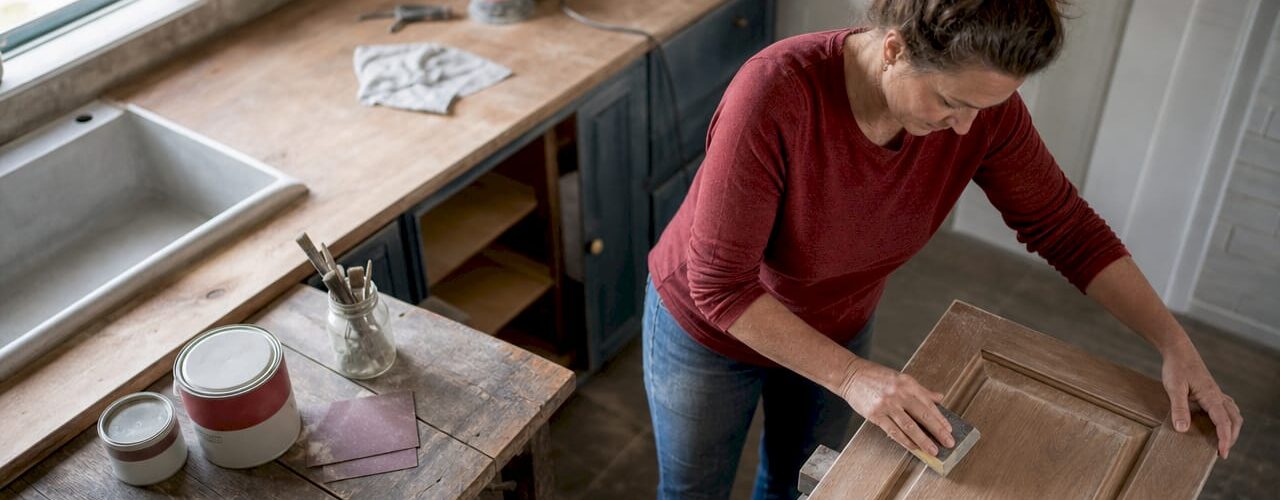
Surface preparation is the most critical phase of any cabinet refinishing project. Skipping or rushing prep is the leading cause of early finish failure, especially in kitchens where grease and steam constantly attack the finish.
Follow these best practices for cabinet refinishing before you touch a spray gun or brush:
- Degrease thoroughly. Use a TSP substitute or a dedicated cabinet degreaser on every surface. Grease is invisible in many lighting conditions but destroys primer adhesion. Pay extra attention to the area above the stove and around the range hood.
- Sand in two stages. Start with 120-grit to dull the existing finish completely. Follow with 220-grit to smooth the surface before priming. Skipping the 120-grit stage leaves the surface too slick for primer to grip.
- Match your primer to your material. Wood cabinets need a stain-blocking primer to prevent tannin bleed-through. Laminate cabinets need a bonding primer specifically formulated for non-porous surfaces. Using the wrong primer on laminate is the fastest way to get peeling within a year.
- Apply thin coats. Two or three thin finish coats outlast one thick coat every time. Thick coats sag, take longer to cure, and crack under temperature changes.
- Respect cure time. Paint can feel dry to the touch in hours but takes days to reach full hardness. Reinstalling doors too early causes the finish to stick to the frame and peel when you open them.
Professional workflows add grain filling on open-grain woods like oak before priming. This step fills the wood pores so the final finish looks smooth rather than textured. It adds time but makes a visible difference in the final result.
Pro Tip: Run your hand across every cabinet surface after the 120-grit pass. If any spot still feels slick or waxy, sand it again. Your fingers are a better test than your eyes in this phase.
How is occupant disruption minimized during multi-unit refinishing?
The hybrid logistics model keeps kitchens functional throughout the refinishing process. Residents lose access to cabinet doors for a period, but the kitchen itself stays usable. The table below shows how the parallel workflow compares to a traditional sequential approach.
| Workflow type | Kitchen access during project | Typical project duration | Finish quality |
|---|---|---|---|
| Hybrid (off-site doors, on-site frames) | Kitchen usable throughout | 10–14 days | Factory-grade, controlled environment |
| Sequential on-site only | Kitchen blocked in stages | 14–21 days or more | Good, but dust contamination risk |
| DIY sequential | Kitchen blocked throughout | 3–6 weeks | Variable, depends on skill level |
The hybrid logistics approach works because it treats doors and frames as separate production lines running at the same time. Doors go to the spray shop. Frames get prepped and finished in the kitchen. Both finish at roughly the same time, so reinstallation happens in one concentrated phase rather than dragging across weeks.
Staged containment zones also reduce disruption. Crews section off one cabinet run at a time rather than tearing out the entire kitchen at once. Residents can still access the refrigerator, sink, and cooking appliances during most of the project. Open shelving during the mid-phase is a minor inconvenience compared to a full kitchen gut renovation that takes months.
Managing resident experience during multi-unit projects is as much a logistics challenge as a technical one. Clear communication about which days each phase happens, and what residents can and cannot access, reduces complaints and builds trust in the process.
Key Takeaways
Multi-unit cabinet refinishing works best when preparation is thorough, specs are standardized, and off-site door finishing runs parallel to on-site frame work to minimize disruption and deliver consistent results.
| Point | Details |
|---|---|
| Hybrid workflow is the standard | Off-site door spraying combined with on-site frame finishing cuts project time to 10–14 days. |
| Prep determines durability | Degreasing, two-stage sanding, and matched primers prevent early finish failure. |
| Standardized specs control costs | Locked color, door style, and hardware specs eliminate reorder surprises across multiple units. |
| Thin coats outperform thick ones | Multiple thin finish coats cure harder and last longer than a single heavy application. |
| Occupant disruption is manageable | Staged containment and parallel workflows keep kitchens usable throughout the project. |
What I’ve learned from managing multi-unit refinishing projects
The biggest mistake I see homeowners and property managers make is treating multi-unit cabinet refinishing as a simple paint job scaled up. It is not. The moment you add a second or third unit to a project, logistics become the hardest part, not the finishing itself.
Curing time is where patience pays off the most. Homeowners who rush reinstallation because the paint looks dry end up with doors that stick to frames and pull finish off in sheets. I have seen beautiful spray work ruined in the first week because someone wanted their kitchen back two days early. The finish needs the full cure window. There is no shortcut that does not cost you more later.
Standardizing specs also changed how I think about long-term maintenance. When every unit in a building uses the same door profile and finish color, a damaged door is a 20-minute fix. Without a spec sheet, that same repair becomes a half-day project of color matching and custom ordering. The spec sheet is not paperwork. It is insurance.
For DIY homeowners tackling a single kitchen, the pros and cons of DIY refinishing are worth reading before you buy supplies. The technique gap between a good DIY result and a professional result comes down almost entirely to surface prep and primer choice. Get those two things right, and the finish coat almost takes care of itself.
— Jesse
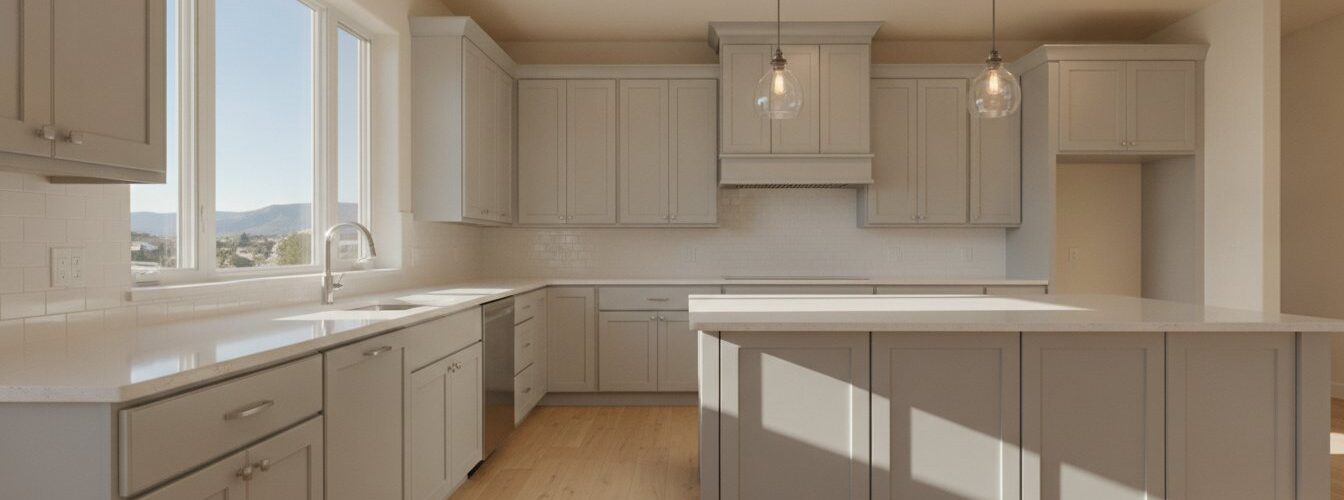
Professional cabinet refinishing in Denver worth considering
Cabinetsrefinishing brings the hybrid workflow and factory-finish methodology to Denver homeowners who want professional results without the cost of full cabinet replacement. Projects typically complete in 3–5 days, and the finish quality comes from the same controlled spray process used in multi-unit commercial work.
If your kitchen cabinets look worn, dated, or just tired, professional refinishing in Denver delivers a durable, factory-grade result at a cost that makes financial sense. Cabinetsrefinishing uses bonding primers, multiple protective topcoats, and meticulous prep on every project. For homeowners weighing their options, the cost comparison between refinishing and replacement makes the decision straightforward. Call or text 720-219-9716 to get a quote.
FAQ
How long does multi-unit cabinet refinishing take per unit?
Most kitchens complete in 10–14 days using a hybrid workflow. Smaller kitchens finish closer to 10 days, while large or complex kitchens may take the full two weeks.
What is the cost difference between refinishing and replacing cabinets?
Cabinet refinishing typically costs $3,000–$8,000, while full replacement runs $15,000–$40,000. Refinishing delivers a comparable visual result at a fraction of the price.
Can residents use their kitchen during the refinishing process?
Yes. The hybrid logistics model keeps the kitchen usable by removing only doors and drawer fronts for off-site finishing while frames are prepped on-site in staged containment zones.
Why do DIY cabinet refinishing projects fail?
Most DIY failures come from skipping sanding and priming steps. Without proper scuff sanding and a bonding primer matched to the cabinet material, finishes chip and peel quickly, especially near the stove.
What finish is used in professional cabinet refinishing?
Professional refinishers apply materials like Italian 2K polyurethane in multiple thin coats. This two-component finish cures to a hard, durable surface that resists chipping, moisture, and daily kitchen wear.
Recommended
- Cabinet Refinishing Process Explained: A Denver Homeowner’s Guide to Factory-Like Results – Cabinet Refinishing and Cabinet Painting Denver 720-219-9716
- Kitchen Cabinet Painting Process: A Pro’s Step-by-Step Guide – Cabinet Refinishing and Cabinet Painting Denver 720-219-9716
- Cabinet Painting Project Management: A Professional Guide for Denver Homeowners – Cabinet Refinishing and Cabinet Painting Denver 720-219-9716
- Cabinet refinishing for multi unit buildings Denver Colorado