
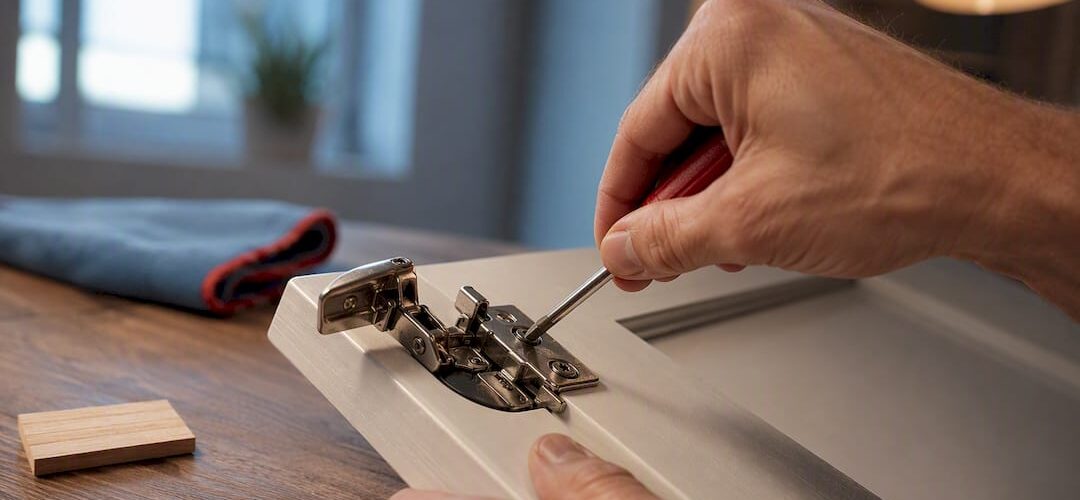
Yes, most mild-to-moderate warps can be corrected without buying a replacement door. Before you touch a clamp or a spray bottle, pop the door off and check the hinges. A large share of “warped” doors are really just misaligned hinges, and adjusting them takes ten minutes. If the door is genuinely bowed, cupped, or twisted (and not swollen MDF), remove it, measure the severity, and then decide between reshaping it yourself or calling in a pro.
TL;DR:
- Most mild and moderate warps are caused by hinge misalignment, which can often be fixed in ten minutes without replacing the door.
- Accurate diagnosis involves checking for cupping, bowing, or twisting using a straightedge, moisture meter, and surface inspection.
- Proper hinge adjustment and moisture-controlled reshaping through clamping are effective for real cups and bows, with durations of 24 to 72 hours for effective correction.
- Severe twists that reappear after clamp cycles may require reinforcement with cleats or rods, or full replacement if the core is swollen or veneer is damaged.
- Consistent sealing, humidity control, and professional refinishing significantly extend the lifespan of repaired doors compared to DIY fixes.
Table of Contents
- How Do You Diagnose a Warped Cabinet Door?
- Fix the Hinges Before You Touch the Wood
- How Do You Reshape a Warped Door With Moisture and Clamps?
- When Should You Reinforce Instead of Just Reshaping?
- Should You Repair, Replace, or Call a Professional?
- How Do You Stop Cabinet Doors From Warping Again?
- Why Professional Refinishing Often Outlasts a DIY Fix
- Get a Professional Fix for Doors DIY Can’t Save
- Sources
How Do You Diagnose a Warped Cabinet Door?
Not every warp behaves the same way, and the fix depends entirely on which type you’re dealing with. A cup curls across the width of the door, a bow curves along its height, and a twist means one corner sits proud of the opposite corner, like a propeller blade. Each one calls for a different clamping strategy later.
Start with a straightedge or a level laid flat against the door on a flat floor. Rock the door gently; a twist will teeter on two diagonal corners while a cup or bow will rock along one axis only. Look closely at the surface too. Bubbling veneer or lifting layers at the edges usually means the problem is bigger than moisture alone.
A moisture meter tells you what you’re actually fighting. Indoor wood generally wants to sit around 6 to 8 percent moisture content, and a reading more than 2 to 3 percentage points off that range signals whether you need to rehydrate a dried-out face or dry a swollen one.
Material matters just as much as shape:
- Solid wood responds best to moisture and clamping.
- Veneered solid wood can be reshaped carefully, but overheating or over-wetting risks lifting the veneer.
- MDF or particleboard that has swollen or delaminated rarely recovers, since the fibers have already broken down structurally.
Fix the Hinges Before You Touch the Wood
Homeowners jump straight to clamps and moisture when the real culprit is often the hardware. Cabinetmakers routinely find that a door someone swears is warped is actually sitting crooked because of hinge cams that shifted over time, and adjusting the hinges resolves the issue before any reshaping is needed.
If your cabinets use modern European-style cup hinges, here’s the routine:
- Loosen (don’t remove) the mounting screws on the hinge plate attached to the cabinet frame.
- Turn the height screw to raise or lower the door so it lines up evenly with its neighbors.
- Adjust the lateral screw to shift the door left or right, closing gaps on either side.
- Turn the depth screw to pull the door closer to the frame or push it out, fixing any rubbing against adjacent doors.
- Retighten the mounting screws, then repeat the process on the second hinge before checking the whole door again.
Work both hinges together in small increments. Tightening one all the way before touching the other almost always throws the alignment off again.
Surface-mounted hinges don’t have adjustment screws, so you’re working with shims or hole repair instead. If a screw spins freely in a stripped hole, glue in a wood dowel or a few glued toothpicks, let it cure, then redrill a fresh pilot hole through the filled wood.
Pro Tip: Adjust one hinge screw a quarter turn at a time and close the door after each move. Big adjustments feel efficient but usually overshoot, and you’ll spend more time undoing your own work.
Once you’re done, the door should close smoothly, sit flush with an even reveal on all sides, and never rub or catch on its neighbors. If it still looks warped after that, the wood itself is the problem.
How Do You Reshape a Warped Door With Moisture and Clamps?
This is the core repair for real cups and bows, and it works because wood fiber that has dried unevenly can be coaxed back into shape with controlled moisture and steady pressure. Cauls distribute clamping force evenly across the surface so you don’t crush or dent the wood at a single pressure point.
- Remove the door and lay it on a flat surface, concrete floor or workbench, and check with a straightedge to confirm which face is concave and which is convex.
- Decide your approach: rehydrate the concave face or dry out the convex face, depending on which side is out of balance according to your moisture meter reading.
- Lay damp cloths against the concave face (or leave the convex face exposed to air) and cover the assembly loosely with plastic sheeting to hold moisture in place without soaking the wood.
- Place straight cauls, cut from 2x4s or plywood strips, along the length of the door on both faces.
- Set bar or pipe clamps longer than the door’s width every 12 to 16 inches, and tighten them progressively and evenly rather than cranking one clamp down fully before moving to the next.
- For a twist specifically, use opposing cauls on corner-specific pressure points rather than uniform pressure across the whole panel, which corrects the twist without introducing a new bow.
- Slightly over-correct. Wood has a kind of memory, and a door clamped dead flat often relaxes back toward a faint warp once the clamps come off.
- Leave it clamped for 24 to 72 hours, checking periodically, and repeat the cycle if the door hasn’t held its shape.
Clamping durations of a day or two are typical for a single cycle, though stubborn cups sometimes need two full passes before the wood holds flat on its own.
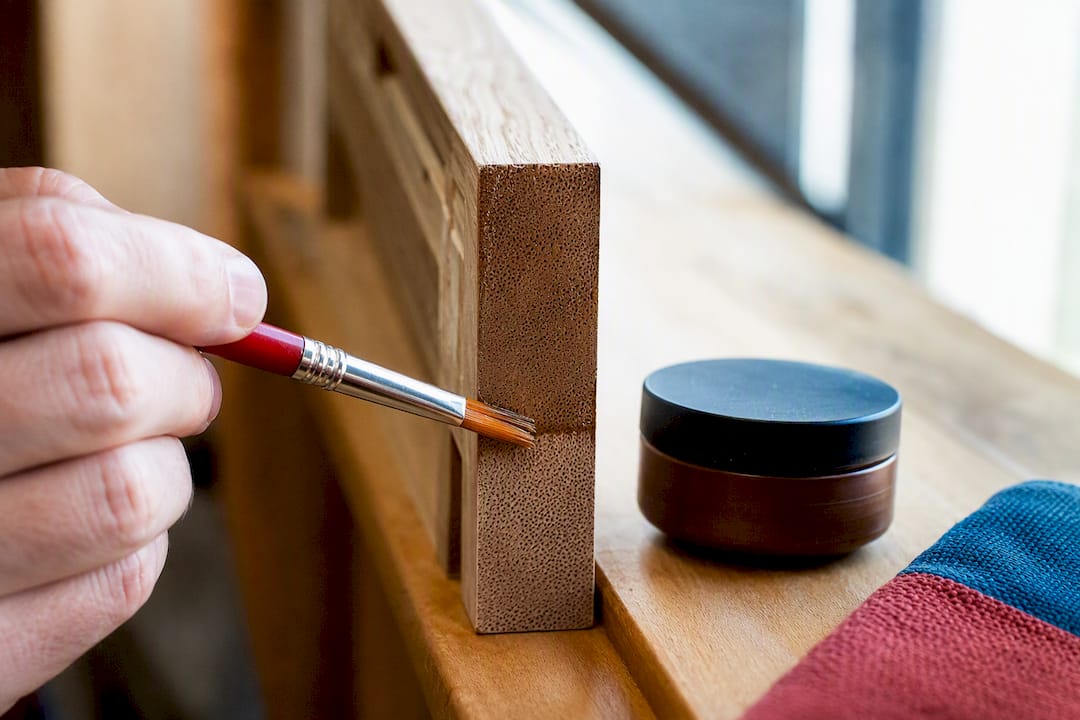
Once the door sits flat, sand lightly if needed and reseal every face and the end grain with a matching finish. Skipping the end grain is the single most common reason a “fixed” door warps again within a year.
When Should You Reinforce Instead of Just Reshaping?
Some twists keep coming back no matter how many clamp cycles you run, and that’s when mechanical reinforcement makes more sense than another round of moisture treatment.
- A diagonal hardwood cleat screwed across the back of the door applies steady corrective tension across the twist, and professionals sometimes use threaded rods anchored to plates that can be tightened incrementally over weeks.
- Recessed anti-warp rods require routing a shallow channel into the door’s back so the hardware sits flush, which protects the front finish but takes real woodworking skill to execute cleanly.
- Metal angle bracing works too, provided you pre-drill and use countersunk screws so nothing protrudes or interferes with hinge hardware.
- Cutting a badly twisted door into strips and re-gluing it flat is a legitimate fix for a door worth saving, but it’s advanced woodworking, not a weekend project for most homeowners.
A cleat or rod system rarely needs retightening once it’s set, which makes it a better long-term bet than repeating clamp cycles indefinitely.
Should You Repair, Replace, or Call a Professional?
Some doors just aren’t worth saving, and knowing the difference up front saves you a wasted weekend.
- Replace if the core is MDF or particleboard and it’s visibly swollen, delaminated, or crumbling. Water-damaged composite cores rarely respond to moisture and clamp reshaping no matter how carefully you work.
- Replace if veneer has already failed (bubbled, cracked, or lifted) or if a severe twist survives two full clamp cycles.
- DIY repair makes sense for solid wood or intact veneer doors with mild to moderate cups, bows, or twists.
- Call a pro when you’ve got several doors warped at once, which usually points to a bigger moisture or installation issue worth a professional assessment.
If you’re leaning toward a professional refinisher, take clear photos of the warp from the side and top, note the door’s material and approximate age, and ask about their finish process, timeline, and whether the work carries any warranty. For readers weighing full replacement against restoration, this breakdown of replacement trade-offs is worth a look, and our own guide on fixing damaged kitchen cabinets covers the same decision point in more depth.
How Do You Stop Cabinet Doors From Warping Again?
Sealing is the part everyone rushes, and it’s exactly why warps come back. Every face, including the top and bottom edges where end grain is exposed, needs a consistent seal, whether that’s a penetrating sealer, polyurethane, or a quality paint system. Leaving even one edge bare gives moisture a direct path back into the wood.
- Control humidity near the kitchen sink and dishwasher, and avoid letting steam hit door faces directly.
- Keep kitchen ventilation running during cooking to reduce ambient moisture swings.
- During installation, use the correct hinge type for the door weight and keep reveals consistent across all doors.
- Never reuse a stripped or misaligned screw hole; fill and redrill instead.
Pro Tip: Reseal the inside face of the door too, not just what’s visible. An unsealed back face absorbs moisture just as fast as an unsealed front, and it’s the side most people forget.
Why Professional Refinishing Often Outlasts a DIY Fix
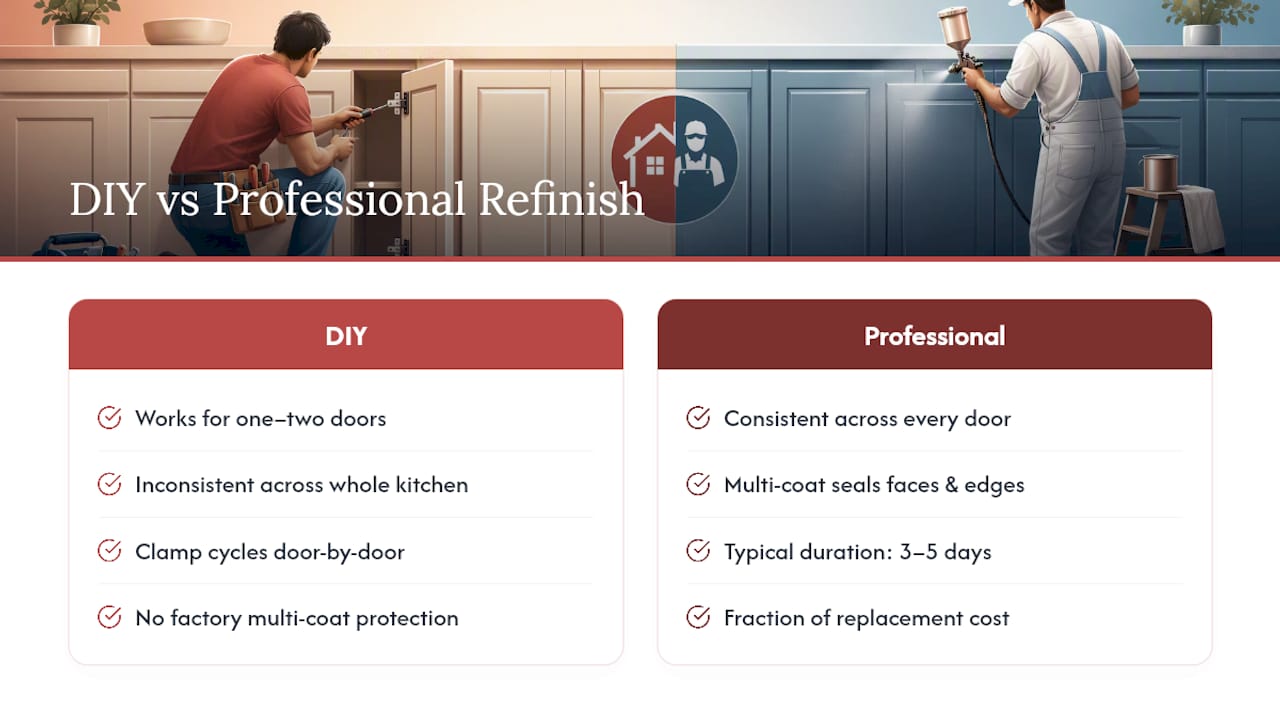
DIY clamping and resealing genuinely work for one or two doors. Where it gets harder is consistency across an entire kitchen, and that’s where a factory-finish process earns its keep. Cabinet Refinishing Denver’s multi-coat methodology seals every face and edge with the same protective layers a factory finish uses, which is exactly what prevents the slow moisture creep that causes warping in the first place.
Professional refinishing projects typically wrap in 3 to 5 days, a fraction of the weeks a full replacement takes, and at a fraction of the cost. For a kitchen full of doors with uneven wear, that math tends to beat running clamp cycles door by door.
— Jesse
Get a Professional Fix for Doors DIY Can’t Save
If you’ve run the clamp cycles, adjusted every hinge, and one or two doors still won’t sit flat, that’s usually a sign the wood has moved past what moisture and cauls can correct. Cabinetsrefinishing handles that exact gap: minor repairs, hinge corrections, and a full factory-finish spray process that reseals every face and edge so the warp doesn’t just come back next summer.

The process covers repair, refinishing, and color matching for kitchen and bathroom cabinets across the Denver metro area, with most projects finished in 3 to 5 days instead of the weeks a full replacement demands. If you’re ready for an estimate, call or text 720-219-9716 for a cabinet refinishing quote and get a straight answer on whether your doors need repair, refinishing, or replacement.
Sources
For deeper detail on the clamping and moisture methods covered here, see Fine Homebuilding’s guide to straightening warped doors and FixUpFirst’s step-by-step repair walkthrough.
- How to Fix a Warped Kitchen Cabinet Door
- Fixing warped cabinet doors – Fine Homebuilding
- How To Fix Warped Cabinet Doors – Restore Straightness & Extend Life