
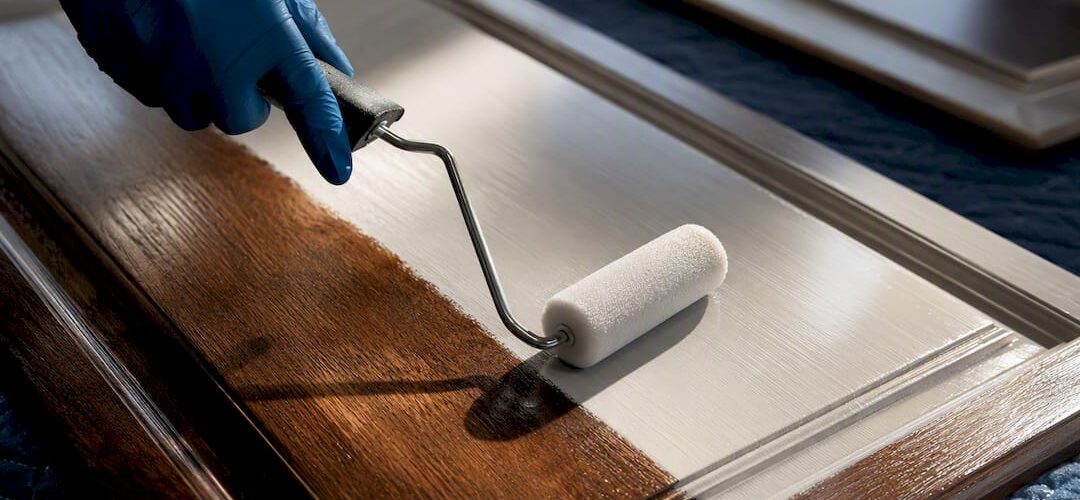
Yes, you can paint over stained cabinets, and in most kitchens it works well. The catch isn’t the stain itself. It’s the clear topcoat sealing it in and whatever grease has soaked into that finish over the years. Success comes down to three things: degrease the surfaces completely, dull or strip the existing sheen, and seal everything with a primer built for the job before you ever open a paint can.
TL;DR:
- Proper cleaning, scruff-sanding, and priming are essential to prevent grease and tannin bleed from causing paint failure on cabinets.
- Using a shellac primer like Zinsser BIN is recommended for tannin-heavy woods and severe stains, especially if initial adhesion tests show poor paint grip.
- Sanding with 120 to 150 grit provides the most reliable surface for primer adhesion, but a liquid deglosser is an acceptable shortcut if the finish is sound.
- Painting with cabinet-grade enamel in thin coats and allowing 2 to 3 weeks for full cure results in the most durable, washable finish.
- Hire a professional when cabinet finishes are failing extensively or when a factory-smooth spray job is desired, saving time and ensuring a guaranteed finish.
Table of Contents
- Tools and Materials to Gather Before You Start Painting Over Stained Cabinets
- Should You Strip, Sand, or Just Degloss Your Cabinets?
- How to Prep Stained Cabinets for Paint: Doors, Cleaning, and Repairs
- Sanding vs. Liquid Deglosser: Building Tooth for Primer
- Priming for Success: Stain-Blocking vs. Bonding Primers
- Painting and Finishing: Topcoat Choices and Cure Times
- When Hiring a Cabinet Refinishing Pro Makes More Sense
- The Prep Work Nobody Wants to Talk About
- Consider Professional Cabinet Refinishing for a Faster, Guaranteed Result
- Manufacturer and Authority Pages Worth Bookmarking
- Sources
- FAQ
Tools and Materials to Gather Before You Start Painting Over Stained Cabinets
A wasted trip to the hardware store is the fastest way to lose a Saturday. Build one shopping list and check it against what’s already in the garage.
- Cleaning: TSP or a phosphate-free degreaser substitute, plus a liquid deglosser if you’d rather skip heavy sanding
- Safety gear: a respirator rated for fine dust and solvent fumes, plus nitrile gloves
- Sandpaper: 120 to 150 grit for scuffing the old finish, 220 grit for smoothing between coats, and a sanding block or random-orbit sander for flat panel faces
- Primer: Zinsser BIN shellac primer, Kilz Adhesion, or Insl-X STIX bonding primer
- Topcoat: Benjamin Moore Advance or Sherwin-Williams Emerald Urethane Trim Enamel
- Application: a synthetic-bristle brush, a foam mini-roller, tack cloths, wood filler, and a screwdriver kit for pulling hardware, plus a sprayer if you want that factory-smooth look
Skip the mini-roller and you’ll fight orange-peel texture on every flat door. Skip a real cabinet enamel, and you’ll be repainting in two years.
Should You Strip, Sand, or Just Degloss Your Cabinets?
Run a scratch test before you touch a sander. Drag a fingernail or the edge of a coin across a hidden panel. If the finish flakes or lifts in a sheet, it’s failing, and no amount of scuffing fixes a finish that’s already coming apart. If it holds firm and just leaves a dull mark, you’re dealing with a sound topcoat.
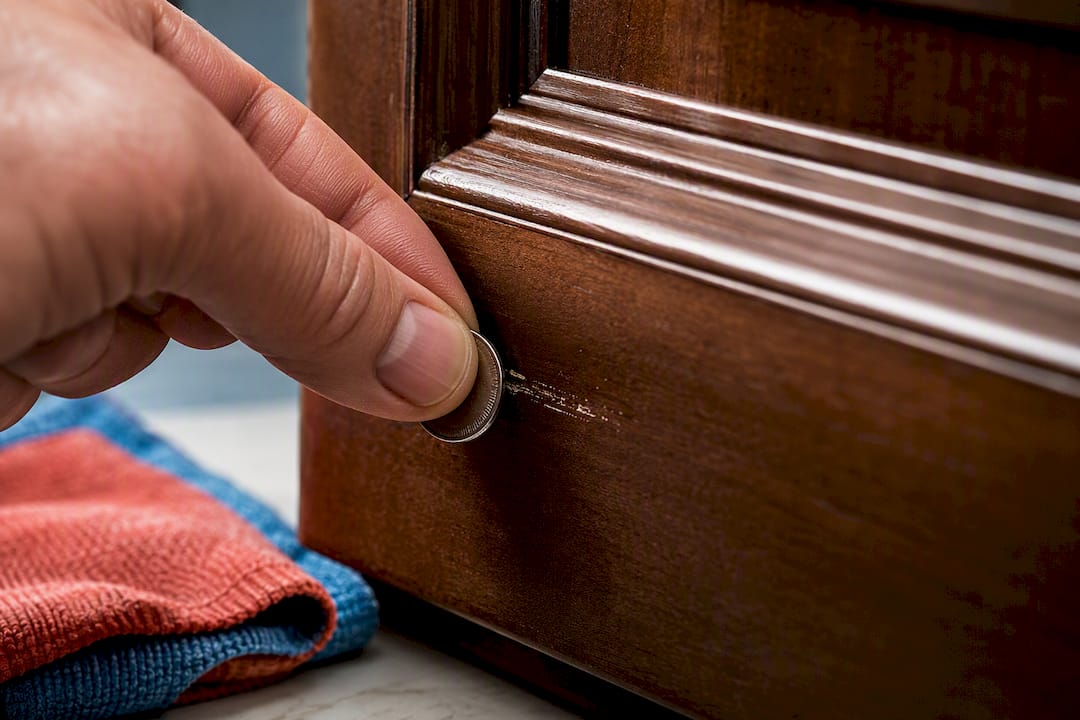
Three situations force a full strip: a delaminating or crazed finish, grease contamination so deep that repeated degreasing still leaves a tacky film, or several stacked layers of old varnish and paint that would make new coats bulky and prone to chipping. Outside of those, scuff-sanding or a liquid deglosser paired with the right primer is usually enough when the existing finish is intact and free of heavy grime.
This isn’t a step to rush through with the windows closed.
How to Prep Stained Cabinets for Paint: Doors, Cleaning, and Repairs
Preparation decides whether the finish lasts three years or thirteen. Follow this order and don’t skip steps to save an evening.
- Remove every door and drawer front, and number them with masking tape and a marker so nothing gets reinstalled on the wrong box.
- Bag hardware, hinges, and screws in labeled sandwich bags, one per door, so reassembly doesn’t turn into a puzzle.
- Cover countertops and floors with rosin paper or plastic sheeting to catch drips and dust.
- Deep-clean every surface with TSP or a degreaser substitute, scrubbing with a Scotch-Brite pad rather than just wiping. Grease hides in the pores of the old finish even after a surface looks clean, and that residue is one of the most common reasons paint peels within months.
- Repair loose veneer with wood glue and clamps, fill screw holes and dings with wood filler, then sand the patches flush once dry.
- Vacuum every surface and wipe with a tack cloth before you sand or prime.
Rushing the degreasing step is the single most common way DIYers sabotage their own work.
Sanding vs. Liquid Deglosser: Building Tooth for Primer
Primer needs something to grip. On a glossy factory finish, that means creating tiny scratches, not stripping the wood bare. Scuff-sand flat panels with 120 to 150 grit on a random-orbit sander, and hand-sand into corners, profiles, and raised details where the machine can’t reach. You’re not trying to remove the old finish, just dull it enough that it loses its shine.
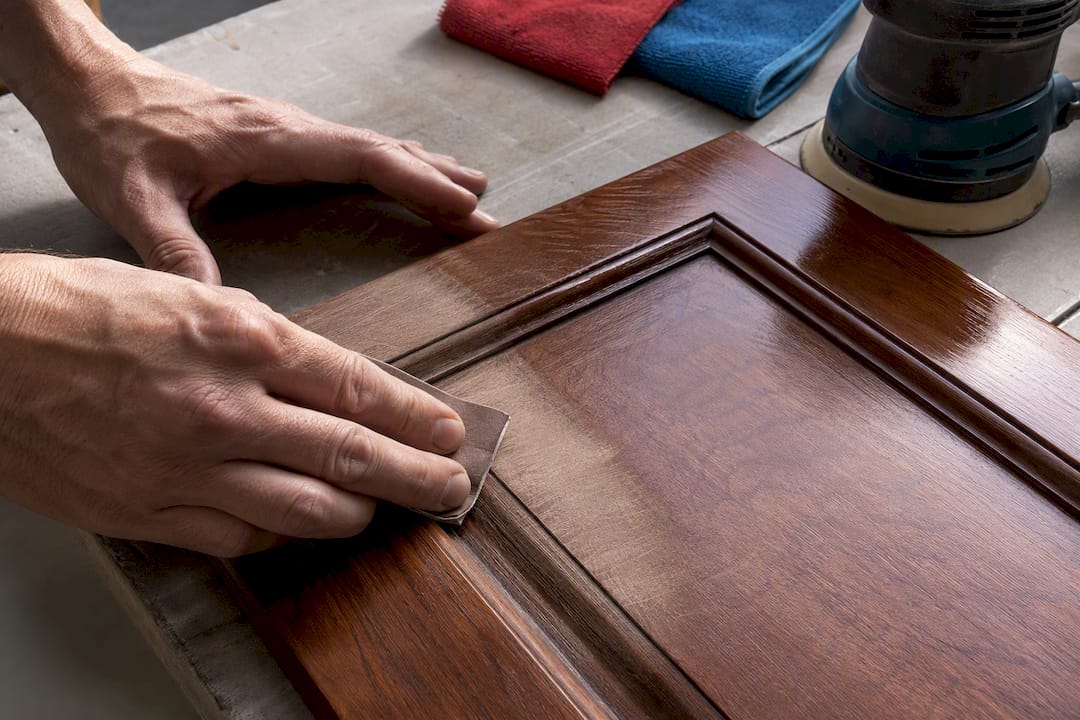
A liquid deglosser is a reasonable shortcut when the existing finish is intact and adhesion tests clean, and it saves real time on ornate profiles. Ventilate the space well and wear a respirator, since these products are solvent-heavy. Sanding still gives more reliable mechanical grip than chemistry alone, so when in doubt, sand.
If sanding cuts through to bare wood at an edge or routed detail, treat that raw spot with a stain-blocking primer before your full prime coat, or tannins can bleed through months later. Between every coat that follows, from primer to topcoat, knock down the surface with 220 grit.
Priming for Success: Stain-Blocking vs. Bonding Primers
Primer does three jobs at once: it gives paint something to bite into, it locks down tannins and stains so they can’t migrate upward, and it hides the dark original color so you’re not fighting show-through for three coats. Picking the wrong type is where a lot of otherwise careful DIY jobs go sideways.
- Zinsser BIN (shellac-based): the right call for oak, cherry, or any tannin-rich wood, plus cabinets with smoke residue or a history of severe staining
- Kilz Adhesion or Insl-X STIX: bonding primers built for glossy, intact finishes or laminate surfaces where tannin bleed isn’t the concern
- Apply thin, even coats rather than one heavy one, and let each coat hit its full dry time on the label before moving on
- Sand lightly with 220 grit between primer coats if the surface feels rough to the touch
Pro Tip: If the original stain color is still ghosting through after your first primer coat dries, don’t panic and don’t reach for a third coat of paint to cover it. A second thin primer coat solves it faster and keeps your final finish smoother than piling on extra topcoat.
Painting and Finishing: Topcoat Choices and Cure Times
Wall paint isn’t built for cabinets. It doesn’t have the hardness or leveling properties to survive daily contact with hands, grease, and cleaning sprays. That’s why cabinet-grade enamels like Benjamin Moore Advance or Sherwin-Williams Emerald Urethane Trim Enamel exist. They self-level into a smoother film and cure into a harder, more washable surface than anything in the standard interior paint aisle.
Brushing and rolling with a quality foam mini-roller gets you a good result. Spraying gets you a factory-like one, with no roller texture at all, but it takes more setup and overspray control. Whichever method you choose, thin coats matter more than coverage speed. Heavy coats sag and run on vertical door faces, and you’ll be sanding those runs out later. For sheen selection, satin and semi-gloss both hold up better to kitchen grime than matte.
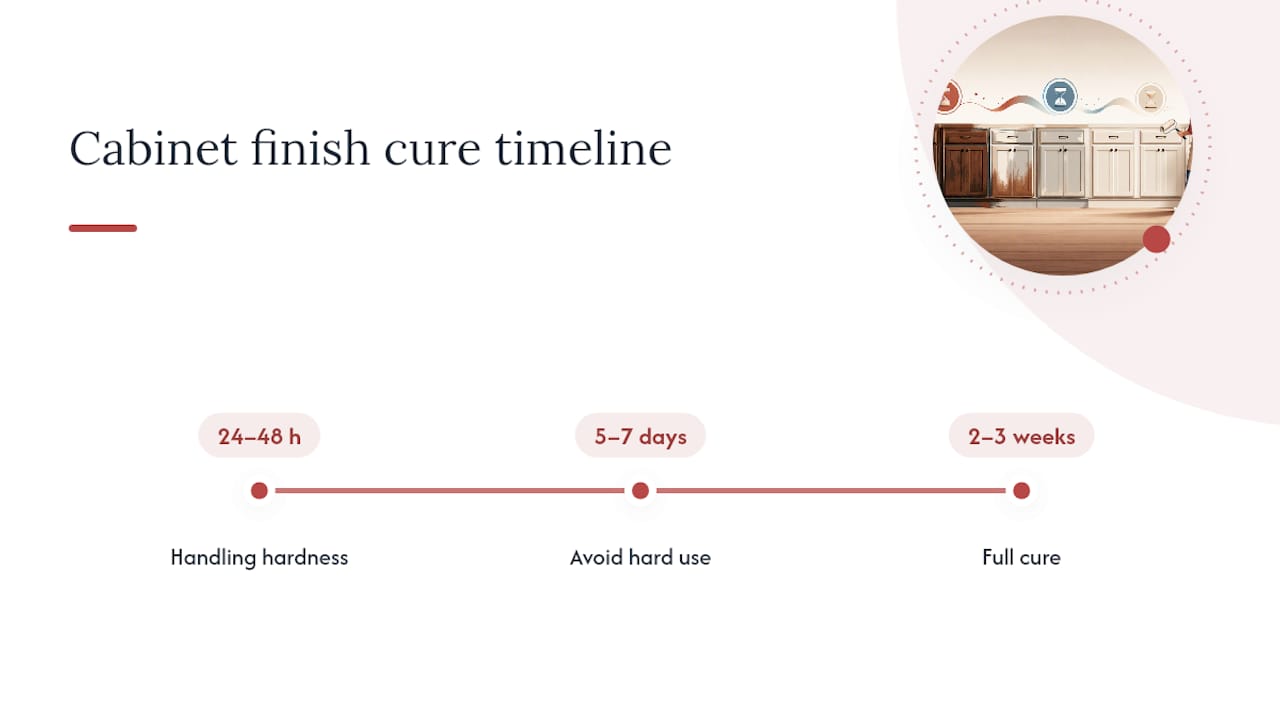
Two coats is the standard for most colors. Add a third if you’re painting high-traffic doors near a stove or going from a dark stain to a light color, and sand with 220 grit between each coat. Manufacturer guidance puts handling hardness at roughly 24 to 48 hours, but avoid hard use like slamming doors or piling dishes against them for 5 to 7 days. Full cure, the point where the finish reaches its maximum hardness, takes 2 to 3 weeks. Rehang doors carefully during that window.
When Hiring a Cabinet Refinishing Pro Makes More Sense
DIY works well for sound finishes and a manageable number of doors. It stops making sense when the existing finish is failing across the board, veneer repair is extensive, or you want a sprayed, factory-level finish on dozens of doors at once. Professionals use multi-coat spray systems, fill oak grain for a glass-smooth result, and cure everything in a controlled environment, which is why professional projects often wrap in 3 to 5 days instead of the multiple weekends a careful DIY job takes.
On cost, refinishing generally runs several thousand dollars, substantially less than the cost of full replacement. If you’re vetting a contractor, ask what primer they use, how many coats are standard, whether they grain-fill oak, what warranty backs the finish, and how long their cure schedule runs before normal use.
The Prep Work Nobody Wants to Talk About
That ratio is backwards. The paint you choose matters less than whether you actually degreased the cabinet above the stove, and it matters less than whether you correctly diagnosed a failing finish before scuffing over it and calling it done.
The overlooked failure point isn’t sanding grit or brand loyalty. It’s tannin bleed showing up six weeks after the job looked finished, because someone sanded through to bare oak at a profile edge and skipped the spot-prime step. That’s not a rare mistake. It’s the most common one.
If there’s one thing worth prioritizing above brush technique or sheen selection, it’s an honest scratch test on the old finish before you buy a single can of primer. Spend fifteen minutes diagnosing what you’re actually working with, and the rest of the project gets a lot more predictable. Rush that step, and you’re gambling three weekends of labor on a guess.
— Jesse
Consider Professional Cabinet Refinishing for a Faster, Guaranteed Result
DIY prep work saves money, but it also demands real time, careful diagnosis, and tolerance for a learning curve on your own kitchen. Cabinetsrefinishing offers the alternative for Denver-area homeowners who’d rather skip the trial-and-error: a factory-finish methodology with custom color matching, completed in 3 to 5 days instead of stretched across multiple weekends.

Hiring out makes the most sense when you’re dealing with a full kitchen, extensive veneer damage, or you simply want the sprayed, showroom-smooth result without buying a sprayer you’ll use once. If your cabinets show cracking finish, sticky drawers, or dated wood tones, take a look at the signs that point to refinishing over replacement. Ready to see what your kitchen would cost to refinish? Request an estimate for cabinet refinishing in Denver and get a real number before you commit to either route.
Manufacturer and Authority Pages Worth Bookmarking
- Benjamin Moore’s cabinet painting guide for application and cure specs
- Lowe’s step-by-step cabinet painting guide for hardware removal and safety basics
- Interior demolition partners like MSN Environmental for guidance if a project moves beyond refinishing into full removal
Sources
- How To Paint Over Stained Wood? Step-by-Step Guide for Lasting Results – FineHomeKeeping
- Benjamin Moore: paint kitchen cabinets (how-to/advice)
- Do stained wood cabinets need to be stripped before painting? – Headwaters Painting
FAQ
Can You Really Paint Over Stained Wood Cabinets Without Stripping Them?
Yes, in most cases, as long as the existing finish is intact and you scuff-sand or degloss it, degrease thoroughly, and prime with a stain-blocking or bonding primer before painting.
What’s the Best Primer for Stained Cabinets With Tannin Bleed?
Zinsser BIN, a shellac-based primer, is the most reliable choice for oak, cherry, and other tannin-heavy woods because it seals bleed-through that water-based primers often can’t stop.
Do I Need to Sand Cabinets Before Priming, or Can I Just Use a Deglosser?
Sanding with 120 to 150 grit gives the most dependable mechanical grip, but a liquid deglosser works as a faster alternative when the existing finish is sound and free of heavy grease.
How Long Do Painted Cabinets Need to Cure Before Normal Use?
Cabinets typically reach handling hardness in 24 to 48 hours, should avoid hard use for 5 to 7 days, and reach full cure in 2 to 3 weeks.
When Should I Hire a Professional Instead of Painting Cabinets Myself?
Call a professional if the existing finish is failing across most doors, veneer damage is widespread, or you want a sprayed factory finish. Professional refinishing projects can typically be completed in 3 to 5 days, at a cost generally several thousand dollars less than full cabinet replacement.