
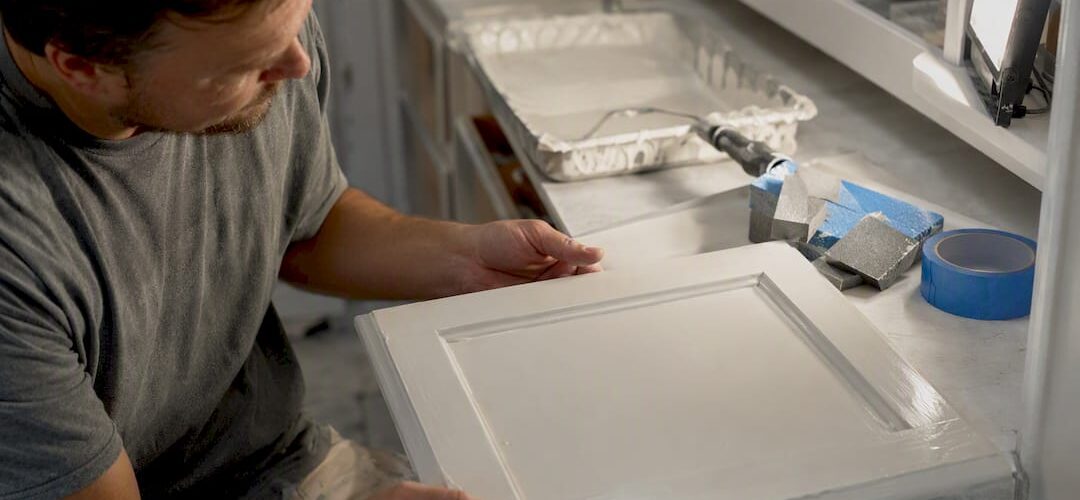
Wet drips need a brush, not a razor. Catch a run while it’s still glossy and you can brush it out or blot it flat with a foam brush in seconds. Once it skins over, your only real option is to slice it off with a razor or 5-in-1, sand with fine-grit sandpaper, fill any low spot, and feather in fresh paint. Prevention beats both: thin, even coats and a raking light between passes stop most drips before they happen.
TL;DR:
- Using a brush or foam to fix wet drips is most effective before they skin over, which typically takes a few minutes after application.
- Applying multiple thin coats with proper lighting and technique prevents most drips and reduces the need for repairs.
- Immediate correction of wet drips involves dragging the same brush, blotting excess with a microfiber cloth, and avoiding forced fixes on half-cured paint.
- Repairing dried drips requires careful slicing with a razor blade, sanding with fine-grit paper, and filling low spots with glazing putty to ensure a seamless finish.
- Professional spraying methods minimize drips and unevenness, offering faster and more consistent results than brushing or rolling DIY approaches.
Table of Contents
- Quick Prevention Checklist Before and During Painting
- How to Fix Wet Drips Immediately
- How to Repair Dried Drips and Runs
- Tools, Materials, and Supplies That Make Fixes Simpler and Safer
- Using Raking Light to Catch Drips Before They Cure
- Repaint, Feathering, and Finishing So Repairs Blend In
- Why Professional Refinishers Rarely Deal With Drips at All
- What Three Years of Cabinet Repairs Taught Me About Drips
- When It’s Time to Call a Professional Refinisher
- Sources
Quick Prevention Checklist Before and During Painting
Most drips trace back to one habit: loading too much paint onto the brush, roller, or sprayer and trying to cover everything in a single heavy pass. Thin coats dry faster, level out better, and almost never sag.
- Load your tool lightly and plan on two or three thin coats instead of one thick one.
- Work in one consistent stroke direction on cabinet faces and edges, then tip off the last pass to smooth ridges.
- Pull doors and drawer fronts off the boxes and lay them flat whenever you can. Gravity causes most vertical runs.
- Mask hinges, adjacent walls, and countertops, and lay drop cloths before you open the can.
- Check every panel under a raking light after each coat, not just at the end of the job.
- Pick a cabinet-grade paint built for flow and leveling, like Insl-X Cabinet Coat, which is formulated to self-level and resist the sagging that thinner all-purpose paints are prone to.
Pro Tip: Paint one test door first and let it cure fully before touching the rest of the set. If drips show up on that door, you’ve found your technique problem before it spread across twelve more panels.
How to Fix Wet Drips Immediately
A drip is still fixable as long as it’s glossy and wet to the touch. Once it turns dull and tacky, you’re in razor-and-sand territory instead.
- Spot the run the moment it forms, ideally under raking light, and grab the same brush you were using.
- Drag the brush through the drip with a light, long stroke in the direction of the surrounding finish. Don’t reload paint. You’re just redistributing what’s already there.
- If the drip is thick, blot it first with a damp microfiber cloth or a dry foam brush to lift the excess, then smooth the remaining paint into the surface.
- If the paint has already started to skin over and brushing drags rather than smooths, stop. Let it cure fully and handle it as a dried drip instead. Brushing out or blotting immediately is the least invasive fix, but forcing it on half-cured paint usually makes the repair worse, not better.
How to Repair Dried Drips and Runs
Once a drip has fully cured, hard, matte, no give when you press a fingernail into it, sanding it straight down is the wrong first move. Modern cabinet paints and latex coatings are resin-rich, and that resin gums up sandpaper almost instantly if you skip the cutting step.
Here’s the sequence pros actually use:
- Confirm the paint is fully cured, usually 24 to 48 hours depending on the product, before you touch it with a blade.
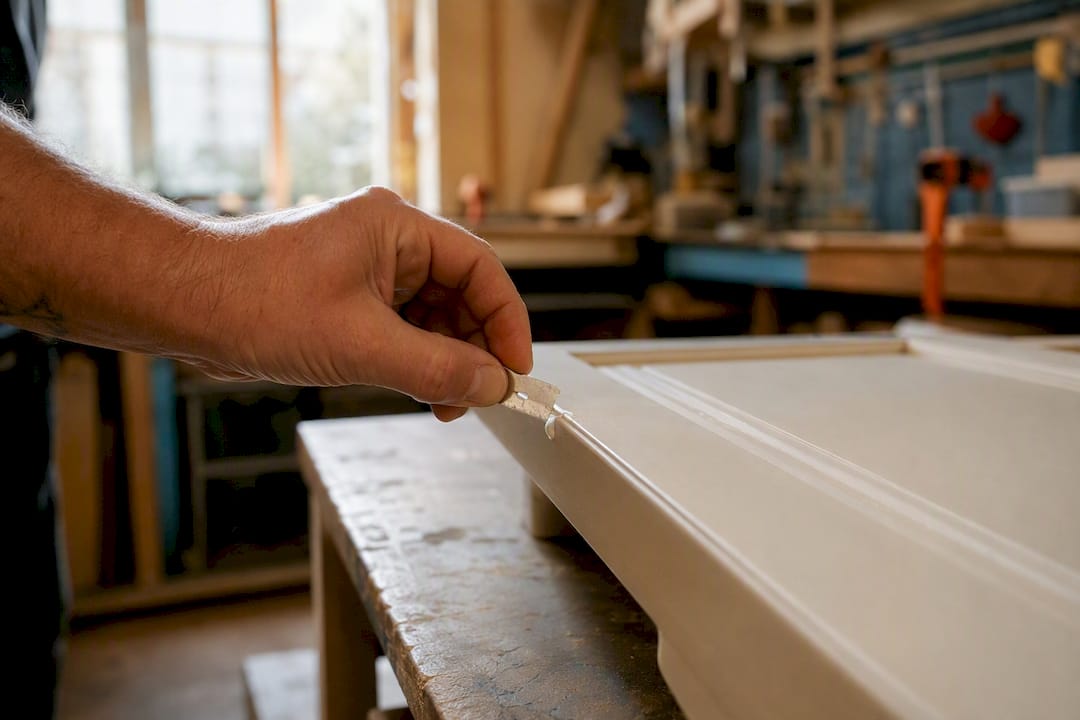
- Hold a single-sided razor blade or a 5-in-1 tool nearly flat against the surface and slice the raised ridge off in one or two light passes. Don’t dig in at an angle. You want to shave the bump, not gouge the panel underneath.
- Switch to 220-grit sandpaper and sand only in the direction of the original brush or spray strokes to blend the cut area into the surrounding finish. Slicing first, then sanding keeps the paper from clogging and keeps the repair small.
- If the razor leaves a shallow dip or you notice the drip took a chip of paint with it, fill the low spot with glazing putty, let it set, then sand it flush.
- For stubborn residue on latex paint, a rag dampened with rubbing alcohol will soften it. For oil-based finishes, use mineral spirits instead. Both call for gloves and open windows or a fan running.
Rushing this step is how a dime-sized drip turns into a repair the size of your palm.
Tools, Materials, and Supplies That Make Fixes Simpler and Safer
Half of bad drip repairs come down to the wrong tool, not the wrong technique. A dull blade tears paint instead of slicing it; the wrong solvent softens more than you meant to remove.
Keep this kit on hand before you start any cabinet paint job:
- Single-sided razor blades (fresh, not the rusty one from your junk drawer) and a 5-in-1 painter’s tool
- Plastic scrapers for delicate edges where metal risks gouging bare wood or MDF
- Sanding blocks with 220-grit for blending and 320-grit for final smoothing
- Glazing putty or a fine spot filler for recessed repairs
- Fine-tipped brushes or a foam mini-roller for feathered touch-ups, plus tack cloths to pull dust before repainting
- A cabinet-specific paint, such as Insl-X Cabinet Coat, which dries to touch in about an hour and can be recoated in around six, letting you catch mistakes the same afternoon instead of waiting overnight
- Nitrile gloves and eye protection any time you’re working with rubbing alcohol or mineral spirits, in a room with real airflow
If you’re still deciding between paint types for the whole project, our guide on the most durable cabinet paint breaks down how formula affects both drip resistance and long-term wear.
Using Raking Light to Catch Drips Before They Cure
Raking light means angling a work lamp low and to the side of the panel instead of overhead, so shadows fall across every ridge and sag. Overhead light hides drips almost completely. A cheap clamp lamp positioned at a low angle exposes them in seconds.
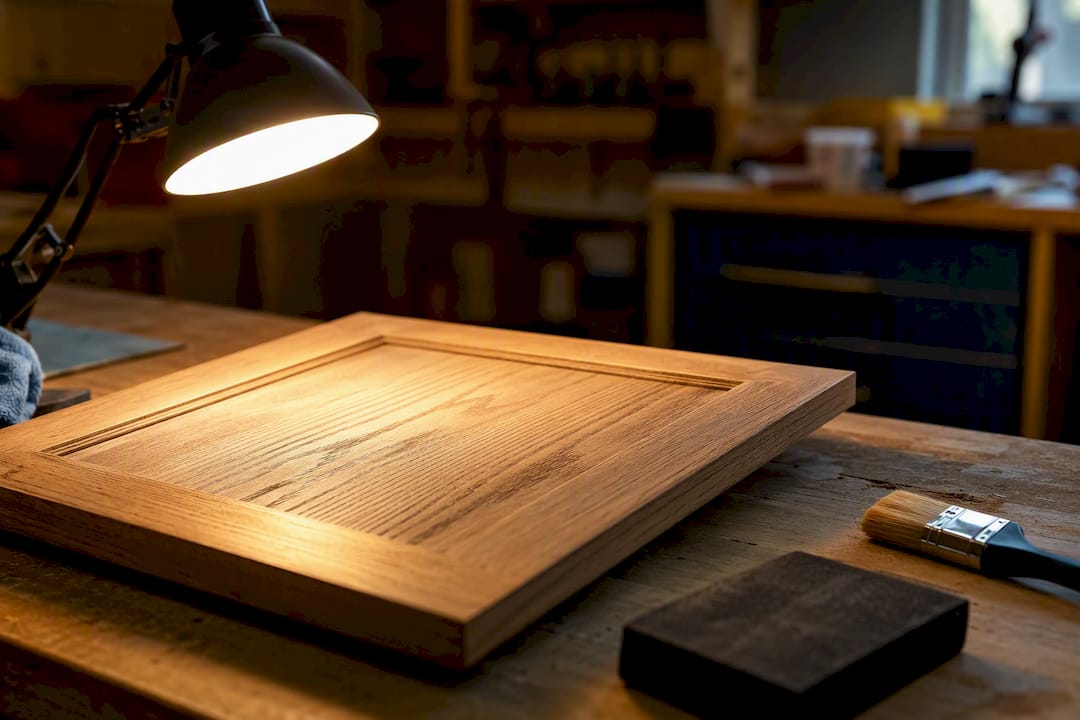
Run a quick check under that light after every coat, before it skins over: scan each rail, panel edge, and door bottom for a shadow line. Catching a drip at this stage means a brush stroke fixes it. Missing it means a razor blade will.
Repaint, Feathering, and Finishing So Repairs Blend In
A repair only counts as done once you can’t find it from three feet away, which is why choosing the right sheen for interior doors matters to help repairs blend in perfectly. That takes priming, thin paint, and patience with the edges.
- Prime any bare wood or filled putty spot before topcoat goes on. Skipping primer on a filled area is the most common reason repairs show as a slightly different sheen months later.
- Apply your touch-up paint in thin coats, feathering each pass beyond the repaired edge by an inch or two so there’s no hard line where old and new paint meet.
- Let each thin coat dry before the next, and lightly scuff with 320-grit between coats if you feel any texture.
- Once the final coat cures, consider a clear protective topcoat over high-touch areas like pulls and door edges for extra durability. Our breakdown of paint types for kitchen cabinets covers which finishes hold up best under repeated handling.
Why Professional Refinishers Rarely Deal With Drips at All
Professional refinishers avoid most of this repair work by changing the application method, not just the paint. Spraying lays down a thin, uniform film across the whole door at once, which is a fundamentally different physics problem than dragging a loaded brush across a vertical panel.
Multiple thin, sprayed coats cure faster and more evenly than a single heavy brushed coat, which is why factory-finish methods produce so few runs in the first place. Prep work and layering, not luck, are what keep the surface flat.
That’s also why a refinishing project built around spraying instead of brushing and rolling tends to finish faster and hold up longer than a weekend DIY repaint, even before you factor in repair time.
What Three Years of Cabinet Repairs Taught Me About Drips
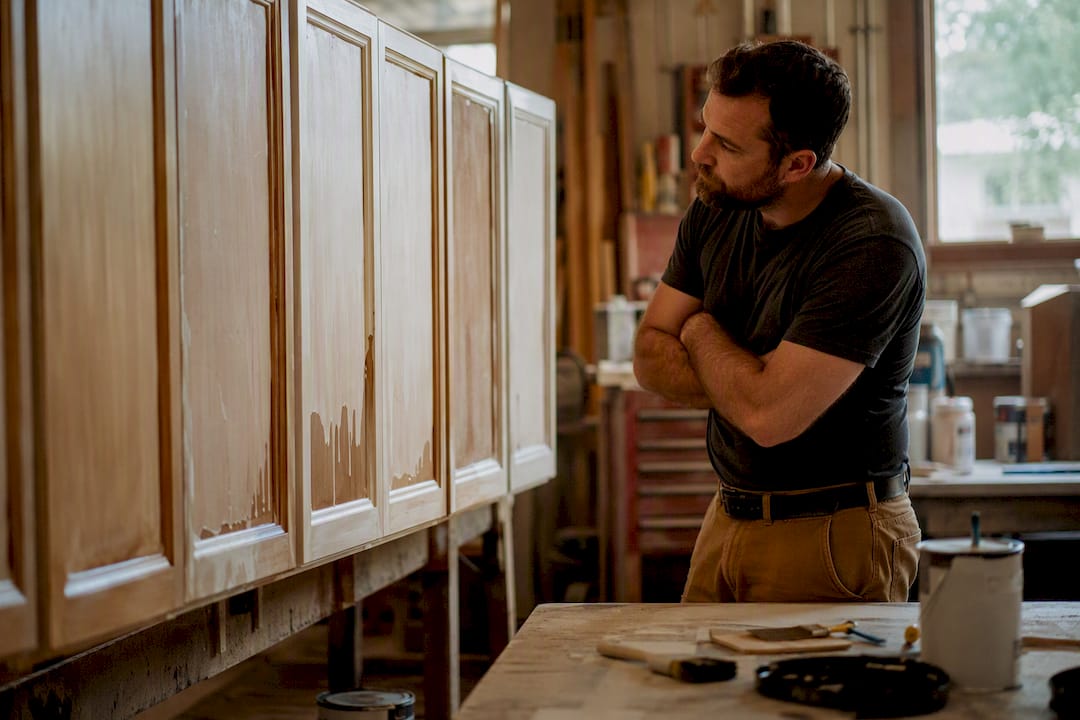
Three things stand out after watching plenty of DIY cabinet jobs go sideways. First, lighting matters more than brush skill. A painter with mediocre technique working under a raking light will catch and fix ten times more drips than a skilled painter working under a single overhead bulb. Second, a fresh razor blade beats aggressive sanding every time. Sanding first just grinds resin into the paper and widens the repair. Third, always practice on a spare panel or the inside of a door before touching the front of your cabinets. Muscle memory for paint load takes one bad panel to learn.
If you’re seeing the same drip pattern on every door, or paint keeps lifting at the edges no matter how carefully you prep, that’s not a technique problem anymore. It usually points to poor adhesion or a substrate issue that calls for professional refinishing rather than another round of touch-ups.
— Jesse
When It’s Time to Call a Professional Refinisher
DIY repairs work well for a drip here and there, but a full set of cabinets with widespread sagging, uneven coverage, or repeated adhesion failures is a different job. That’s usually a sign the paint, prep, or application method was wrong from the start, and no amount of razor work fixes that.

Cabinetsrefinishing handles that entire process with a factory-finish spray method built specifically to avoid the drips and unevenness that plague brush-and-roller jobs. Most projects run 3 to 5 days from start to finish, and refinishing typically costs between $3,000 and $8,000, well under the $15,000 to $40,000 range for full cabinet replacement. If your cabinets need more than a touch-up, get a quote for cabinet refinishing in Denver and see what a factory finish would cost for your kitchen.
Sources
- Insl-X® Cabinet Coat – Benjamin Moore
- How to remove accidental paint on cabinets properly | Rollcall Painting
Recommended
- Why Cabinet Paint Adhesion Fails (and How to Fix It) – Cabinet Refinishing and Cabinet Painting Denver 720-219-9716
- How to Avoid Brush Marks When Painting Cabinets: A Pro’s Guide – Cabinet Refinishing and Cabinet Painting Denver 720-219-9716
- What Does Overspray Mean? 7 Proven Ways Denver Pros Prevent It
- Removing Grease From Cabinets Before Painting: The Key to a Factory Finish