
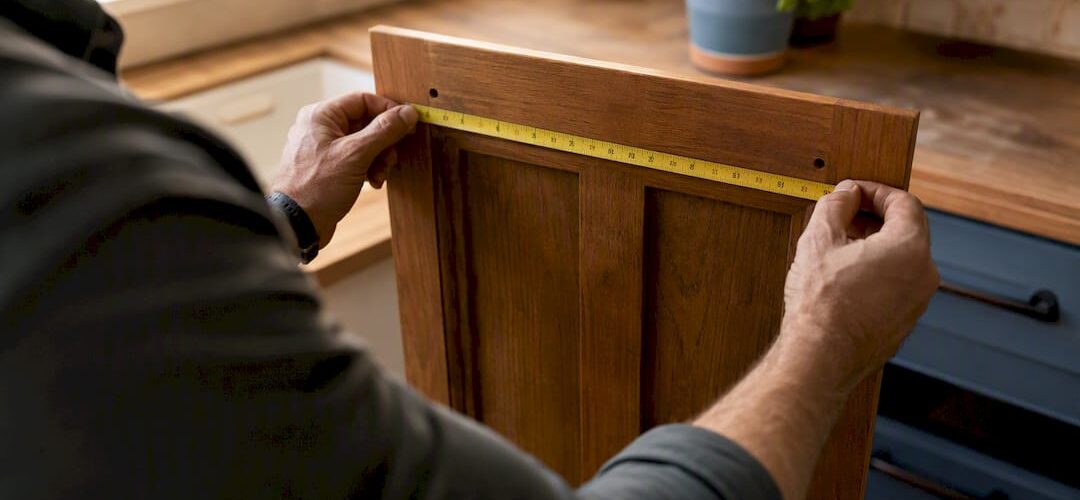
Measure the center-to-center (CTC) distance on your existing hardware first. That number decides everything: if a new pull shares the same CTC, it bolts straight on with zero repair work. If it doesn’t, you have two solid options: cover the old holes with an oversized backplate, or fill and re-drill. Painted solid wood is the easiest surface to patch invisibly; thermofoil and laminate almost never are, and that’s often the point where hiring a pro beat a DIY afternoon.
TL;DR:
- Matching existing center-to-center spacing eliminates the need for filler or re-drilling if the new hardware shares the same measurement.
- Filling holes with epoxy, stainable filler, or dowels depends on the cabinet surface and the future finish, with each method affecting the patch’s invisibility.
- Proper sanding with 220 and 320 grit and testing finishes on hidden surfaces reduce the risk of ghosting or sheen mismatches after repairs.
- Thermofoil, laminate, and heavily grained stained wood surfaces rarely accept filler invisibly, making backplates or refacing a better choice than patching.
- Professional refinishing typically provides faster, more consistent results for multiple doors or complex surfaces, especially when matching sheen and finish quality.
Table of Contents
- Tools and Materials You Need Before You Change Cabinet Hardware Holes
- How Do You Decide Between Matching CTC, a Backplate, or Filling Holes?
- Filling Methods: Epoxy, Stainable Filler, and Dowels
- Sanding and Finishing So the Patch Actually Disappears
- Marking, Drilling, and Using a Jig for Repeatable Holes
- Where Filling Just Won’t Look Right
- Troubleshooting Common Hardware Hole Problems
- When to DIY and When to Call a Refinisher
- A Faster, Guaranteed Path if You’d Rather Skip the Sanding
- Sources
Tools and Materials You Need Before You Change Cabinet Hardware Holes
Gather everything before you touch a single door. Running back to the hardware store mid-project with wet epoxy on your hands is how mistakes happen.
- Drill with sharp bits sized to your dowel or screw, plus a cabinet hardware jig for repeat accuracy
- Putty knife for packing filler and a flush-cut saw for trimming dowels
- 220 and 320-grit sandpaper, tack cloth, and mineral spirits for cleanup
- Filler matched to your material: two-part epoxy for painted cabinets, solvent-based stainable filler for stained wood, hardwood dowels and wood glue for anywhere you’ll re-drill nearby, and epoxy putty for laminate or metal where it’s actually viable
- Primer and matching paint or stain for the finish pass
Before buying new hardware, check your door thickness. Most cabinet fronts run about three-quarters of an inch, and screw length has to match or you’ll get a stripped hole or a bolt poking through the face. Break-away machine screws solve this cleanly. Snap them to length instead of guessing.
How Do You Decide Between Matching CTC, a Backplate, or Filling Holes?
Pull the old hardware off every door before you measure anything. A knob or pull sitting in place will throw your number off by enough to matter.
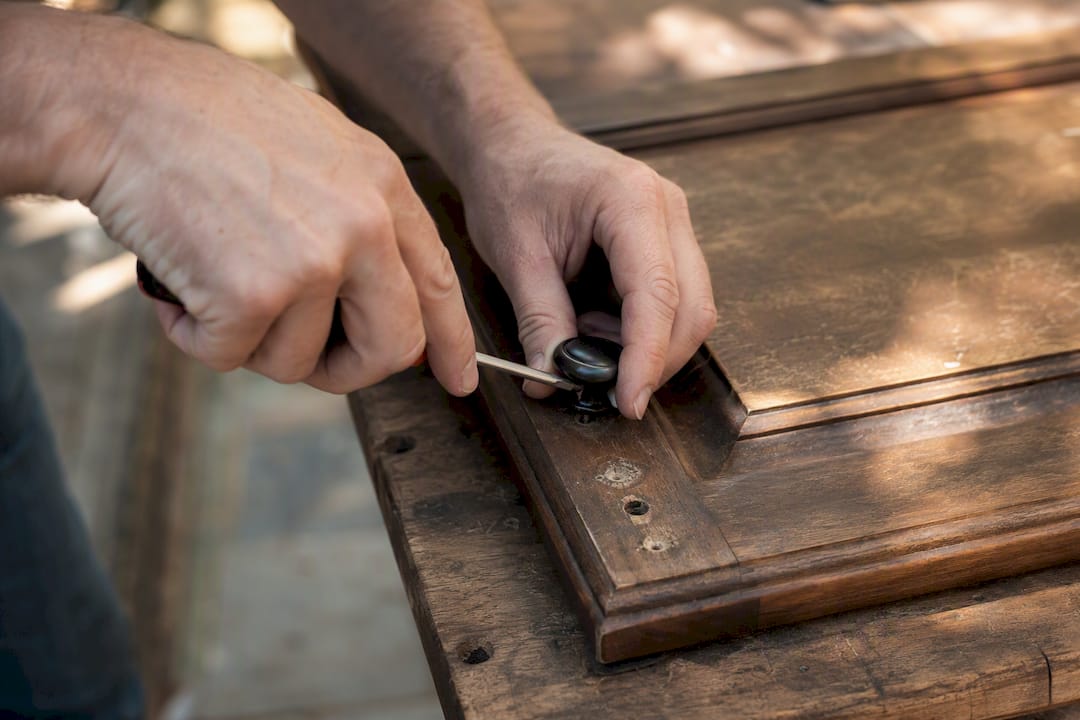
Measure center-to-center spacing in millimeters, not inches. A very small fraction of a millimeter can be the difference between a screw that threads cleanly and one that binds halfway in. Write the CTC down for every door and drawer. Most kitchens use one or two patterns, so you’re likely inventorying two numbers, not twenty.
From there, the decision is fast:
- Match the existing CTC whenever your new hardware comes in that spacing. Zero filling, zero drilling.
- Use a backplate when spacing is inconsistent across doors, when the old holes show wear or chipping, or when you just don’t want to touch filler at all. Backplates need to be sized larger than the old hole spread, so measure the spread, not just the CTC.
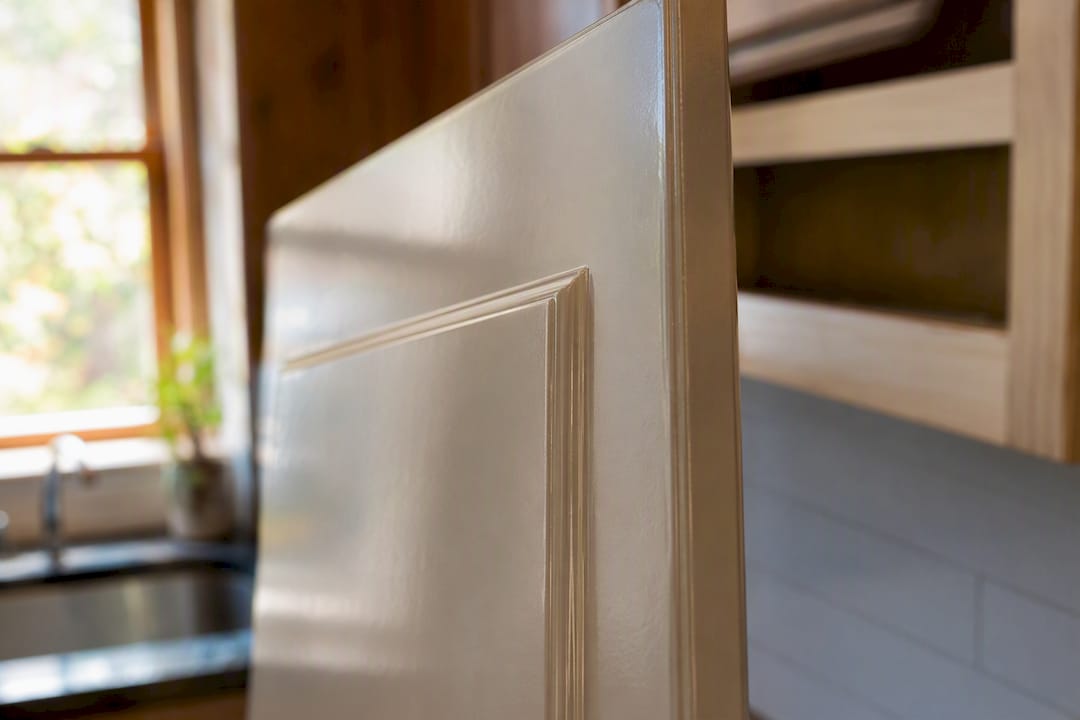
- Fill and re-drill when you’re changing style entirely on painted solid wood cabinets, where a patch can genuinely disappear
Pro Tip: Test your chosen filler and finish on one hidden door first, like the inside of a pantry cabinet. Sheen mismatches and ghosting show up fast, and one test panel saves you from redoing fifteen doors.
Before committing to filling, confirm what your doors are actually made of. Thermofoil and laminate rarely take filler well.
Filling Methods: Epoxy, Stainable Filler, and Dowels
Each filling method has a specific job. Using the wrong one is the single most common reason patches show through paint or stain later.
- Two-part epoxy for painted cabinets. Mix equal parts on a scrap board, then pack it into the hole slightly overfilled since it won’t shrink back level. Two-part epoxy cures hard fairly quickly, typically within half an hour and resists the shrinkage that plagues single-part wood fillers, which is exactly why it’s the standard choice for anything getting painted.
- Solvent-based stainable filler for stained wood. Pick a shade close to your final stain, pack it in, and give it the working time listed on the can before shaping. Test a dab on scrap first: epoxy doesn’t accept stain evenly, so if you’re staining rather than painting, skip the epoxy entirely.
- Dowel and glue for anywhere you’ll re-drill nearby. Drill the old hole to a uniform diameter, cut a hardwood dowel to length, coat it in wood glue, and tap it home flush. Once dry, flush-cut the excess and seal the end grain before finishing. A glued hardwood dowel gives real wood grain to bite into, which is what makes it the professional-grade fix when a new hole lands close to the old one.
Epoxy putty can work on laminate or metal in a pinch, but don’t expect it to disappear. On those surfaces, a backplate or door replacement is usually the more honest answer.
Sanding and Finishing So the Patch Actually Disappears
Rushing this stage is why so many DIY patch jobs get called “ghosting,” that faint shadow where filler meets original wood under certain light.
- Start with 220-grit to knock down the bulk of the filler, always sanding with the wood grain, not against it
- Finish with 320-grit for a surface that’s ready for primer or stain
- Check your work under a raking light, a flashlight held low and at an angle, which exposes high spots and dips that overhead light hides
- Seal any exposed end grain from dowel repairs with a shellac-based primer before painting; end grain drinks finish unevenly otherwise
- Decide upfront whether you’re spot-priming just the patch or repainting the full door face; spot-priming works fine on flat colors, but subtle sheens usually need a full-door blend to avoid a visible patch line
For stained cabinets, test your stain match on the same scrap piece you used for the filler test. Wood species and even the board’s age affect how a stain takes.
Marking, Drilling, and Using a Jig for Repeatable Holes
Freehand marking is where most multi-door projects fall apart. Your third door never lines up with your first without a physical reference.
- Set up a cabinet hardware jig with adjustable CTC stops, or build a simple homemade version from a scrap board with pre-drilled guide holes
- Clamp the jig against the door edge as your reference point every single time
- Back the door with a scrap piece of wood before drilling to prevent tear-out on the exit side
- Wrap tape around your drill bit at the depth you need as a visual stop
- Drill pilot holes first, then step up to full size
Pro Tip: Dry-fit your hardware with the actual screws before final tightening. A backplate adds thickness, and screws that were perfect for a bare door can come up short once the plate is in the stack.
Where Filling Just Won’t Look Right
Some materials fight you no matter how careful your technique is. Know these limits before you start drilling holes you can’t undo.
- Thermofoil and laminate rarely accept filler invisibly. The vinyl or foil surface telegraphs every patch. Matching CTC, adding a backplate, or refacing the doors beats fighting a material that wasn’t built for this.
- Heavily grained stained wood, like oak or ash, needs a dowel repair with patient, layered staining. Epoxy will sit as a flat, uniform patch against wood grain that’s anything but uniform.
- Metal cabinets need the surface scuffed with fine sandpaper before you apply a metal-rated filler, since standard wood fillers won’t bond to a painted metal surface.
Troubleshooting Common Hardware Hole Problems
A few quick fixes cover most of what goes wrong after the fact.
- Filler shrunk or has a pinhole: Sand it flat, add a thin second layer, and let it cure fully before sanding again. Rushing this step is what causes air pockets in the first place.
- Patch shows through paint (ghosting): You likely need a full-door repaint rather than a spot touch-up, since sheen differences are nearly impossible to blend locally.
- Stripped screw hole: For a quick fix, pack the hole with wood glue and toothpicks, snap them flush once dry, and re-drill. For anything load-bearing or high-use, a proper dowel repair lasts far longer.
- Hardware feels loose after installation: Check screw length against your door-plus-backplate thickness first. A screw that’s slightly short will never seat tight, no matter how hard you turn it.
When to DIY and When to Call a Refinisher
DIY makes sense for a handful of doors, painted surfaces, and homeowners comfortable with a drill. Once you’re staring down twenty-plus doors, thermofoil fronts, or a stained finish where any mismatch will stand out, the math changes. Cabinet Refinishing Denver’s factory-finish process handles minor hole repairs as part of a full refinish, which is often faster and more consistent than patching door by door on your own.
— Jesse
A Faster, Guaranteed Path if You’d Rather Skip the Sanding
If reading through epoxy cure times and jig setups already sounds like more Saturday than you want to spend, that’s the exact gap Cabinet Refinishing Denver fills. Instead of testing fillers on scrap wood and hoping your sheen matches under kitchen lighting, you get a factory-finish result with hole repairs, priming, and color matching handled in one project, typically wrapped in 3 to 5 days.

This route makes the most sense once you’re past a couple of doors, especially with thermofoil, laminate, or stained cabinets where DIY patching tends to show. It’s also the practical choice if you’re updating hardware as part of a bigger kitchen refresh rather than a standalone swap. Refinishing costs can vary significantly, often being less expensive than a full replacement, but specific amounts depend on the project scope, and hole repair is built into the process rather than billed as an extra. If you’re in the Denver metro area and want a firm quote, check out the cabinet refinishing service page or call 720-219-9716 to get a project timeline.
Sources
- How to measure center-to-center spacing for cabinet hardware
- Knobs
- Retrofit cabinet hardware: old holes and backplates – Super Arbor
- Rapidrepair
- Break-away machine screws for pulls and knobs | Rockler