
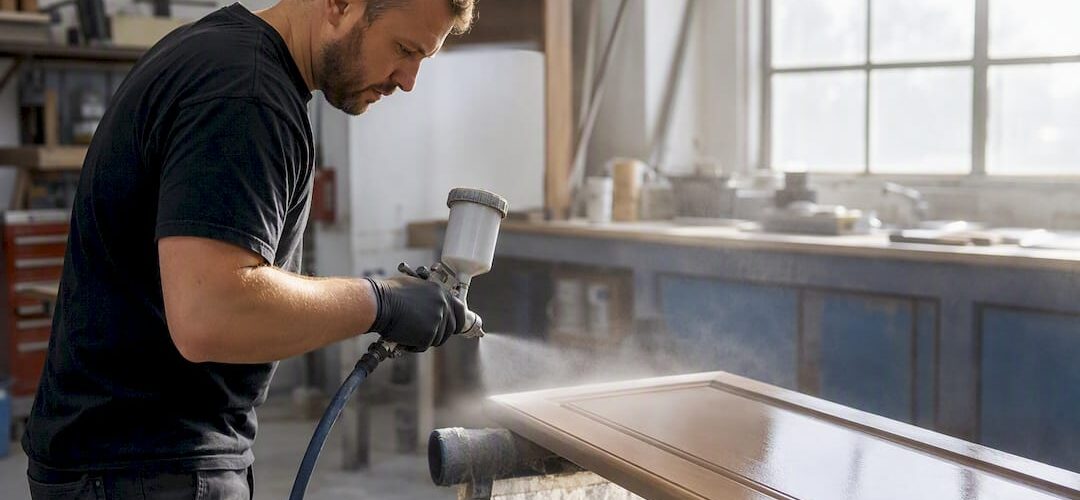
A multi coat cabinet finishing process combines a bonding primer, several thin sprayed color and build coats, light sanding between each layer, and often a protective topcoat. That layered system separates a factory-smooth kitchen from a brush-marked weekend project.
Most professional jobs land at 3 to 5 total coats: one or two primer coats, two to four color or build coats, and an optional clear topcoat on top. Expect the full sequence to take:
- 3 to 5 days if a shop sprays your doors and drawers off site
- 4 to 7+ days for a DIY job done at home, mostly waiting on cure times between layers
Quick fact: industry training on cabinet refinishing systems consistently points to 3 to 5 coats total as the benchmark for a durable, professional-grade result.
Key Takeaways
A durable, factory-like cabinet finish comes from layering a bonding primer, two to four thin sprayed color coats, and an optional topcoat with light sanding between each layer.
| Point | Details |
|---|---|
| Total coat count | Plan for 3 to 5 coats total: primer, two to four color/build coats, and an optional topcoat. |
| Prep sets the ceiling | Degreasing, filling, and progressive sanding from 120 to 400 grit determine how well every later coat adheres. |
| Sand between every coat | Light 320–400 grit sanding after each layer removes nibs without cutting through to primer. |
| Follow product recoat windows | Water-based finishes need roughly 2 to 4 hours between coats, alkyd or oil-based products need 8 to 16 hours. |
| Hire a pro for high-use kitchens | Cabinetsrefinishing’s factory-finish spray process delivers the full multi coat system in 3 to 5 days. |
Table of Contents
- What Materials and Tools Does the Multi Coat Cabinet Finishing Process Require?
- How Do You Prep Cabinets Before the First Coat?
- Which Primer and Base Coat Should You Use First?
- How Many Build Coats and How Much Sanding Between Coats?
- Do You Need a Separate Topcoat or Clear Coat?
- What Does a Realistic Multi Coat Timeline Look Like?
- Why Do Pros Spray Instead of Brush Multiple Coats?
- How Do You Fix Common Cabinet Finish Problems?
- A Pro’s Take on Patience and When to Hire Out
- Want the Factory Finish Without the Weekend Project?
- Sources
What Materials and Tools Does the Multi Coat Cabinet Finishing Process Require?
Before you open a single can, get the right products on hand. A trip back to the store mid-project usually means an unplanned overnight drying delay.
- Bonding primer: shellac-based (best for tannin bleed and odor sealing), waterborne bonding primer, or urethane acrylic primer
- Color coatings: waterborne alkyd, pre-catalyzed lacquer, or conversion varnish, chosen for factory-style durability
- Optional topcoat: polyurethane or conversion varnish clear
- Spray equipment: HVLP, airless, or turbine sprayer for smooth spraying techniques
- Sanding gear: orbital sander, hand blocks, tack cloths
- Support items: mixing cups, paint strainers, masking film, and a drying rack system
Pro Tip: A $150 HVLP sprayer will outperform a $40 brush and roller kit every time. Spraying atomizes the finish into a fine mist that lays flat, while brushing almost always leaves texture you’ll be sanding out later.
Ventilation matters as much as the gear. Run a fan pulling air outward, wear a NIOSH-rated respirator (not a dust mask) for solvent-based products, and contain overspray with plastic sheeting if you’re spraying indoors.
How Do You Prep Cabinets Before the First Coat?
Skipping prep is the single biggest reason DIY finishes fail early. Follow this sequence:
- Remove and label every door, drawer front, and piece of hardware
- Degrease all surfaces with a TSP substitute to strip cooking grease
- Fill dents, dings, and old hardware holes with wood filler
- Sand the old finish off with 120–150 grit
- Progress to 180–220 grit to erase scratches from the first pass
- Finish with a 320–400 grit scuff sand right before primer goes on
A few details trip people up here:
- Seal exposed MDF edges before priming since raw MDF soaks up finish unevenly
- Spot-prime bare wood or repaired areas so they don’t flash through the topcoat
- Tannin-rich woods (oak, cherry) need a stain-blocking primer or you’ll see yellow bleed weeks later
Wear a mask during sanding, and use a shop vac or sander with dust collection if you can. Fine sanding dust is the enemy of a smooth final coat.
Which Primer and Base Coat Should You Use First?
Primer choice depends entirely on what’s underneath it. Shellac-based primer handles knots, tannin bleed, and smoke odor better than anything else. Waterborne bonding primer is the easier, lower-odor choice for previously painted or stained cabinets in good condition. Urethane acrylic primer splits the difference, giving strong adhesion on slick factory finishes without shellac’s fumes.
Application follows a consistent rhythm:
- Strain the primer through a paint filter to catch clumps
- Thin it to the sprayer manufacturer’s spec, not by guesswork
- Spray thin, even coats rather than one heavy pass
- Let it flash dry, then bump-sand with 320 grit to knock down raised grain and nibs
- Apply a second primer coat if the substrate is porous or dark
Once primer is sanded smooth, the first color coat goes on. This layer sets your actual tone and coverage, so mix and strain it exactly like the primer, then spray a test panel or scrap piece to confirm color and sheen before committing to the doors.
Pro Tip: Bump sanding between the primer and first color coat isn’t optional. It’s what erases the slight texture that always shows up after primer dries, and it’s the difference between a finish that looks sprayed versus one that looks factory-built.
How Many Build Coats and How Much Sanding Between Coats?
Two topcoats over a properly primed surface is the practical floor, not the goal. Three total color and build coats give noticeably better depth, hide imperfections, and hold up longer in high-traffic kitchens, according to production workflows used by professional painters. Any time you change color or sheen entirely, plan on at least two coats minimum to get full, even coverage.
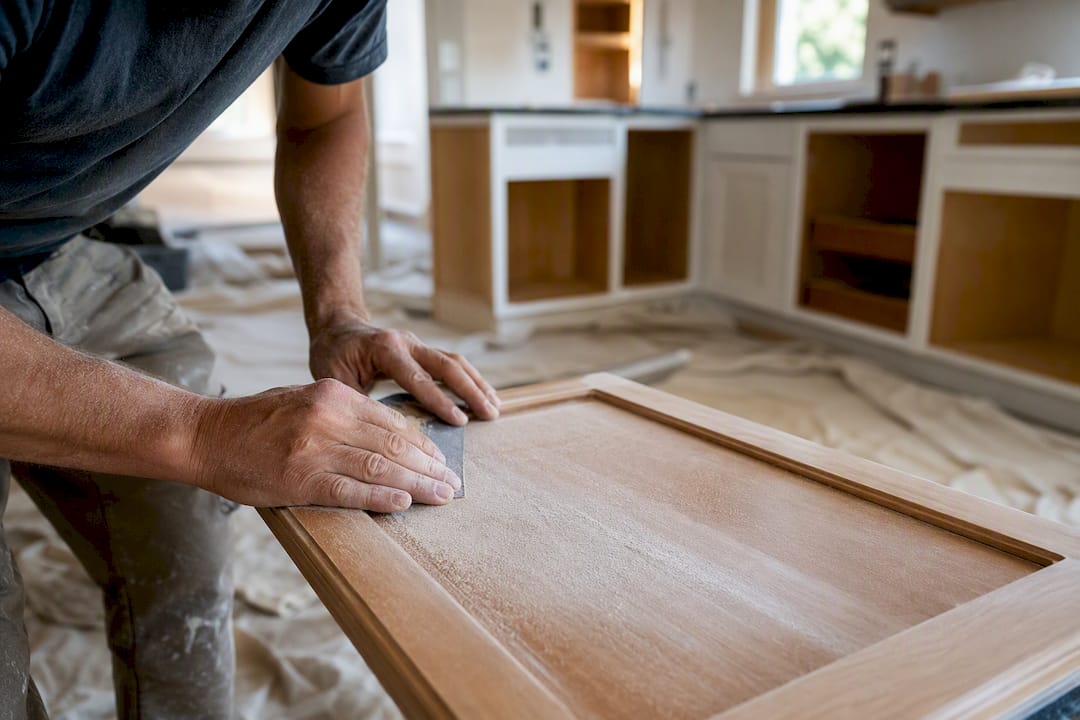
Between every build coat, use a light touch with fine grit sandpaper or a fine sanding sponge. You’re not removing material, you’re knocking down dust nibs and orange-peel texture so the next coat lays flatter. Sand too aggressively and you’ll cut through to primer, which means backtracking.
Recoat windows vary widely by product, and this is where patience actually pays off:
- Water-based finishes: typically 2 to 4 hours between coats at 70°F and moderate humidity, with longer full cure
- Alkyd or oil-based products: 8 to 16 hours between coats
- Lacquer: fast flash time, often allowing multiple coats in a single day
Before moving to the next coat, run a light knuckle tap or tack test on an inconspicuous edge. If it’s still tacky or leaves a fingerprint, wait longer. Manufacturers’ recoat charts on the product data sheet override any general rule here. Recoating too early is the most common cause of soft, easily marred finishes that never fully harden.
Do You Need a Separate Topcoat or Clear Coat?
A dedicated clear topcoat isn’t mandatory on every project, but it’s worth the extra layer in busy kitchens. Water-based polyurethane resists yellowing and has low odor, though it’s slightly less hard-wearing than solvent options. Conversion varnish delivers commercial-grade toughness, the kind used on MDF cabinet projects, but it demands careful spray technique and proper ventilation. Lacquer clearcoats dry fast and look great, though some formulas amber slightly over years.
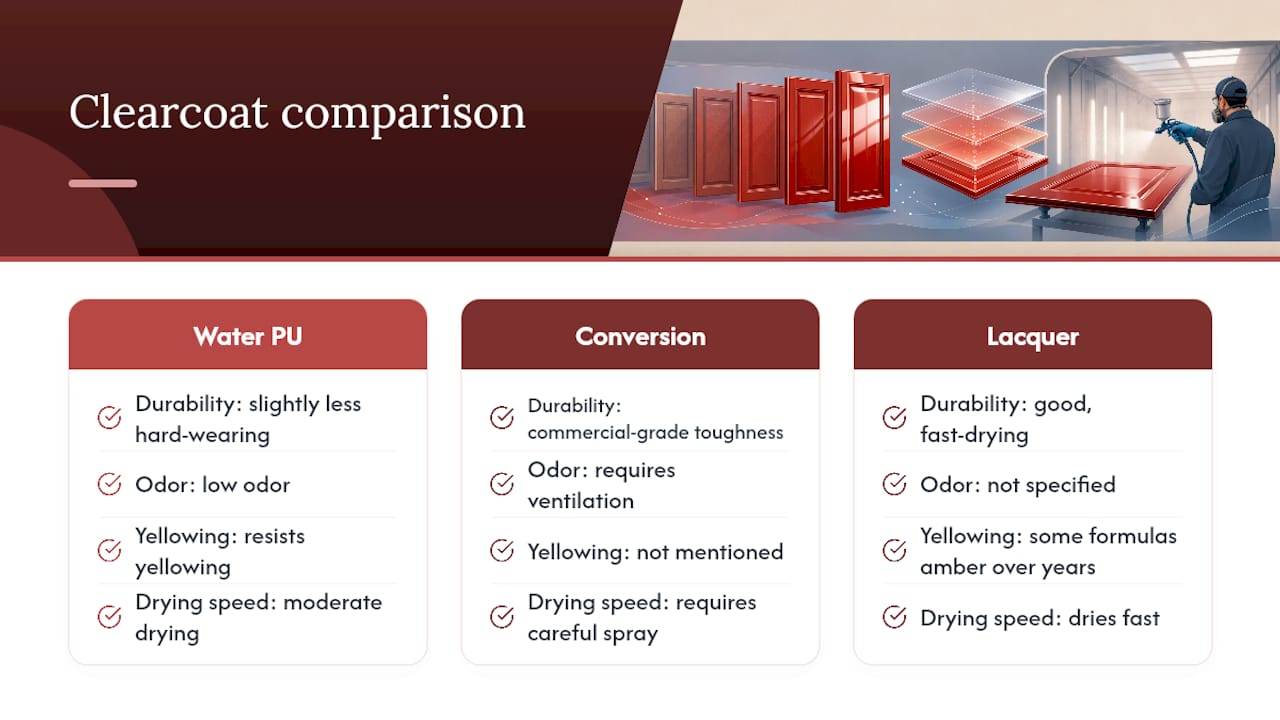
If your color coats are a conversion varnish or catalyzed system already built for durability, a properly built color system alone can be enough. High-use kitchens, dark colors that show scuffs, or homes with kids and pets benefit most from that extra protective clear layer. Apply it the same way: thin, even passes, and give it the manufacturer’s full cure time before loading cabinets back up with dishes.
What Does a Realistic Multi Coat Timeline Look Like?
Here’s how the days typically break down, whether a shop is spraying your doors or you’re doing it in the garage:
- Day 1: Remove doors and hardware, degrease, sand, fill repairs
- Day 2: Prime, bump sand, apply first color coat
- Day 3: Apply build coats 2 and 3, sanding lightly between each
- Day 4: Apply topcoat if using one, let cure on drying racks
- Day 5+: Final cure, then reinstall hardware and rehang doors
Lacquer projects can compress days 2 through 4 since coats dry fast enough to stack same-day. Water-based and alkyd systems stretch the timeline because cure windows simply take longer. Batching all your doors and drawers through each step at once, rather than one at a time, is what keeps a DIY job from sprawling into two weeks.
Why Do Pros Spray Instead of Brush Multiple Coats?
Spraying isn’t a preference, it’s a physical advantage. A sprayer atomizes finish into a fine, even mist that settles flat and reaches into panel details a brush skips over. Brushing leaves visible strokes and takes noticeably longer to build the same number of coats evenly.
Shop environments add another edge: dust-controlled spray booths produce zero texture, while on-site spraying needs full plastic containment and typically takes the kitchen offline for a day. This layered build also mirrors basic multilayer coating engineering, where separate layers handle adhesion, build, and wear resistance instead of asking one thick coat to do everything.
- Spraying: even mil thickness, minimal texture, faster multi-coat buildup
- Brushing: workable for touch-ups, slower, more visible texture
- Shop spray booths: consistent results at volume, contained dust and fumes
How Do You Fix Common Cabinet Finish Problems?
Most finish defects are fixable without stripping back to bare wood.
- Runs or drips: let it fully cure, sand flat, then respray thinner
- Orange peel texture: sand smooth and respray with a slightly wetter, more even pass
- Dust nibs: light micro-sand with 400 grit, wipe with a tack cloth, recoat
- Adhesion failure or peeling: strip the affected area, check for grease residue, and re-prime before recoating
Prevent most of these by spraying thinner coats, keeping your gun’s air pressure dialed in, and always wiping with a tack cloth before every single coat. Call a pro if you see delamination across a wide area or if a conversion coating chemically fails. That’s usually a sign the wrong catalyst ratio or recoat window was used.
A Pro’s Take on Patience and When to Hire Out
The biggest DIY mistake I see isn’t bad spray technique, it’s impatience with cure time. A finish can feel dry to the touch in hours but still needs days to fully harden before you stack drawers or hang doors. Rush that step and you’ll dent a “finished” cabinet with your own thumbnail. If your kitchen sees heavy daily use, hiring a shop that sprays in a controlled booth is worth the cost difference.
Want the Factory Finish Without the Weekend Project?
If reading through primer choices, recoat windows, and sanding grits sounds like more time than you have, that’s exactly the gap Cabinetsrefinishing closes. Our factory-finish spray process handles bonding primer, multiple build coats, custom color matching, and minor repairs in a controlled environment, with most Denver-area kitchens finished in 3 to 5 days instead of the multi-week ordeal of full cabinet replacement.

You skip the sanding dust, the sprayer rental, and the guesswork on recoat timing, and you get the same layered durability this article just walked through, done by people who spray cabinets every week. If your kitchen gets heavy daily use or you just don’t have a spare garage to turn into a spray booth, request a quote for cabinet refinishing in Denver and find out what your timeline and cost would look like.
Sources
- The RoyalAcademy™ 5-Step Cabinet Refinishing System – RoyalAcademy™ by Royal Coatings LLC
- The Step-by-Step Production Process for Flawless Kitchen Cabinet Refinishing – BLUE Painting
- Kitchen Cabinet Painting: The Process · AJ Painting
- How To Spray Paint Cabinets: The Complete Step-by-Step Guide to a Flawless Finish (2026) | Spray Painter Guide
- Multilayer coatings review — PMC
Recommended
- What Paint Do Professional Cabinet Painters Use for a Factory Finish?
- How to Batch Kitchen Cabinet Refinishing Project Efficiently
- Refinishing Old Cabinets to a Factory Finish: DIY Guide – Cabinet Refinishing and Cabinet Painting Denver 720-219-9716
- Cabinet Painting Lifespan What Denver Homeowner Need to Know