
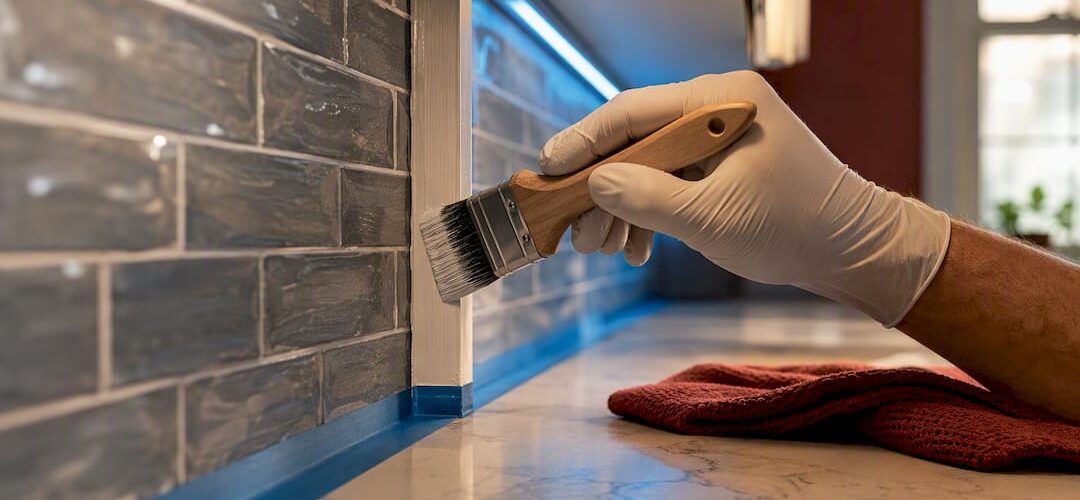
Paint your cabinets after the backsplash goes in, unless you’re staging a home fast or phasing a budget remodel over months. Painting last protects your finish from grout haze, thinset splatter, and tile-cutting dust. The exception: if cabinets are the design centerpiece and you need visual impact now, painting first works fine with the right prep, which we cover below along with the touch-up plan you’ll need either way.
TL;DR:
- Painting cabinets before installing the backsplash exposes surfaces to grout haze, dust, and installers’ tools, increasing the likelihood of needing touch-up work.
- Painting after completes the finish once all messy trades are finished, providing better protection and cleaner grout edges but adding more masking and a longer timeline.
- Either order works if doors are removable and can be painted off-site, reducing risk and potentially simplifying the process.
- Proper preparation, including thorough cleaning, sanding, priming, and masking, is critical regardless of the chosen sequence to ensure a durable, smooth finish.
- Factory-style refinishing offers a faster, more durable option that can be completed in three to five days, often costing less than full replacement or DIY painting.
Table of Contents
- Paint Cabinets Before Backsplash: Weighing the Trade-Offs
- When Should You Paint Cabinets First vs. Last?
- How to Prep and Protect Cabinets for Either Order
- Working With Tile and Countertop Installers
- What Actually Happens on Real Job Sites
- Why a Factory-Finish Refinish Removes This Whole Decision
- Sources
Paint Cabinets Before Backsplash: Weighing the Trade-Offs
Neither order is wrong. Each one just trades a different kind of risk for a different kind of convenience.
Painting first gets you a finished-looking kitchen fast. You can paint every cabinet surface, including the parts that would otherwise be hidden behind backsplash tile edges, and you don’t have to work around a half-built countertop. For homeowners staging a house to sell or living through a slow, phased remodel, that visual win matters.
But painting before backsplash work comes with real exposure. Tile installation is a genuinely messy trade: cutting generates dust, thinset and grout create splatter, and installers moving tools and tile boxes around your kitchen can scuff a fresh finish before it’s fully cured. Even careful crews leave grit on countertops that ends up on cabinet faces.
Advantages of painting first:
- Immediate visual transformation, useful for listings or open houses
- Full access to every cabinet surface, including areas a backsplash might otherwise cover
- Lets you live with the new color before locking in tile choices
Disadvantages of painting first:
- Grout haze, adhesive drips, and dust exposure during tile work
- Installer tools and staging materials can scuff soft or uncured paint
- Higher odds of needing touch-up work before the kitchen is truly finished
Advantages of painting after backsplash:
- The final coat goes on once all the messy trades are done, so it stays protected
- Cleaner tile edges, since you’re not painting around finished grout lines
- Less touch-up work overall
Disadvantages of painting after:
- Requires more masking and protection of finished tile during painting
- Adds a step to your timeline if you’re eager to see the kitchen “done”
- Limits how much you can visually stage the space mid-project
When Should You Paint Cabinets First vs. Last?
Match your situation to one of these scenarios before you commit to an order.
- Cabinets are your design anchor. If the cabinet color is the boldest decision in the kitchen and everything else, tile, hardware, even paint on the walls, needs to follow that lead, paint first so you can shop the backsplash against a real, finished color instead of a swatch.
- You’re staging for a quick sale or living through a slow renovation. Painting first delivers the payoff immediately, and a phased project means you’re not rushing tile installers around wet paint anyway.
- Your backsplash or countertop is the statement piece. Designers generally treat cabinets as the largest visual surface and the one that should set the palette, but when the backsplash is the intended showstopper, choose it first and let cabinet color respond to it.
- Your remodel includes heavy demo. New countertops, plumbing changes, or structural work near the cabinets means more foot traffic and more chances to damage a fresh finish. Paint last.
- You can remove the doors. If doors and drawer fronts come off and get painted somewhere else, you sidestep most of the risk either way, which is often the deciding factor for contractors who recommend painting late in a remodel unless doors are pulled and finished off-site.
The rule of thumb: if you can remove doors and keep boxes covered, sequence doesn’t matter nearly as much. If you can’t, default to painting after the mess is done.
How to Prep and Protect Cabinets for Either Order
Good prep matters more than which order you choose, and the steps barely change either way.
Start by deciding whether to pull doors, drawers, and hardware or paint everything in place. Removing them gives you better coverage and a cleaner line, but it adds labor and reinstall time. Leaving them on speeds things up but risks drips into hinges and hardware holes.
From there, the prep sequence is non-negotiable: clean and degrease every surface, sand to knock down the sheen, wipe away dust, prime, then sand lightly again between coats. Skipping the degreasing step is the single most common reason DIY cabinet paint jobs fail early, especially around stove-adjacent cabinets where cooking oil builds up invisibly. Sanding technique matters just as much: use a fine grit, work with the grain, and don’t skip the pass between coats.
Masking and protection checklist:
- Use heavy-duty masking film and tape along cabinet edges and countertops
- Build sacrificial cardboard or hardboard panels for high-traffic zones near the sink and stove
- Lay drop cloths that extend well past the work area, not just directly underneath
- Caulk gaps between cabinet edges and walls before priming for a cleaner sightline
Dry and cure times aren’t the same thing. Most paints are dry to the touch in a few hours, but full cure, the point where the finish resists scuffing and grime, can take several days depending on the product. Wait at least 24 hours before light handling, and give it closer to a week before heavy use or reinstalling doors that get opened and closed constantly.
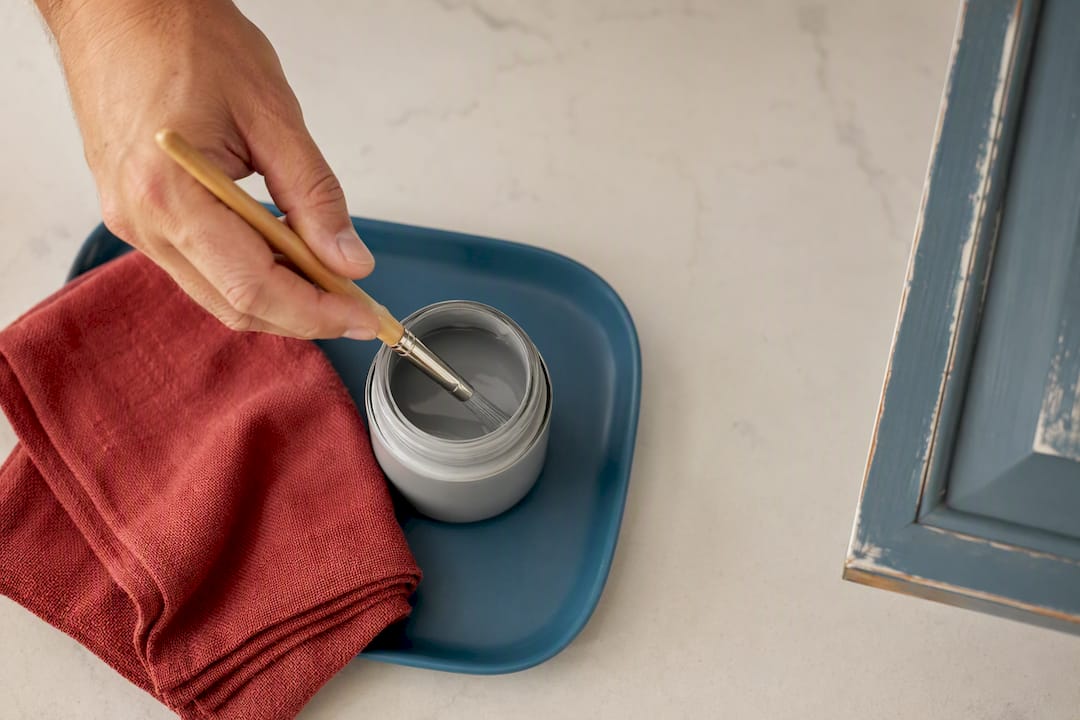
Pro Tip: Keep a small labeled jar of your exact paint mix and a fine artist’s brush on hand for the first few weeks after painting. Tiny touch-ups are far less noticeable than the scuff they’re covering, but only if you catch them early and match the sheen exactly.
Working With Tile and Countertop Installers
Whichever order you choose, the installers working near your cabinets need clear instructions before they start.
Tell them explicitly where fresh paint is and ask them to keep tile boxes, saws, and staging materials off cabinet surfaces. Grit tracked in on shoes or tools is one of the most common causes of scuffed paint, along with installers leaning tile against a cabinet face while they work.
What to cover with your installer before day one:
- Confirm whether tile will run to the cabinet edge or stop with a small reveal, since a reveal gives you a cleaner repaint line later without pulling tile
- Ask them to keep grout sponges and wet tools away from painted surfaces
- Request that cut tile happen away from the cabinet run, not on a cabinet countertop overhang
- Walk the space with them after installation to spot chips or scuffs while they’re still easy to trace back to a cause
After installation, inspect cabinet corners and edges near the backsplash line under good light. Small marks can usually be blended with your touch-up kit. If you’re seeing peeling, uneven sheen, or damage across multiple panels, that’s the point to call in a refinishing professional rather than keep patching, since a sprayed factory-style finish holds up to this kind of job-site traffic far better than a brushed one.
What Actually Happens on Real Job Sites
Most of the “paint first vs. paint last” debate online treats it like a rule instead of a judgment call, and that’s where I think the conventional wisdom oversells itself. Cabinets rarely get ruined by backsplash work. The bigger mistake is skipping the degrease and sand steps to save a weekend, regardless of sequence. On the jobs where painting first goes wrong, it’s almost never the tile guy’s fault. It’s a finish that never fully cured before the trades showed up.
— Jesse
Why a Factory-Finish Refinish Removes This Whole Decision
If reading through masking strategies and cure windows sounds like more coordination than you signed up for, that’s the exact gap Cabinetsrefinishing fills. A brushed DIY job on a tight remodel schedule means babysitting dry times around other trades for days. Our sprayed, factory-style finish cures harder and faster on-site, and most jobs wrap in 3 to 5 days instead of the weeks a full replacement or a piecemeal DIY paint job can drag out.

Refinishing typically costs significantly less than full replacement, and it holds up to the grit, tools, and traffic that come with backsplash and countertop installation. If your cabinets are structurally sound and you just want a durable, factory-quality color change without managing masking and cure windows yourself, get a free estimate and we’ll walk you through timing it around the rest of your remodel.
Sources
For paint system specs and dry times, check manufacturer instructions directly through guides like The Spruce’s cabinet painting how-to. For design sequencing, Livingetc’s designer take and One Day Doors & Closets on color decisions both add useful context on what should set your palette.
- Should You Pick Your Kitchen Cabinets or Backsplash First? | Livingetc
- Should backsplash be tiled before or after installing kitchen cabinets? | DIY Stack Exchange
- How to paint kitchen cabinets | The Spruce
- When to paint cabinets during a remodel | Spray ‘n Coat Painting
Recommended
- Touch Up Paint for Kitchen Cabinets: When to DIY vs. Professional Refinishing in Denver
- Common Kitchen Cabinet Painting Mistakes: How to Avoid a Remodeling Disaster in 2026
- How to Avoid Brush Marks When Painting Cabinets: A Pro’s Guide
- 10 Critical DIY Cabinet Painting Mistakes to Avoid for a Flawless Finish