
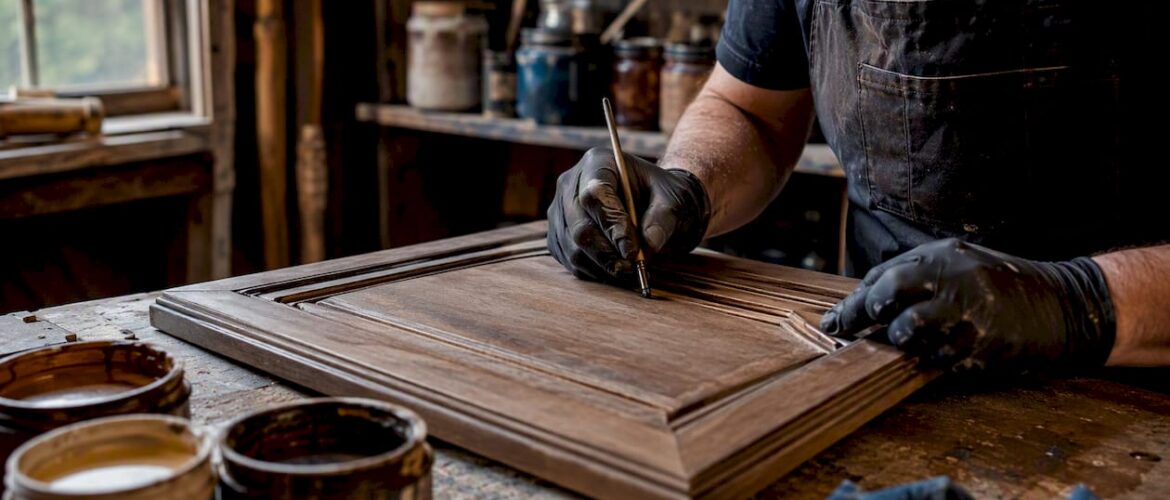
Pen glazing is a precise, hand-applied glaze line that highlights door profiles and grooves — and yes, most DIYers can pull it off on a small project with the right tools and patience. The industry term is pen accenting or pencil glazing, and it works by applying glaze only along edges and bevels to create subtle depth and an antiqued, furniture-style look without flooding the entire door face. It is not a speed project, and it is not the right move for flat-slab or thermofoil doors.
- Best for: Raised-panel and profiled doors in classic, transitional, or furniture-style kitchens
- DIY difficulty: Moderate — hand control and timing matter more than raw skill
- Cost cue: Supplies run low-to-moderate; professional labor costs more but delivers factory-level consistency
For a single door or a small bathroom vanity, DIY pen glazing is a reasonable weekend project. For a full kitchen run of 30-plus doors, Cabinet Refinishing Denver is the faster, lower-risk path.
Key Takeaways
Pen glazing works best on profiled doors with proper prep, a compatible glaze formula, and a sealed topcoat — skip any of those three and the finish will fail.
| Point | Details |
|---|---|
| Profile is required | Pen glazing only works on raised-panel or routed doors — flat slabs have no groove to hold the glaze line. |
| Test panel first | Always run the full sequence (prep, glaze, topcoat) on a sample before touching a cabinet door. |
| Match glaze to topcoat | Waterborne glaze needs a waterborne topcoat; solvent-borne glaze needs an oil-based or conversion varnish topcoat. |
| DIY vs. pro threshold | DIY suits 4–8 doors with a compatible existing finish; hire a pro for 20-plus doors or high-value cabinetry. |
| Cabinetsrefinishing option | Cabinetsrefinishing completes full kitchen glazing projects in 3–5 days at $3,000–$8,000, far below replacement cost. |
Table of Contents
- When should you choose pen glazing over full glazing or repainting?
- What tools and materials do you actually need?
- How do you prep cabinets for pen glazing?
- What are the proven pen glazing methods, step by step?
- How does glazing affect your topcoat choices?
- What goes wrong with pen glazing, and how do you fix it?
- What does pen glazing cost, DIY vs. professional?
- When does hiring a professional refinisher make more sense?
- Cleanup and disposal after glazing
- What I’ve learned from watching pen glazing go right and wrong
- Professional pen glazing from Cabinetsrefinishing in Denver
- Sources
When should you choose pen glazing over full glazing or repainting?
The decision comes down to what you want the finish to do. Pen accenting applies a glaze line to grooves and bevels to highlight architectural detail — it reads as refined and furniture-like, not rustic. Full glazing floods the entire door face, then gets partially wiped back, producing a heavier antique or aged effect. Repainting alone gives you a clean, modern look with no tonal variation.
Use pen glazing when:
- Your doors have raised panels, routed profiles, or decorative bevels
- You want subtle line definition, not a heavily aged appearance
- The kitchen style is classic, transitional, or cottage
- You are working over a factory lacquer or waterborne paint in good condition
Avoid pen glazing when:
- Doors are flat-slab, thermofoil, or RTF (no profile to catch the glaze)
- MDF sheet stock has no routed face detail
- You want a crisp, contemporary look — repainting is the cleaner choice
- The existing finish is peeling, soft, or contaminated with grease
Full glazing suits an antique or Old World kitchen where you want visible color variation across the whole door. Pen glazing suits a glazed cabinet design where the base color stays clean and the profile detail gets the accent. Glass-front display cabinets are a different decorative move entirely — glazing lines on solid doors and glass cabinet styling are complementary choices, not interchangeable ones.
What tools and materials do you actually need?
Get these before you start. Buying the wrong applicator or a glaze that is incompatible with your topcoat is the most common reason a first attempt fails.
Materials checklist:
- Flow pen or flow-pen glaze bottle (the standard tool for the Flow Pen method)
- Glaze formula matched to your topcoat: waterborne glaze over waterborne finishes, solvent-borne over oil-based
- Small sable or detail brush (for tight corners the pen bottle misses)
- Clean lint-free rags
- Mineral spirits or manufacturer-specified solvent for cleanup and correction
- Low-tack masking tape
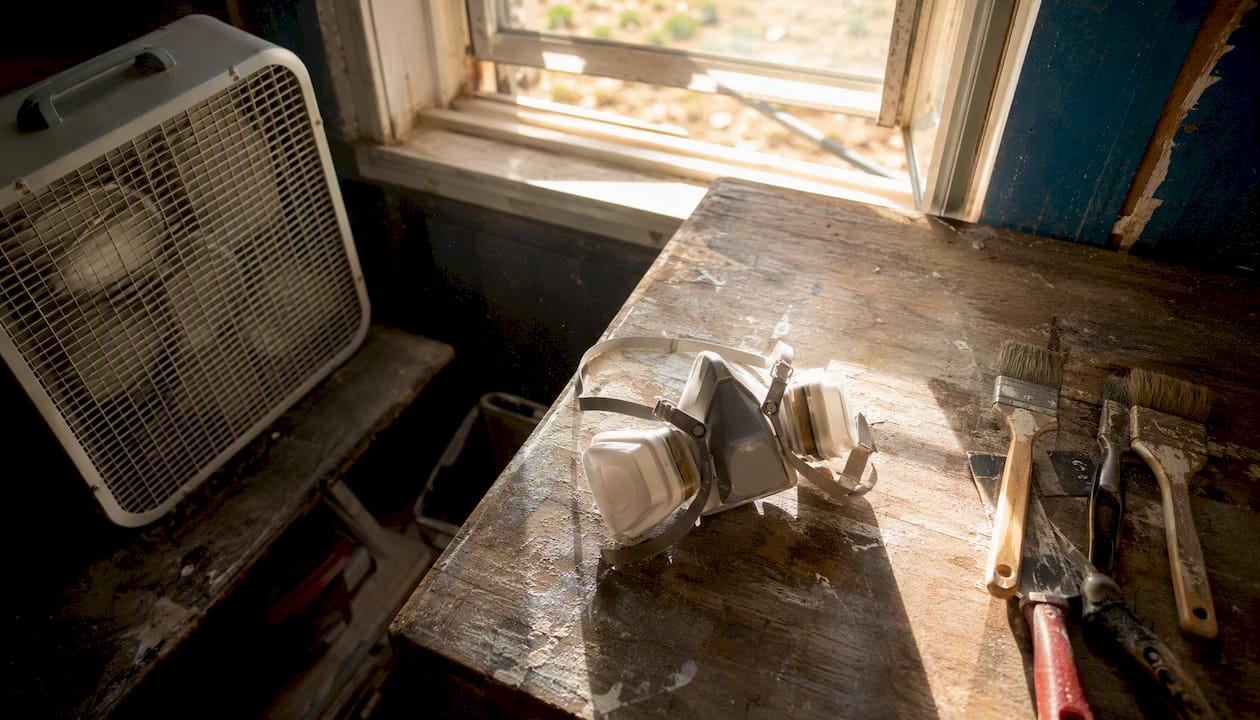
- NIOSH-approved respirator (organic vapor cartridge for solvent-borne glazes)
- Nitrile gloves
- Test panel — scrap wood or a spare door face with the same profile and finish
Del-Wood’s commercial pencil glaze options — Black Pencil Glaze and Brown Pencil Glaze — are good reference points for color selection. Both leave soft highlights in profiles and recesses rather than coating the full door face, which is exactly the effect you are after.
Pro Tip: Always buy a respirator rated for organic vapors, not just a dust mask. Even waterborne glazes off-gas in enclosed spaces. Work with windows open and a box fan exhausting air out of the room.
How do you prep cabinets for pen glazing?
Prep is where pen glazing succeeds or fails. Glaze applied over a greasy or slick surface will not adhere evenly, and lines applied over an unsealed raw edge will bleed and spread.
Work through these steps in order:
- Remove all hardware — hinges, pulls, and knobs. Number each door with painter’s tape on the back so reinstallation is fast.
- Clean thoroughly with a TSP substitute solution, then wipe with clean water and let dry completely. Grease and silicone residue are invisible and will ruin adhesion.
- Scuff-sand with 220-grit to de-gloss the surface. You are not stripping the finish — just giving the glaze something to grip. Proper sanding technique matters here: sand with the grain and keep pressure even.
- Fill minor damage with wood filler or glazing putty, sand flush, and spot-prime those areas.
- Seal or prime if needed. Factory lacquer in good condition usually needs only a scuff. Bare wood, raw MDF edges, or previously painted surfaces that are porous need a shellac-based or waterborne primer before glazing.
- Mask adjacent surfaces — countertops, walls, and the inside of door frames — with low-tack tape and paper.
- Make a test panel. This step is non-negotiable. Apply glaze to your test panel first, let it dry, and topcoat it. Glazing methods often shift the apparent base color — solvent-wiped and dry-wiped techniques tend to darken the base tone. See the shift on a panel before you commit to 24 doors.
Allow each cleaning and priming step to dry fully per the manufacturer’s label — rushing recoat windows is the second most common prep mistake.
What are the proven pen glazing methods, step by step?
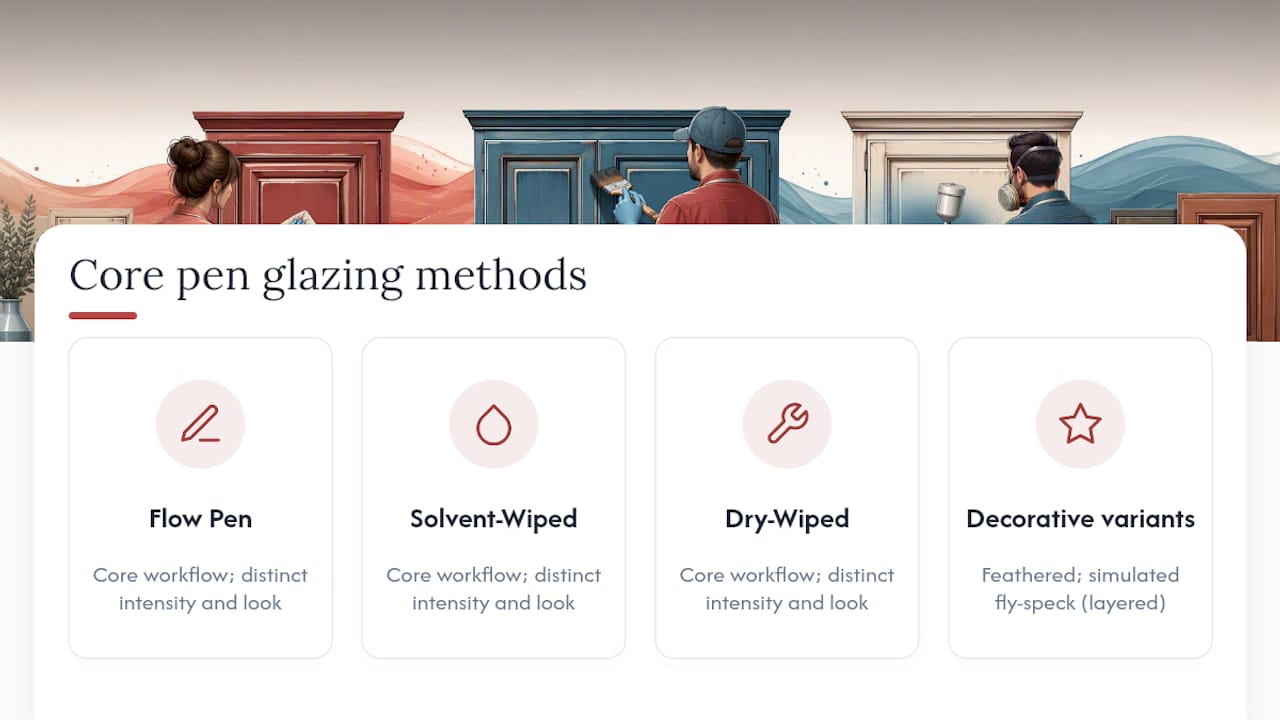
WalzCraft’s technical documentation separates three core glazing workflows: Flow Pen, Solvent-Wiped, and Dry-Wiped. Each produces a different intensity and look. Two decorative variants — feathered and simulated fly-speck — layer on top of these base methods.
Flow pen method
This is the standard pen glazing approach. A flow-pen glaze bottle lets you apply glaze precisely to profiled areas only, without flooding the flat field of the door.
- Shake the glaze bottle and test flow on your panel.
- Trace the profile groove with the pen tip, working one section at a time (one rail, one stile, one panel edge).
- Let the glaze sit for 30–60 seconds — long enough to begin setting but not so long it dries hard.
- Wipe any minor overflow off the flat field with a clean rag dampened with the appropriate solvent.
- Let the door dry fully before topcoating (follow the glaze manufacturer’s dry time, typically 1–2 hours at room temperature).
Note: The Flow Pen method is not compatible with every profile shape. Very tight lattice work or unusually narrow grooves may not accept the pen tip cleanly — test before committing.
Pro Tip: Work in sections no longer than 18 inches at a time. Glaze that sits too long before wiping becomes difficult to blend and leaves hard edges.
Solvent-wiped method
This approach coats the entire door face with glaze, then wipes back the flat areas, leaving glaze concentrated in the profiles. Pros favor it for consistency across large runs.
- Apply a thin, even coat of glaze to the full door face with a brush or rag.
- Wait 1–3 minutes (check your glaze’s open time — humidity and temperature affect this).
- Wipe the flat panels firmly with a clean rag, working from center outward.
- Use a detail brush or cotton swab to clean glaze from areas where it should not remain.
- Follow with a pen or detail brush to sharpen any profile lines that need more definition.
Dry-wiped method and aged-look variant
Dry-wiping leaves more glaze behind in recesses and on texture, creating a more pronounced aged effect. It suits cottage or Old World styles better than transitional kitchens.
- Apply glaze as in the solvent-wiped method.
- Wipe back with a dry rag instead of a solvent-dampened one — this removes less material.
- Leave intentional glaze buildup in corners and deep profiles for variety and depth.
- For a controlled aged look, use a dry brush to feather glaze from the profile edges outward onto the flat panel in short, light strokes.
Feathered and simulated fly-speck accents
Feathering softens the transition between a glazed profile and the clean flat panel. Fly-speck adds decorative speckling for an antique furniture effect.
- Feathering: After applying and wiping, use a dry fan brush to drag glaze lightly from the profile edge onto the panel in 1–2 inch strokes. Work quickly before the glaze sets.
- Fly-speck: Load a stiff-bristle brush lightly with thinned glaze. Hold it 12–18 inches from the door and flick the bristles with your finger to create fine spatter. Practice on your test panel first — scale and density matter enormously.
How does glazing affect your topcoat choices?
Glaze is not a finish on its own. It needs a compatible topcoat to seal and protect it, and the wrong topcoat can lift, cloud, or dissolve the glaze lines you just spent an hour perfecting.
Compatibility basics: Waterborne glaze must be topcoated with a waterborne product — waterborne lacquer or waterborne polyurethane. Solvent-borne glaze accepts oil-based polyurethane or conversion varnish. Never apply a solvent-borne topcoat directly over a waterborne glaze without testing first; the solvents can reactivate and smear the glaze.
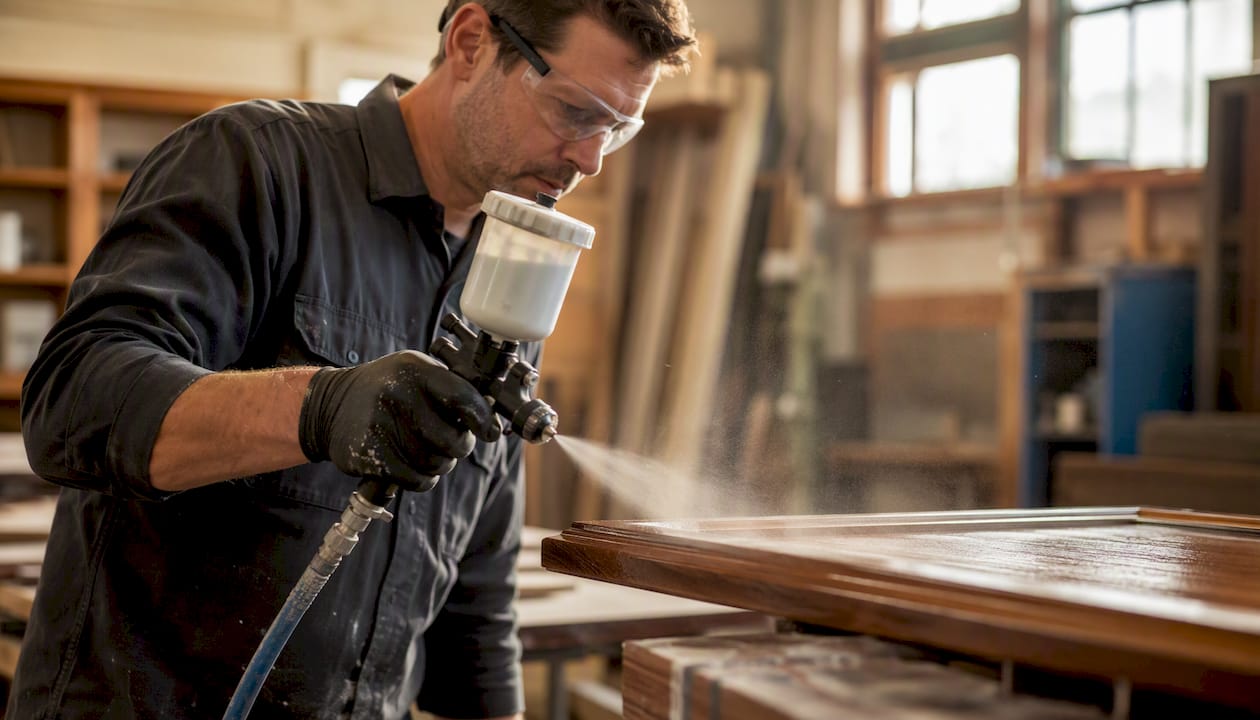
Spray vs. brush: Spraying the topcoat is strongly preferred. A brush drags across the glaze lines and can lift or smear them even after they appear dry. If you are brushing, use a high-quality synthetic brush, load it lightly, and lay the coat on in one direction without back-brushing.
Timing: Let the glaze cure fully before topcoating — most manufacturers specify a minimum of 2–4 hours, and overnight is safer in humid conditions. Apply at least two topcoats. Sand lightly between coats with 320-grit, wipe clean, and let each coat reach its recoat window before adding the next. Final cure (hardness) takes 7–14 days for most waterborne products, so handle doors gently during that window.
What goes wrong with pen glazing, and how do you fix it?
Most problems are recoverable if you catch them before the topcoat goes on.
- Lines too dark or heavy: Dampen a rag with mineral spirits (for solvent glaze) or water (for waterborne glaze) and feather the edge of the line outward. Work quickly and blend toward the profile center.
- Streaks across the flat panel: Wipe with a solvent-dampened rag in one direction. If the glaze has started to set, apply a small amount of fresh glaze over the streak to reactivate it, then wipe clean.
- Smudging after apparent dry time: The glaze was not fully cured before handling. Let the door sit undisturbed for another hour, then re-examine. If the smudge is in the profile, leave it — topcoat will lock it in place.
- Uneven color across doors: Usually a prep issue (inconsistent scuffing) or inconsistent dwell time. Strip the problem door back to bare finish with the appropriate solvent, re-prep, and re-apply.
- Bad pen line that needs repair: Soften the line with solvent on a cotton swab, wipe clean, let dry, re-apply carefully with the pen, and seal promptly.
Pro Tip: If you are looking at more than two doors that need a full redo, stop and call a professional. Reworking glazed doors repeatedly risks lifting the base finish, and at that point you are looking at a full strip-and-refinish job.
What does pen glazing cost, DIY vs. professional?
The gap between DIY and professional costs is real, but so is the gap in results on complex jobs.
DIY materials for a small project are genuinely affordable. The time cost is where the math shifts: 20 doors at 30–45 minutes each, plus prep and topcoat, adds up to multiple weekends. Professional refinishing through a service like Cabinetsrefinishing runs $3,000–$8,000 for a full kitchen — a fraction of the $15,000–$40,000 a full cabinet replacement typically costs.
When does hiring a professional refinisher make more sense?
Some jobs are technically within DIY reach but practically better left to a pro. The honest criteria:
Hire a professional when:
- You have more than 20 doors, or the kitchen includes complex components like integrated moldings, corbels, or furniture-style legs
- The cabinetry is high-value (custom solid wood, inset doors) and a mistake would be expensive to correct
- You need color matching to existing cabinets or trim — pros use spectrophotometers and factory-matched toners
- You want a spray-applied topcoat with a factory-like sheen and zero brush marks
- Your timeline is tight — a professional crew completes a typical kitchen in 3–5 days versus several weekends of DIY work
- Structural repairs (loose joints, damaged face frames) are needed before finishing
DIY is still a good choice when you have 4–8 profiled doors, a compatible existing finish, and the patience to work through test panels and proper prep.
What pros deliver that DIY typically cannot: spray-applied conversion varnish or catalyzed lacquer, factory-level color consistency across every door, and the ability to handle minor repairs before finishing in a single visit. The professional glazing workflow also includes multiple protective layers that extend finish life well beyond what a brush-applied topcoat achieves.
Cleanup and disposal after glazing
Cleanup is not optional, and solvent disposal has real safety and legal implications.
During the job: Keep a sealed metal container nearby for solvent-soaked rags. Rags saturated with oil-based products can self-ignite through spontaneous combustion — spread them flat outdoors to dry completely before disposal, or submerge them in water in a sealed metal can.
Brushes and pens: Clean flow-pen bottles and detail brushes immediately after use with the appropriate solvent (mineral spirits for oil-based, water for waterborne). Let brushes dry bristle-down in a ventilated area.
Leftover glaze: Seal containers tightly and store away from heat sources. Most waterborne glazes can be disposed of by letting them dry out in the open can, then placing in household trash. Solvent-borne products are hazardous waste — check your local municipality’s household hazardous waste (HHW) drop-off schedule. Denver-area residents can use the Denver HHW facility for proper disposal.
Ventilation after the job: Keep the workspace ventilated for at least 2 hours after the final topcoat, even with waterborne products.
What I’ve learned from watching pen glazing go right and wrong
The test panel is the single most skipped step, and it is the one that saves the most grief. Run the full sequence on a panel: prep, glaze, topcoat, cure. Look at it in the room’s actual lighting before touching a cabinet door.
The second thing that trips up DIYers is working too large a section at a time. Glaze has a working time, and it varies with temperature and humidity. On a warm day, that window shrinks fast. Work one rail or one stile at a time, not the whole door at once.
Pros avoid both problems by habit — test panels are standard practice, and experienced hands know exactly how long a given glaze stays workable in a given shop environment. For homeowners who want the look without the learning curve, Cabinetsrefinishing handles the full process, from prep through final topcoat, with results that hold up for years.
Professional pen glazing from Cabinetsrefinishing in Denver

Pen glazing done well takes time, the right materials, and a steady hand. For a full kitchen, the DIY route adds up to multiple weekends of prep, application, and topcoating — and one bad door can mean starting over. Cabinetsrefinishing offers a faster, lower-risk path: a factory-finish spray methodology, professional-grade glazing, and custom color matching, with most kitchen projects completed in 3–5 days. Refinishing costs run $3,000–$8,000, compared to $15,000–$40,000 for full cabinet replacement. If your kitchen has complex profiles, high-value cabinetry, or more than 20 doors, the math on hiring a pro gets straightforward quickly. Request an estimate from Cabinetsrefinishing and find out what a professional glaze finish would cost for your specific kitchen.
Sources
- Glazes Explained | WalzCraft
- Cabinet Glazing: To Glaze or Pen Accent? That is the Question
- Cabinet Glaze Finishes For Kitchen Styles (2026 Design Guide) | Fargos Art
- Custom Kitchen and Bathroom Cabinets, Vanity, Hardware | Del-Wood
Recommended
- Cabinet Glazing Technique: A DIY Homeowner’s Guide: in 2026.
- Professional Cabinet Glazing Techniques: Elevating Denver Kitchens in 2026 – Cabinet Refinishing and Cabinet Painting Denver 720-219-9716
- What is Cabinet Glazing? The Denver Homeowner’s Guide to Premium Finishes – Cabinet Refinishing and Cabinet Painting Denver 720-219-9716
- Expert Cabinet Glazing Service in Denver for a Custom Finish