
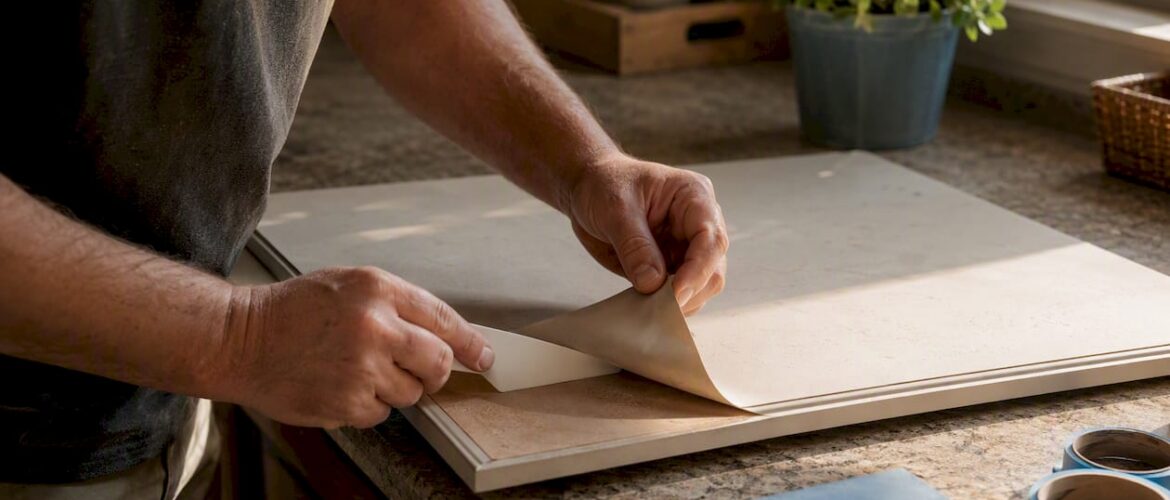
Yes, you can reface thermofoil cabinets, but the cabinet boxes have to be structurally sound first. Before you pick a route, pull open a door and press the vinyl near the hinges and along the bottom edge. If the MDF underneath feels solid and flat, you have real options. If it’s soft, swollen, or crumbling, no amount of paint or new film will save it.
Your first move: inspect every door and face frame for peeling, bubbling, edge delamination, and MDF swelling. That inspection takes 20 minutes and tells you whether to DIY-paint, apply new thermofoil or veneer film, or call a pro. According to Forbes, refacing typically costs a fraction of full replacement, making it one of the smarter kitchen investments when the bones are good.
Key Takeaways
Thermofoil cabinets can be successfully refaced or refinished when the MDF substrate is flat and firm, making a thorough inspection the single most important step before choosing any route.
| Point | Details |
|---|---|
| Inspect the substrate first | Press every door for soft or swollen MDF before committing to paint, reface, or replace. |
| Match the method to the damage | Isolated bubbling suits remove-and-paint; widespread failure or routed doors call for professional refinishing. |
| Primer is non-negotiable | Zinsser BIN shellac-based primer on MDF edges and faces prevents raised grain and adhesion failure. |
| Pro refinishing costs $3,000–$8,000 | That range covers a full kitchen and sits at roughly 20% of full replacement cost. |
| Cabinetsrefinishing for factory results | Cabinetsrefinishing completes Denver kitchen refinishing projects in 3–5 days with a multi-layer factory-finish spray process. |
Table of Contents
- What thermofoil is and why it eventually fails
- Should you paint, remove and paint, reface, or replace?
- Tools and materials you’ll need before you start
- DIY workflow A: remove the thermofoil, prep the MDF, and paint
- DIY workflow B: apply new thermofoil or adhesive veneer
- Spot repairs: fixing bubbles, edges, and small gouges
- What professionals check and when to hire a pro
- Realistic costs and timelines for every route
- The view from a refinishing shop
- Cabinetsrefinishing handles the hard cases
- Sources
What thermofoil is and why it eventually fails
Thermofoil is a PVC vinyl film vacuum-formed over an MDF (medium-density fiberboard) core under heat and pressure. The result is a smooth, seamless surface that’s easy to wipe down and looks like painted wood at a lower price point. The problem is that same heat-and-pressure bond that creates the surface is also what undoes it over time.
Common failure modes to watch for:
- Heat-induced adhesive failure. The adhesive softens when exposed to sustained heat from a range or oven vent. Cabinets directly above a cooktop are almost always the first to peel.
- Edge delamination. Edges and corners are the thinnest part of the vinyl wrap. Moisture, cleaning products, and normal wear cause the film to lift at seams first.
- Moisture ingress and MDF swelling. Once water gets under the vinyl, the MDF core absorbs it and swells. Swollen MDF cannot be sanded flat; the door needs replacement.
- Surface scratches. Unlike wood, thermofoil over MDF cannot be sanded and refinished. A deep scratch through the vinyl exposes raw MDF, which absorbs moisture immediately.
The MDF core is the single most important thing to check. A door with peeling vinyl but a flat, firm MDF substrate is a good candidate for thermofoil cabinet resurfacing. A door with soft or raised MDF is not. According to Kitchen Cabinet Kings, thermofoil’s smooth surface is a genuine advantage for cleaning, but its vulnerability to heat and the inability to repair deep substrate damage are the trade-offs every homeowner eventually faces.
Should you paint, remove and paint, reface, or replace?
The right route depends on what you find during your inspection. Work through this checklist before committing to any approach.
Inspection checklist:
- Press each door face firmly. Any give or sponginess indicates MDF swelling.
- Check all four edges for lifting vinyl. Minor lifting at one corner is repairable; lifting on three or more edges usually means the adhesive has failed broadly.
- Open every cabinet near the range or oven vent. Heat damage here is almost always worse than it looks from the front.
- Look at the face frames (the wood strips around the cabinet openings). Warped or water-damaged frames make refacing impractical.
Quick decision rules:
- Peeling covers more than roughly half a door, or the MDF feels soft anywhere: replace that door. One Day Doors & Closets covers the replacement-vs-repair tradeoff in detail if you’re weighing that option.
- Isolated bubbling on an otherwise firm door: remove the vinyl, prep the substrate, and paint.
- Sound MDF, cosmetically tired surface: apply new thermofoil film or veneer for a seamless finish.
- Multiple doors failing, homeowner wants a multi-year result: hire a professional refinisher.
Route tradeoffs in plain terms:
Paint over existing thermofoil is the lowest-effort option, but adhesion is the weak point. Paint doesn’t bond reliably to vinyl without aggressive mechanical scuffing and a high-bond primer, and even then the finish is more fragile than a factory coat. It’s a short- to mid-term fix.
Remove and paint takes more time upfront but gives you a cleaner substrate to work with. When the MDF is intact, a properly primed and painted surface can last several years. The 7 signs your cabinets need refinishing checklist is a useful companion resource for this decision.
Reface with new thermofoil or veneer preserves the vinyl look and, when done correctly, is the most durable DIY route. It’s also the most demanding in terms of prep and edge-sealing skill.
Replace doors is the right call when the MDF is compromised or when the face frames are damaged. New doors on sound boxes is still far cheaper than a full cabinet replacement.
Tools and materials you’ll need before you start
Gather everything before the first weekend. Running out of primer mid-project is how you end up with uneven adhesion.
Tools:
- Heat gun (variable temperature, 300–500°F range)
- Plastic scraper and utility knife
- Sanding blocks (hand sanding only, 120 and 220 grit)
- Tack cloth
- Foam rollers (4-inch, short nap) and quality synthetic brushes
- Veneer roller or J-roller for film application
- Respirator (N95 minimum; P100 for spray work)
- Paint sprayer (optional but strongly recommended for a smooth finish)
- Clamps and painter’s tape
Materials and products:
- Zinsser BIN shellac-based primer or Zinsser 1-2-3 water-based primer as a high-bond adhesion base coat
- Benjamin Moore Advance (alkyd-hybrid, self-leveling) or a Sherwin-Williams cabinet-grade formula such as Emerald Urethane for the finish coat
- 3M DI-NOC architectural film or comparable adhesive-backed vinyl for thermofoil resurfacing
- Contact adhesive or pressure-sensitive adhesive for veneer sheets
- Lightweight patching compound or wood filler for minor MDF surface losses
- Degreaser (TSP substitute or a dedicated cabinet cleaner)
Safety notes: Work in a ventilated space with windows open and a fan exhausting air out. Wear your respirator whenever you’re using a heat gun on vinyl or spraying primer and paint. Never use an orbital sander on exposed MDF. The abrasive action of a random-orbit pad disintegrates the MDF face and creates a surface that no primer can adequately seal. Hand-sanding only.
According to a DIY removal and refinish guide on SeleneBuildsThings, careful hand-sanding after heat removal leaves the MDF in workable condition in most cases, provided the core hasn’t absorbed moisture.
DIY workflow A: remove the thermofoil, prep the MDF, and paint
This is the most common route for cabinets with isolated peeling or bubbling on otherwise sound doors. Budget a full weekend for a typical kitchen’s worth of doors.
Step 1: Remove the doors and label them. Number each door and its corresponding opening with painter’s tape. Removing hardware now saves frustration later.
Step 2: Warm the vinyl with a heat gun. Set the heat gun to a low-to-medium setting (around 300°F) and hold it 2–3 inches from the surface. Move it slowly in overlapping passes. The vinyl will soften within 30–60 seconds. Bubbled or already-lifting areas often release with almost no heat at all.
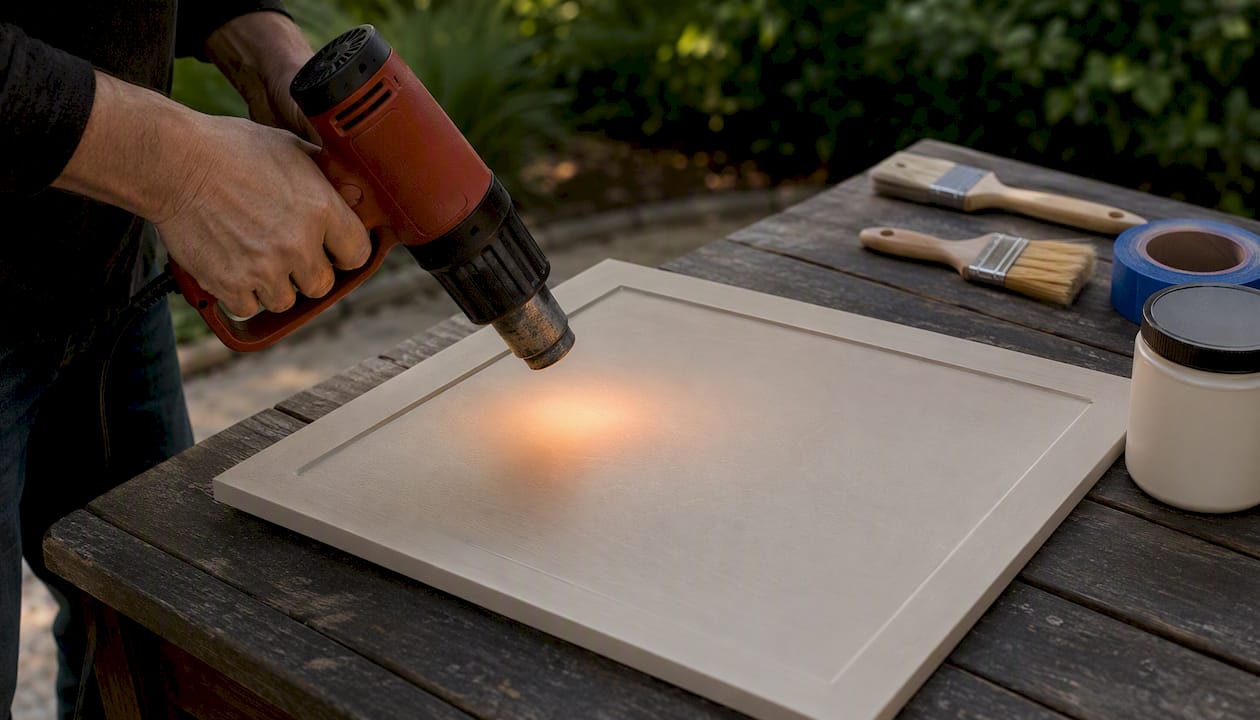
Step 3: Lift and peel. Slide a plastic scraper or your fingernail under a lifted edge and peel steadily. Pull at a low angle, parallel to the surface, to avoid gouging the MDF. If the vinyl tears, reheat and continue. Don’t force cold vinyl.
Step 4: Remove adhesive residue. Warm any remaining adhesive with the heat gun and scrape it off. A rag dampened with mineral spirits or adhesive remover handles stubborn spots. Let the surface dry completely before sanding.
Step 5: Hand-sand carefully. Use 120-grit on a sanding block to smooth any raised MDF fibers or adhesive ridges. Follow with 220-grit. The goal is a flat, uniform surface, not bare wood. Wipe with a tack cloth.
Step 6: Fill minor losses. Any small gouges or torn MDF fibers get a thin skim of lightweight patching compound. Let it dry, sand flush, and tack again.
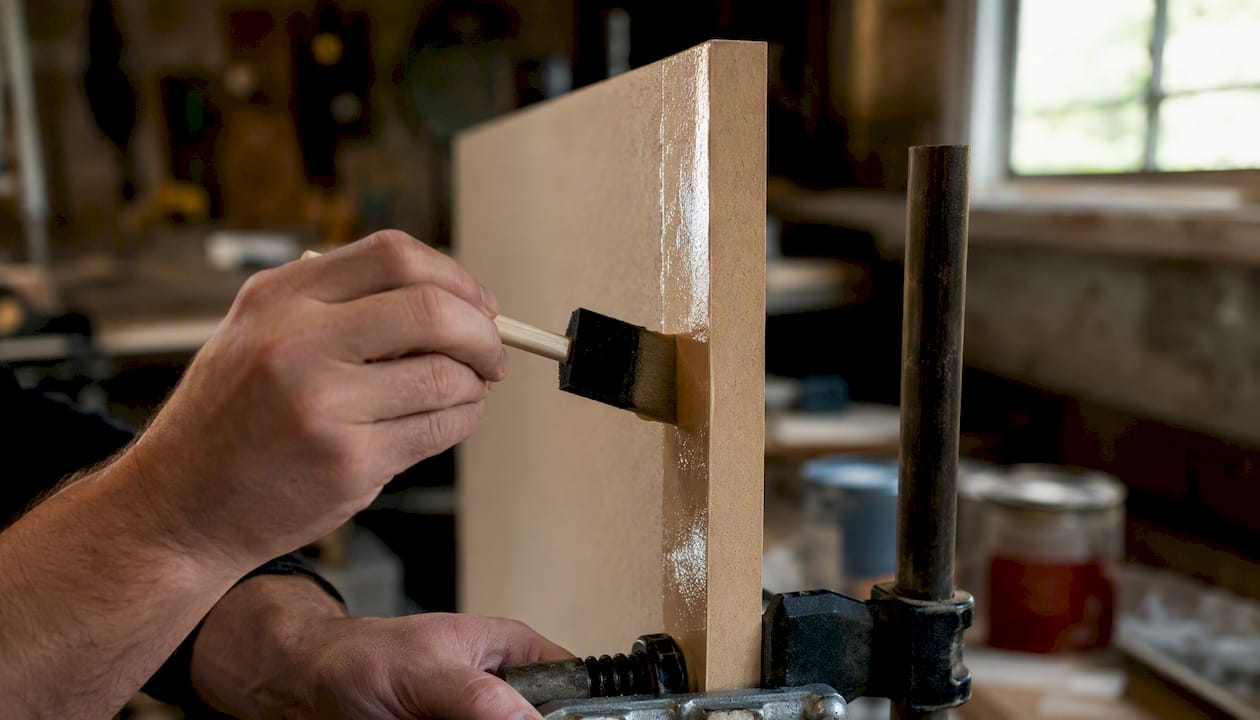
Step 7: Prime with a high-bond primer. Zinsser BIN shellac-based primer seals MDF exceptionally well because shellac penetrates the fibers and locks them down. Apply one coat, let it dry fully (about 45 minutes), sand lightly with 220-grit, tack, and apply a second coat. This step is where most DIY failures happen: skipping the second prime coat leads to raised grain and poor paint adhesion.
Step 8: Apply cabinet-grade paint. Benjamin Moore Advance or a comparable alkyd-hybrid formula levels beautifully with a foam roller and leaves minimal texture. A paint sprayer gives a smoother result if you have access to one. Apply two thin coats, sanding lightly between them with 320-grit. Let the final coat cure for at least 72 hours before rehanging doors, and wait a full week before stacking anything against the painted surface.
A step-by-step DIY tutorial on Life On Virginia Street documents this exact workflow with successful medium-term results, confirming that careful prep and a quality bonding primer are the two non-negotiable variables.
When to stop: If you peel a door and find the MDF is soft, raised, or crumbling in more than a small area, set that door aside and order a replacement. Continuing to prep and paint compromised MDF is wasted effort.
Pro Tip: Seal MDF edges with two coats of shellac primer before any other product touches them. Edges are the most porous part of the substrate and will telegraph every imperfection through the finish coat if they’re not locked down first.
DIY workflow B: apply new thermofoil or adhesive veneer
If you want to preserve the vinyl look or avoid painting altogether, applying new thermofoil film or adhesive-backed veneer is a solid option. It’s more demanding than painting but produces a seamless, wipe-clean surface when done right. This Old House covers the full refacing sequence in detail, including face-frame prep and door installation.
Step-by-step sequence:
- Remove old doors and strip any remaining thermofoil from the face frames using the heat-gun method above.
- Clean all surfaces with a TSP substitute solution, rinse, and let dry for 24 hours.
- Measure each door and panel carefully, adding 1 inch on every side for trimming.
- Cut the film or veneer sheet with a sharp utility knife and a straight edge.
- Apply contact adhesive to both the substrate and the back of the film (for contact-bond types), or peel the backing and position carefully for pressure-sensitive films.
- Use a J-roller or veneer roller to press from the center outward, eliminating air pockets as you go.
- Trim edges with a sharp utility knife held at a slight inward angle. A dull blade tears the film.
- Seal all edges with a compatible edge-banding adhesive or heat-activated edge tape.
Product notes: 3M DI-NOC is a commercial-grade architectural film available in dozens of finishes, including wood grain and solid colors. It’s thicker and more durable than most consumer-grade thermofoil sheets, but it requires careful handling and a clean, flat substrate. For face frames, peel-and-stick veneer sheets in real wood or melamine are widely available at home improvement stores.
Advantages over painting: A properly applied film is seamless, highly resistant to wiping and mild cleaners, and doesn’t require the same cure time as paint. Disadvantages: Edge sealing is demanding, and the heat susceptibility that caused the original failure remains. Cabinets near a range still need a heat shield or ventilation improvement, or the new film will eventually lift at the same spots.
When a DIY application is realistic: flat-panel doors with no routed profiles. Raised-panel or detailed doors are difficult to wrap cleanly without professional vacuum-forming equipment. For those, ordering factory-covered replacement doors is the more practical call.
Spot repairs: fixing bubbles, edges, and small gouges
Not every thermofoil problem requires a full reface. Localized bubbling, minor edge lifting, and small gouges can often be addressed in an afternoon.
Bubbles: A bubble means the adhesive has released in a small area. Warm the bubble gently with a heat gun until the vinyl becomes pliable, then press it flat with a veneer roller or a smooth cloth. If the adhesive is still tacky, pressure alone may re-bond it. If not, inject a small amount of contact adhesive under the bubble with a syringe, press flat, and hold with tape for 30 minutes. This fix is temporary near heat sources; the adhesive will soften again.
Edge delamination: Clean the lifted edge with a degreaser and let it dry. Apply contact adhesive to both the vinyl underside and the substrate, wait until both surfaces are tacky (about 5 minutes), then press firmly and clamp or tape overnight. Protect the seam with a thin bead of clear silicone caulk if it’s near the sink or dishwasher.
Small gouges: Fill with a color-matched wood filler or a lightweight patching compound, let dry, sand flush, and touch up with a matching paint pen or cabinet touch-up kit. The result won’t be invisible, but it stops moisture from getting in.
Mistakes to avoid: Never paint over actively peeling vinyl. The paint seals the edge down temporarily, but the vinyl continues to lift underneath and the paint peels with it within months. Never use an orbital sander on exposed MDF. And don’t skip edge sealing after any repair near a heat or moisture source.
Maintenance after repair: Wipe cabinets with a damp cloth and mild dish soap only. Avoid abrasive cleaners and steam. Keep a heat shield or range hood running whenever the cooktop is in use. A well-maintained repair near a heat source can last 2–3 years; away from heat, much longer.
What professionals check and when to hire a pro
A professional evaluation goes beyond what most homeowners inspect. Pros check the cabinet boxes for squareness (out-of-square boxes mean new doors won’t hang correctly), test the face frames for moisture damage, evaluate MDF condition under the vinyl by pressing and probing, and assess whether the existing hinge hardware is compatible with new doors.
DSJ Painting and Decorating notes that painting thermofoil requires professional assessment, mechanical scuffing, commercial bonding primers, and controlled spray application to approach a durable finish. Even with all of that, a painted thermofoil surface won’t match the performance of a factory-applied cabinet coating.
Hire a pro when:
- Multiple doors show edge failure and the MDF condition is uncertain
- The kitchen has widespread moisture damage or swelling
- You want a finish that looks and performs like new cabinets for 5 or more years
- The job involves routed or raised-panel doors that can’t be wrapped by hand
Questions to ask a prospective contractor:
- Do you use catalyzed or two-component coatings, or consumer-grade acrylic?
- How do you protect cabinet interiors and countertops during spray work?
- What’s your prep sequence for MDF substrates?
- Do you offer a warranty on the finish?
A professional factory-finish refinishing project on a typical kitchen runs 3–5 days from start to rehang. The NKBA sets professional standards for kitchen and bath projects, and a contractor who references those standards or holds NKBA membership is signaling they work to a defined quality baseline. According to Sinclair Cabinets, a well-executed refacing using factory-grade film or veneer with proper adhesive and edge-sealing can add 10–15 years to a kitchen’s useful aesthetic life when the boxes are sound.
Realistic costs and timelines for every route
Costs vary by kitchen size, door count, and local labor rates. The ranges below reflect U.S. market conditions and are consistent with guidance from This Old House and Forbes.
A note on value: Forbes reports that refacing can deliver significant savings compared to full replacement, particularly when the cabinet layout is staying the same and the boxes are structurally sound.
For a deeper look at the refinishing-vs-replacement decision specific to the Denver market, the Cabinet Refinishing vs. Replacing in Denver guide covers local cost expectations and decision criteria in detail.
The view from a refinishing shop
The most common mistake homeowners make is deciding on a route before they’ve looked at the substrate. A door that looks like a paint candidate turns out to have soft MDF at the bottom rail, and a door that looks too far gone peels cleanly and has a perfectly flat core underneath. The inspection always changes the plan.
One thing worth knowing: professional shops apply catalyzed or two-component coatings with industrial spray equipment. That combination produces a harder, more level film than anything available in a consumer spray can or a brush-and-roller application. The prep sequence matters too. Pros typically spray a shellac-based sealer on all MDF surfaces before any primer, which locks down the fibers and prevents the raised-grain problem that plagues DIY MDF finishing.
For borderline cases, especially kitchens where some doors are fine and others are questionable, a professional estimate costs nothing and gives you a second set of eyes on the substrate condition. It’s worth the 30 minutes before you commit a weekend to a project that might need a different solution.
Cabinetsrefinishing handles the hard cases
Refacing thermofoil cabinets yourself is genuinely doable when the substrate is clean and the damage is limited. But when the job involves multiple failing doors, uncertain MDF condition, or a homeowner who wants a finish that holds up for years without touch-ups, the DIY math changes fast.

Cabinetsrefinishing brings a factory-finish spray process to Denver kitchens, with on-site evaluation, custom color matching, and a 3–5 day turnaround that gets your kitchen back in use without the disruption of a full replacement. Refinishing costs run $3,000–$8,000 for a typical kitchen, compared with $15,000–$40,000 for new cabinets. The finish uses multiple protective layers applied with professional spray equipment, providing a harder, more level film than consumer-grade spray cans or brush-and-roller methods.
If your inspection turns up more than you expected, request an estimate from Cabinetsrefinishing and get a professional read on what your cabinets actually need.
Sources
The sources below were used to build this guide. They cover both DIY and professional perspectives so you can verify methods and cost ranges independently.
Recommended
- Farmhouse DenverKitchen Cabinet Style: What You Need to Know
- Modernizing Kitchen Cabinets on a Budget: The Denver Homeowner’s Guide to High-End Results
- Cabinet Refinishing vs. Replacing in Denver: A 2026 Homeowner’s Decision Guide
- Kitchen Makeover on a Budget: Professional Cabinet Refinishing in Denver (2026) – Cabinet Refinishing and Cabinet Painting Denver 720-219-9716