
Cabinet refinishing between tenant turnovers is the fastest, most cost-effective way for landlords and property managers to restore kitchen cabinetry without replacing it. The industry term for this process is cabinet restoration or cabinet recoating, and it covers degreasing, sanding, priming, and applying durable topcoats to existing cabinet boxes and doors. Professional projects complete in 3–7 working days, fitting neatly inside a standard vacancy window. Refinishing costs range from $3,000 to $8,000, compared to $15,000–$40,000 for full replacement. That gap alone makes refinishing the default choice for most rental units where the cabinet boxes are structurally sound.
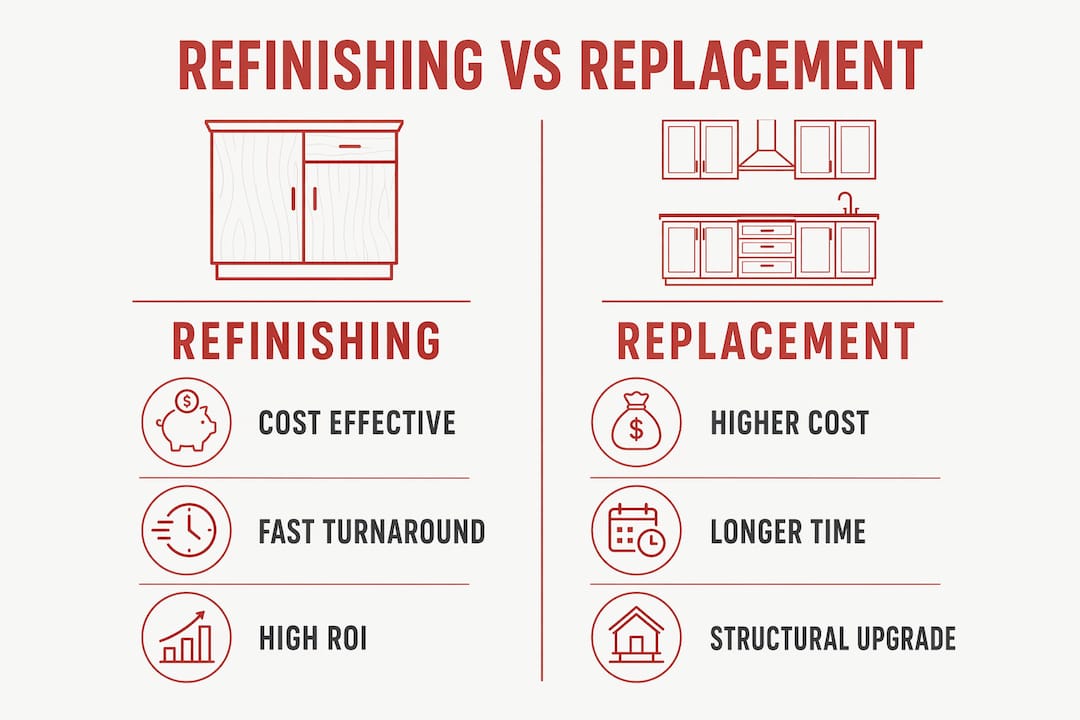
How does cabinet refinishing between tenant turnovers compare to replacement?
The financial case for refinishing over replacement is clear. Cabinet refacing averages $8,250 versus $15,000–$35,000 for a full replacement. That is a savings of at least $6,750 on the low end, money that goes directly back into your operating budget.
The ROI difference is even more striking. Refinishing recoups roughly 113% of its cost at resale, while full replacement returns only about 50.9%. For a rental property, that math is decisive. You spend less and get more value back.
Time is the other critical factor. Refinishing is 60–90% faster than replacement. A full cabinet replacement can take 3–8 weeks, pulling your unit off the rental market and costing you weeks of lost income. Refinishing wraps up in days, not weeks.
Pro Tip: If one or two cabinet sections are damaged beyond repair, consider a hybrid approach. Refinish the majority of the cabinets and replace only the damaged sections. This keeps costs low while delivering a consistent, fresh look throughout the kitchen.
A hybrid refinish-and-replace strategy works well when a unit has one damaged base cabinet but otherwise sound boxes. You avoid a full remodel while still presenting a clean, updated kitchen to your next tenant.
| Factor | Refinishing | Full Replacement |
|---|---|---|
| Average cost | $3,000–$8,000 | $15,000–$40,000 |
| Project duration | 3–7 days | 3–8 weeks |
| ROI at resale | ~113% | ~50.9% |
| Vacancy impact | Minimal | Significant |
| Best for | Sound cabinet boxes | Structural damage or layout change |
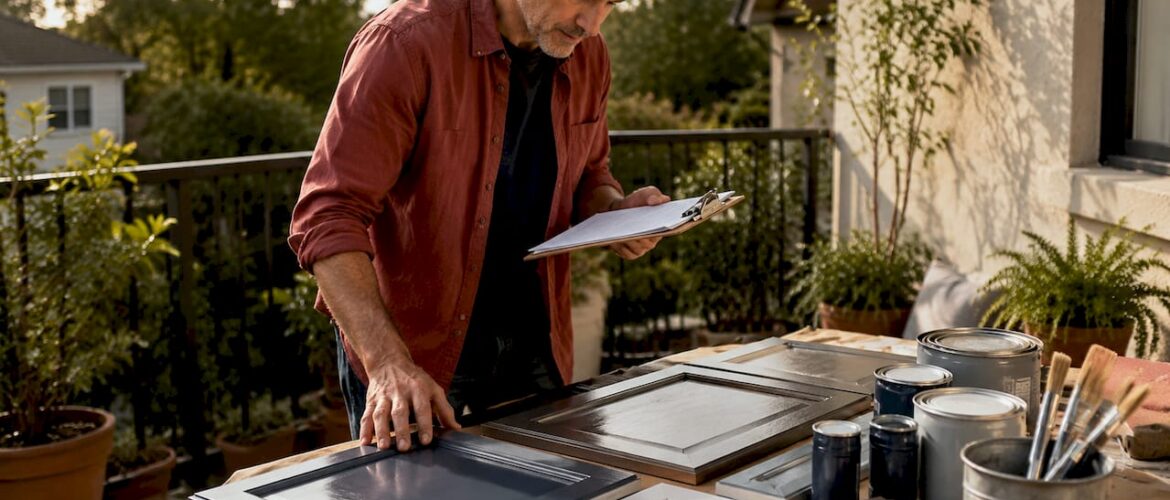
Preparing rental cabinets for refinishing during tenant transitions
Good preparation is what separates a finish that lasts five years from one that peels within six months. Thorough degreasing and sanding are the two steps that most DIY attempts skip or rush, and they are the two steps that matter most for adhesion.
Tools and materials you need
Before work begins, gather the right supplies:
- Degreaser: TSP (trisodium phosphate) or a commercial cabinet degreaser removes cooking grease and residue that prevents paint from bonding.
- Sandpaper: 120-grit for initial scuffing, 220-grit for finish sanding between coats.
- Primer: A bonding primer formulated for wood or MDF surfaces.
- Topcoat: A low-VOC topcoat rated for high-traffic surfaces. Low-VOC formulas dry faster and are safer in units where you may need to allow access sooner.
- Painter’s tape and plastic sheeting: To protect countertops, appliances, and floors.
- Tack cloth: For removing sanding dust before each coat.
Logistics for a smooth turnover
Schedule the refinishing project for the first week of vacancy. This gives the finish adequate cure time before new tenants move in and start using the cabinets daily. Coordinate with your contractor at least two weeks in advance, since quality professionals book out quickly, especially in spring and summer when turnover rates peak.
Ventilation is non-negotiable. Open windows and run fans to exhaust fumes, even when using low-VOC primers and topcoats. If the unit shares HVAC with occupied units, seal vents in the work area to prevent odor migration.
Pro Tip: Walk the unit with your contractor before signing a contract. Point out any water-damaged areas, delaminating MDF, or loose hinges. Addressing these before refinishing prevents callbacks and warranty disputes later.
| Item | Purpose | Notes |
|---|---|---|
| TSP degreaser | Remove grease and residue | Rinse thoroughly after use |
| 120/220-grit sandpaper | Surface prep and between coats | Do not skip 220-grit finish sand |
| Bonding primer | Adhesion base coat | Required on glossy or previously painted surfaces |
| Low-VOC topcoat | Durable, safe finish | Choose a product rated for kitchen use |
| Tack cloth | Dust removal | Use before every coat |
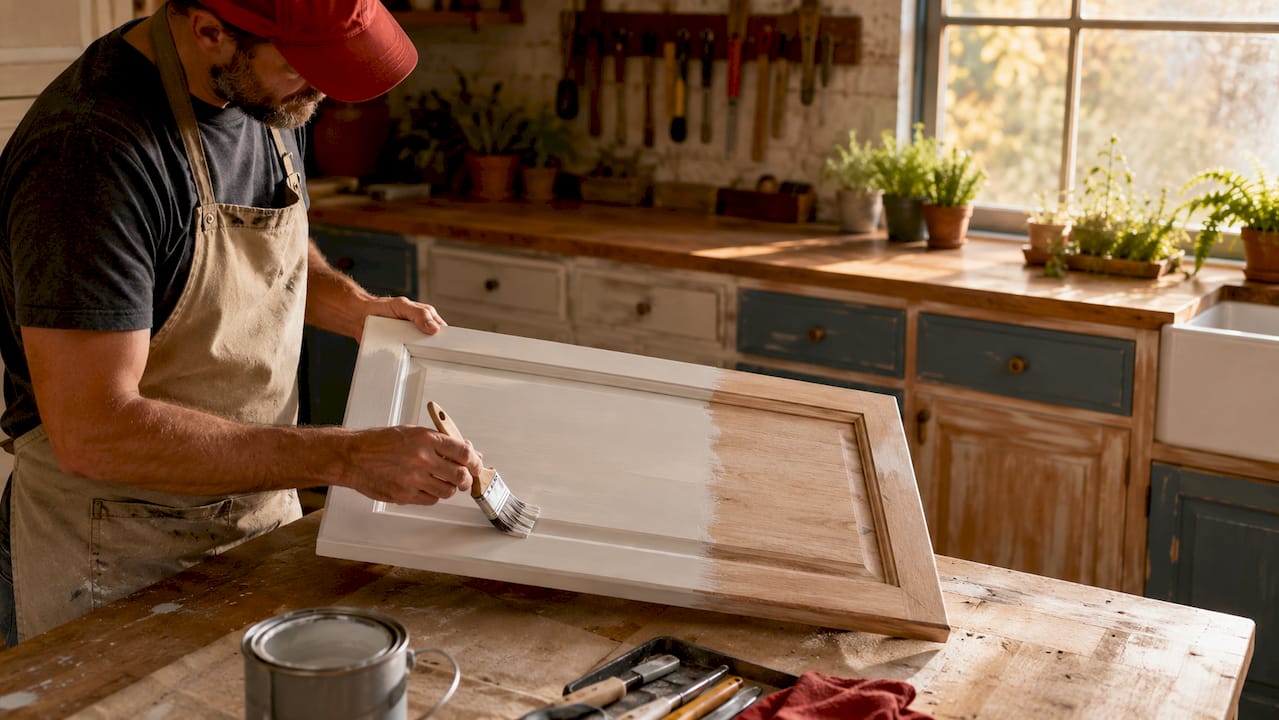
What is the step-by-step cabinet refinishing process for fast turnovers?
A professional refinishing sequence follows a fixed order. Skipping steps or rushing drying times causes the most common failures. Here is the process that Cabinetsrefinishing uses to deliver consistent results within tight turnover windows.
-
Remove all doors, drawers, and hardware. Label each door with painter’s tape and a marker so reinstallation is fast and accurate. Store hardware in labeled zip-lock bags.
-
Degrease all surfaces. Wipe down every cabinet box, door, and drawer front with a TSP solution or commercial degreaser. Pay extra attention to areas around the stove and above the range. Rinse with clean water and allow to dry completely.
-
Sand all surfaces. Use 120-grit sandpaper to scuff the existing finish. This creates mechanical adhesion for the primer. Follow with a tack cloth to remove all dust. Proper surface preparation at this stage directly determines how long the finish lasts.
-
Apply bonding primer. Spray or brush a thin, even coat of bonding primer. Allow full drying time per the manufacturer’s spec, typically 2–4 hours. Do not rush this step. A primer that is not fully dry will cause the topcoat to bubble or peel.
-
Sand lightly between coats. Use 220-grit sandpaper to knock down any raised grain or dust nibs after the primer dries. Wipe with a tack cloth before applying the topcoat.
-
Apply topcoat in two coats. Use a low-VOC, water-based enamel or alkyd topcoat rated for kitchen cabinets. Apply two thin coats rather than one thick coat. Thick coats sag and take longer to cure. Allow each coat to dry fully before the next.
-
Reinstall doors, drawers, and hardware. Check that all doors hang level and close without binding. Adjust hinges as needed. Tighten all screws and test drawer slides.
Pro Tip: Never rush the cure time. A finish may feel dry to the touch in 2 hours but needs 24–48 hours to cure hard enough for daily use. Schedule move-in at least 48 hours after the final topcoat to prevent scuffs and marks that will show up in your next tenant walkthrough.
The most common execution mistake is applying the topcoat before the primer is fully cured. The second most common mistake is skipping the degreasing step on units that “look clean.” Cooking grease is invisible in many lighting conditions but will cause adhesion failure within weeks.
How do you extend cabinet finish life between tenant cycles?
Peeling, bubbling, and chipping are the three most common refinishing failures, and all three trace back to poor prep or inferior materials. A professionally applied finish using quality products should last 5–10 years with normal rental use.
To extend the life of refinished cabinets and reduce the workload at future turnovers, follow these practices:
- Include cabinet care instructions in your move-in packet. Tell tenants to use a soft cloth and mild dish soap for cleaning. Abrasive cleaners and steel wool will scratch the finish.
- Inspect cabinets at every lease renewal. Catching a small chip early costs almost nothing to fix. Waiting until move-out means refinishing an entire door or section.
- Address moisture sources immediately. A leaking sink or dishwasher that sits unrepaired for months will cause the cabinet finish to fail at the base. Fix plumbing issues fast.
- Use soft-close hinges and drawer slides. Slamming is the single biggest cause of finish damage at door edges and corners. Soft-close hardware costs $2–$5 per door and pays for itself quickly.
- Plan a touch-up coat every 3–5 years. A light scuff sand and single topcoat refreshes the finish without a full refinishing project. This is far cheaper than a full redo and keeps the kitchen looking sharp for prospective tenants.
Knowing how long a professional finish lasts helps you plan your maintenance budget accurately. A well-applied finish on a rental unit should survive two to three tenant cycles before needing a full redo.
Key takeaways
Cabinet refinishing is the highest-ROI kitchen update available to landlords, returning roughly 113% of cost while cutting vacancy time by up to 60% compared to full replacement.
| Point | Details |
|---|---|
| Cost advantage | Refinishing costs $3,000–$8,000 versus $15,000–$40,000 for full cabinet replacement. |
| Turnover speed | Professional refinishing completes in 3–7 days, fitting standard vacancy windows. |
| ROI at resale | Refinishing recoups ~113% of cost; replacement returns only ~50.9%. |
| Prep is the priority | Degreasing and sanding determine finish longevity more than any other single factor. |
| Extend finish life | Soft-close hardware, tenant care instructions, and 3-to-5-year touch-ups reduce future turnover costs. |
Why I think most landlords leave money on the table with cabinet decisions
I have seen hundreds of rental kitchens, and the pattern is consistent. A landlord walks into a unit after move-out, sees dingy, scratched cabinets, and immediately calls a cabinet supplier for replacement quotes. The quote comes back at $20,000 or more, the landlord winces, and then either pays it or does nothing. Both outcomes are wrong.
Refinishing is the preferred choice when cabinet boxes are intact and the layout works. That describes the majority of rental units I have seen. The boxes are fine. The doors are scratched. The finish is yellowed. That is a refinishing job, not a replacement job.
The landlords who get this right treat refinishing as a scheduled maintenance item, not an emergency repair. They budget for it every 5–7 years per unit, coordinate it with their turnover window, and hand the keys to new tenants with a kitchen that looks genuinely updated. Those landlords also command higher rents and see shorter vacancy periods. The connection is direct.
The ones who struggle either skip the update entirely and lose prospective tenants to better-looking units, or they overspend on full replacement and blow their annual maintenance budget on one kitchen. Neither approach makes financial sense when refinishing delivers better ROI at a fraction of the cost and time.
My advice is simple. Get a refinishing quote before you ever call a cabinet supplier. The cabinet painting ROI data for rental properties is clear, and the decision is usually obvious once you see the numbers side by side.
— Jesse
Get your rental unit ready faster with Cabinetsrefinishing
Cabinetsrefinishing specializes in fast, durable cabinet refinishing for landlords and property managers across the Denver metro area. Projects complete in 3–5 days using a factory-finish methodology that includes meticulous surface prep, bonding primers, and multiple protective topcoat layers. The result is a finish that holds up through multiple tenant cycles without peeling or chipping.
If you manage rental properties and need a reliable partner who understands turnover schedules, Cabinetsrefinishing delivers. Call or text 720-219-9716 for a quote and get your unit back on the market faster. You can also explore the full range of Denver refinishing services to find the right fit for your property.
FAQ
How long does cabinet refinishing take during a tenant turnover?
Professional cabinet refinishing takes 3–7 working days, which fits comfortably within a standard vacancy window. Full cabinet replacement takes 3–8 weeks and significantly extends vacancy periods.
Is cabinet refinishing durable enough for rental properties?
Yes. A professionally applied finish using bonding primers and low-VOC topcoats rated for kitchen use lasts 5–10 years with normal rental wear. Proper surface prep is the key factor in long-term durability.
When should I refinish versus replace rental cabinets?
Refinish when the cabinet boxes are structurally sound and the layout works for the unit. Replace only when boxes show water damage, rot, or structural failure. Refinishing recoups ~113% of cost versus ~50.9% for replacement, making it the stronger financial choice in most cases.
What causes refinished cabinets to peel or chip?
Peeling and chipping are almost always caused by skipping the degreasing step, using inadequate primer, or applying topcoat before primer has fully cured. Professional application with quality materials prevents all three failure modes.
Can I refinish cabinets in an occupied rental unit?
Refinishing in an occupied unit is possible but requires careful planning. Use low-VOC primers and topcoats and maintain strong ventilation throughout the project. Scheduling the work during a vacancy is always the better option when timing allows.
Recommended
- Cabinet Painting for Rentals: Landlord’s ROI and Durability.
- Cabinet Painting Services for Property Managers in Denver: High-ROI Kitchen Upgrades – Cabinet Refinishing and Cabinet Painting Denver 720-219-9716
- Cabinet Painting Project Management: A Professional Guide for Denver Homeowners – Cabinet Refinishing and Cabinet Painting Denver 720-219-9716
- Cabinet Painting for New Homeowners in Denver: The Ultimate Kitchen Update Guide – Cabinet Refinishing and Cabinet Painting Denver 720-219-9716