
Cabinet color selection is the single most impactful decision in any kitchen refinishing project. Choose the wrong color and even a flawless finish feels off. Choose right and your kitchen looks like a full remodel at a fraction of the cost. Professional refinishing costs $3,000–$8,000, compared to $15,000–$40,000 for full cabinet replacement. That gap makes the cabinet color selection refinishing guide you follow one of the most financially significant choices in your home. Products like Sherwin-Williams Emerald Urethane Trim Enamel and Benjamin Moore Advance are the industry standards for achieving a durable, factory-quality result.
What kitchen cabinet colors and styles are trending in 2026?
Homeowners are moving away from stark white kitchens toward deep neutrals and warm, layered tones. Mushroom, warm taupe, rich woody browns, deep navy, and forest green are leading the shift. These colors deliver drama without the volatility of jewel tones, which can feel dated within a few years. Design experts confirm that deeper, moodier cabinet colors with warm wood accents will dominate kitchen renovations in 2026.
The most popular kitchen cabinet color ideas for 2026 include:
- Deep navy and slate blue for a grounded, classic feel
- Forest green and sage for organic warmth without going rustic
- Greige and warm off-white as the new neutral baseline
- Layered maroon and dusty rose for kitchens with personality
- Powder blue for a soft, airy contrast against dark countertops
- Warm wood tones and stains for texture and natural depth
Pro Tip: Avoid committing to a single bold color on all cabinets. Test it on one door panel first and live with it for three days before refinishing the full set.
Two-tone cabinet designs are gaining real traction. Lighter upper cabinets paired with darker lower cabinets or a contrasting island create visual interest without overwhelming the space. This approach works especially well in mid-sized kitchens where a single bold color might feel heavy. Mixing painted cabinets with natural wood grain panels adds texture and prevents the flat, uniform look that made all-white kitchens feel sterile.
For homeowners who want to stay current without chasing trends, warm neutrals are the safest long-term investment. Check out 2026 color trends for Denver-specific refinishing ideas that pair well with Colorado’s natural light and home styles.
How to coordinate cabinet colors with your kitchen’s existing elements?
Cabinet color does not exist in isolation. Your countertops, backsplash, flooring, and lighting all interact with the cabinet finish every single day. Getting this coordination right is what separates a kitchen that feels designed from one that just feels painted.
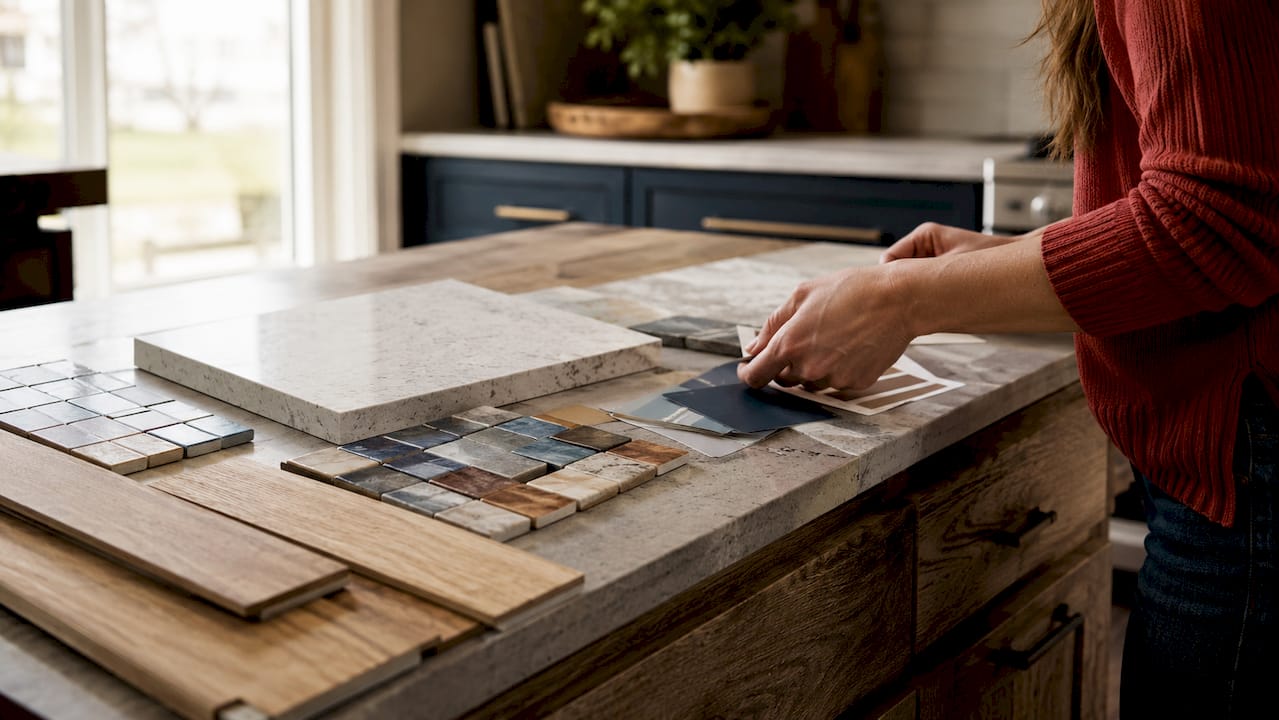
Start by identifying your kitchen’s dominant material. Granite countertops with heavy veining call for quieter cabinet colors like greige or warm white. Bright white quartz pairs well with navy or forest green. Marble surfaces, which carry natural gray and gold tones, work beautifully alongside coordinated cabinet and marble colors in warm taupe or soft sage.
Use this checklist before finalizing your color choice:
- Countertop color and pattern: Busy stone patterns need calm cabinet colors. Solid surfaces can handle bolder choices.
- Backsplash tile: Subway tile in white or gray is neutral enough to work with almost any cabinet color. Patterned or colored tile limits your options.
- Flooring tone: Warm wood floors pair with warm cabinet tones. Cool gray tile floors work with navy, sage, or greige.
- Wall color: Cabinet color and wall color should contrast enough to define the space. Matching them too closely flattens the room.
- Lighting type and direction: North-facing kitchens with cool light make warm tones look muddy. South-facing kitchens with warm afternoon light can handle cooler cabinet colors.
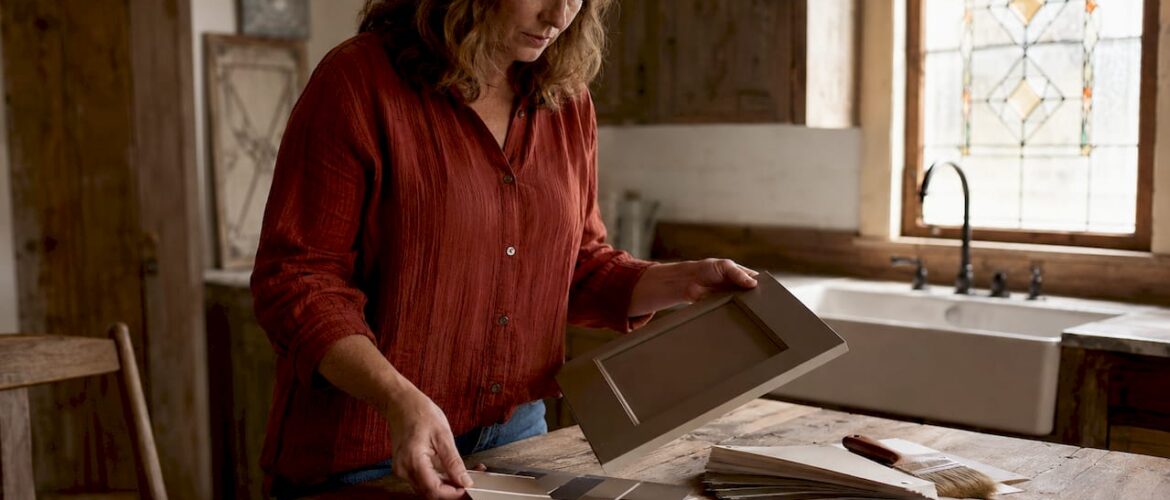
Testing paint samples under different lighting conditions throughout the day is non-negotiable. Cabinet colors shift dramatically from morning to afternoon to evening light. A color that looks perfect at noon can appear greenish or gray by 7 p.m. Paint at least two large sample swatches on actual cabinet doors and observe them across a full day before committing.
Pro Tip: Bring a physical sample of your countertop material to the paint store. Hold it next to color chips under the store’s lighting, then take both home to compare under your kitchen’s actual light.
What essential preparation steps ensure successful cabinet refinishing?
Preparation quality directly determines whether your refinishing project lasts two years or twenty. Poor prep is the leading cause of paint failure, stain bleed, and peeling finishes. No amount of premium paint fixes a surface that was not properly cleaned, sanded, and primed.
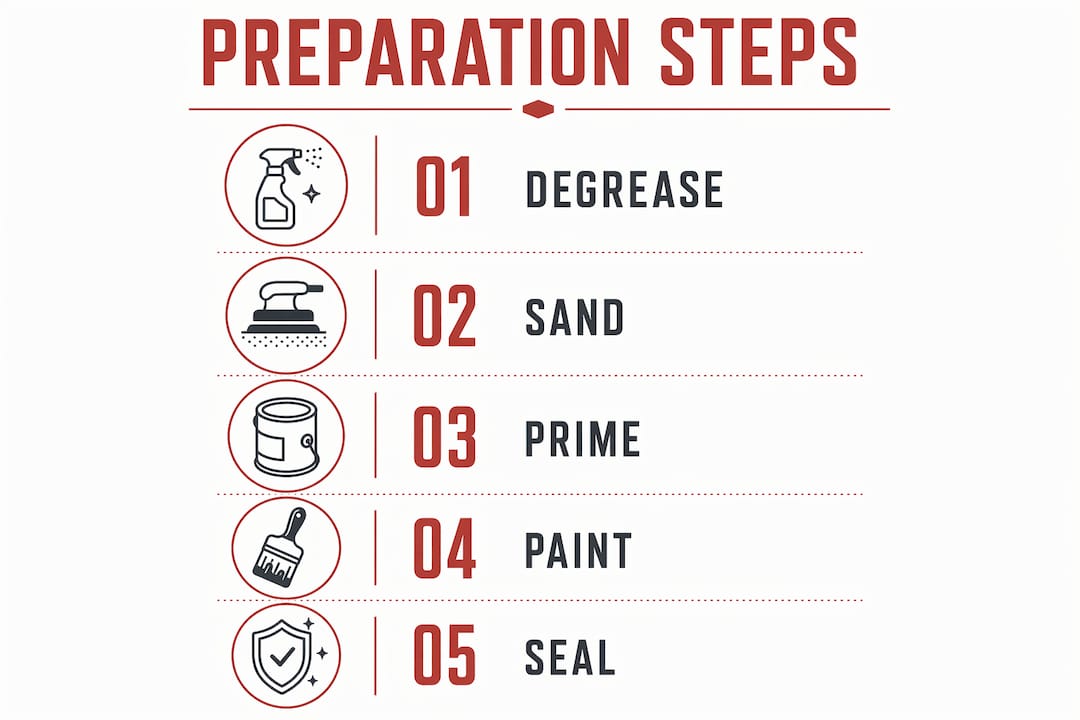
Follow these steps in order for a durable result:
- Remove all hardware and cabinet doors. Work on doors flat, not vertical. Gravity causes paint to sag when doors are hung during application.
- Degrease every surface. Kitchen cabinets accumulate grease and cooking residue that prevents paint adhesion. Use mineral spirits or a dedicated degreaser on all surfaces before sanding.
- Sand with the right grit. Start with 120-grit to scuff the existing finish, then finish with 180-grit for a smooth surface. Never skip sanding, even on previously painted cabinets.
- Choose the correct primer for your surface. Proper primer selection depends on the existing cabinet material. Use bonding primer for laminate, shellac-based primer for stain blocking, and waterborne primer for previously painted wood.
- Apply a stain-blocking primer when switching from dark stain to light paint. Shellac-based stain-blocking primers prevent tannin and stain bleed-through, which is the most common DIY refinishing failure when going from dark to light colors.
- Sand lightly between coats. Use 220-grit between primer and paint coats. This removes dust nibs and creates mechanical adhesion for the next layer.
Pro Tip: If your cabinets have a heavy lacquer or conversion varnish finish, a liquid deglosser applied before sanding will save you significant time and improve adhesion without aggressive sanding.
The most common prep mistake is skipping the degreasing step or using a weak cleaner. Dish soap does not remove polymerized cooking grease. Mineral spirits or a product like TSP substitute does. Spend the extra time here and every subsequent step becomes easier.
What are the best paint and stain options for refinishing cabinets?
The finish product you choose determines the final look, durability, and cleanability of your cabinets. Not all paints perform equally on kitchen cabinets, which face heat, moisture, grease, and daily contact.
| Product | Type | Best For | Finish Quality |
|---|---|---|---|
| Benjamin Moore Advance | Waterborne alkyd | Painted cabinets, all colors | Furniture-grade, hard finish |
| Sherwin-Williams Emerald Urethane | Acrylic urethane | High-traffic kitchens | Excellent flow, blocking resistance |
| General Finishes Gel Stain | Oil-based gel stain | Wood grain cabinets | Rich, even color penetration |
| Minwax Polycrylic | Water-based topcoat | Stained wood protection | Clear, low-yellowing |
Waterborne alkyd paints provide a smooth, hard, furniture-quality finish with low VOCs and easy cleanup. Benjamin Moore Advance and Sherwin-Williams Emerald are the two most recommended products among professional refinishers. Both self-level well, which reduces brush marks and spray texture.
Key considerations when selecting your product:
- Satin or semi-gloss finish only. Satin and semi-gloss finishes are preferred for kitchen cabinets because they resist moisture and wipe clean easily. Flat or matte finishes absorb grease and cannot be scrubbed without damage.
- Paint vs. stain: Paint covers the wood grain and gives a uniform color. Stain enhances the grain and works only on raw or previously stained wood. You cannot stain over paint without stripping first.
- Alkyd or acrylic urethane hybrids yield the most durable finish for cabinets subject to frequent cleaning and wear.
For a detailed breakdown of paint types for cabinets, Cabinetsrefinishing has published a pro-level guide covering product comparisons and application methods.
What are typical refinishing project timelines and budgets?
Professional cabinet refinishing costs $3,000–$8,000 for a full kitchen. Full cabinet replacement runs $15,000–$40,000. That is a savings of roughly $10,000–$30,000 for a result that looks nearly identical from the outside. Refinishing projects complete in 3–5 days. Replacement takes weeks and requires a fully disrupted kitchen during that time.
Several factors affect where your project lands in that cost range:
- Cabinet condition: Cabinets with deep scratches, water damage, or failing finishes require more prep time and cost more to refinish properly.
- Color change complexity: Switching from dark stain to a light paint color requires extra primer coats and more labor.
- Paint product selection: Premium products like Benjamin Moore Advance cost more per gallon but require fewer coats and last longer.
- Number of cabinet doors and drawers: More surfaces mean more time and more product.
Budget an additional $50–$150 for color testing before the project starts. Buy sample quarts of your top two or three color choices and apply them to spare door panels. This small investment prevents a costly color mistake on the full project. Professional color consultation, which Cabinetsrefinishing offers as part of their service, removes this guesswork entirely.
Cabinet refinishing is the right choice when your cabinet boxes are structurally sound and the kitchen layout works for you. If the layout is the problem, refinishing will not fix it. But if your cabinets are solid and just look outdated, refinishing delivers a high-end result at a fraction of replacement cost.
Key takeaways
The most effective cabinet color selection and refinishing approach combines trend-aware color choices with thorough preparation and the right paint product for lasting, professional results.
| Point | Details |
|---|---|
| Color trends favor deep neutrals | Mushroom, navy, forest green, and warm wood tones replace stark white in 2026. |
| Coordinate with existing elements | Match cabinet color to countertop, backsplash, flooring, and lighting before deciding. |
| Preparation determines durability | Degrease, sand, and prime correctly. Use shellac-based primer when switching dark stain to light paint. |
| Choose satin or semi-gloss finish | These sheens resist moisture and clean easily. Flat finishes fail in kitchen conditions. |
| Refinishing saves significant money | Professional refinishing costs $3,000–$8,000 versus $15,000–$40,000 for full replacement. |
Why I think most homeowners overthink cabinet color and underprepare the surface
Most homeowners spend weeks agonizing over color swatches and then rush through prep in a single afternoon. That is exactly backwards. Color matters, but a beautiful color on a poorly prepared surface will peel, blister, or bleed within a year. I have seen it happen on kitchens where the homeowner chose a stunning deep navy and applied it over a greasy, unsanded surface with the wrong primer. The color was perfect. The finish failed in eight months.
The colors I keep coming back to for long-term satisfaction are warm neutrals with one bold element. A greige base with a deep green island, or warm white uppers with a charcoal lower cabinet. These combinations photograph well, age gracefully, and do not make you regret your choice when trends shift. Bold colors on every surface are exciting in the showroom and exhausting after two years.
Two-tone designs are genuinely worth considering. They add depth without requiring you to commit to a single dramatic color throughout. And they photograph exceptionally well if you ever sell the home.
My honest advice: spend 80% of your planning time on prep and product selection, and 20% on color. Pick a color you love from the current trend palette, test it under your actual kitchen lighting for three full days, and then execute the prep perfectly. That combination produces results that last a decade.
— Jesse
Ready to transform your kitchen with the right color and finish?
Choosing the right color is only half the work. The other half is executing the refinishing with the right products, primers, and application method. Cabinetsrefinishing specializes in exactly this combination, offering professional color consultation tailored to your kitchen’s lighting, countertops, and style.
Projects complete in 3–5 days with industry-grade paints and a factory-finish process that delivers results brushwork simply cannot match. Cabinetsrefinishing serves the Denver metro area and backs every project with a durable, high-quality finish. Call or text 720-219-9716 to schedule your estimate, or explore the full Denver refinishing services to see what a professional color change looks like from start to finish.
FAQ
What is the best cabinet color for resale value in 2026?
Warm neutrals like greige, soft white, and warm taupe have the broadest buyer appeal and the strongest resale performance. Deep navy or forest green on a kitchen island adds visual interest without alienating buyers.
How long does professional cabinet refinishing take?
Professional refinishing projects typically complete in 3–5 days. That timeline includes prep, priming, painting, and reassembly, with far less disruption than a full cabinet replacement.
Can you refinish dark stained cabinets to a light color?
Yes, but it requires a shellac-based stain-blocking primer to prevent tannin bleed-through. Skipping this step is the most common reason DIY refinishing fails when going from dark to light.
What paint finish is best for kitchen cabinets?
Satin or semi-gloss finishes are the correct choice for kitchen cabinets. They resist moisture, tolerate scrubbing, and hold up to daily contact far better than flat or eggshell finishes.
How do I test cabinet colors before committing?
Buy sample quarts of your top two or three color choices and apply them to spare door panels or large cardboard pieces. Observe the samples under your kitchen’s morning, afternoon, and evening light for at least three days before making a final decision.
Recommended
- Kitchen Cabinet Color Trends 2026: Denver’s Guide to Modern Refinishing – Cabinet Refinishing and Cabinet Painting Denver 720-219-9716
- Kitchen Cabinet Color Trends Denver 2026: The Homeowner’s Guide to Modern Refinishing – Cabinet Refinishing and Cabinet Painting Denver 720-219-9716
- How to Choose a Cabinet Paint Color for Your Denver Home: A Professional Guide – Cabinet Refinishing and Cabinet Painting Denver 720-219-9716
- Cabinet Painting Color Consultation: Choosing the Perfect Finish for Your Denver Home – Cabinet Refinishing and Cabinet Painting Denver 720-219-9716