
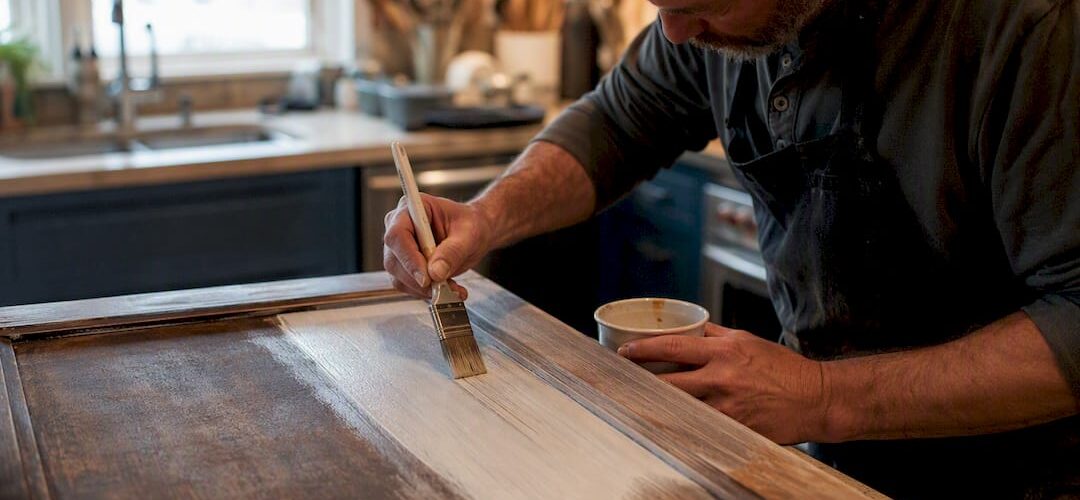
Yes, in most cases smoke-stained cabinet refinishing can bring cabinets back, as long as the boxes are structurally sound and the wood or veneer hasn’t warped or delaminated from heat and moisture. The fix follows a specific order, and skipping a step is why so many DIY attempts fail: HEPA vacuum first, degrease heavily second, seal with a shellac-based primer third.
- Vacuum every surface with a HEPA filter to pull soot particles out of grain and corners
- Degrease with TSP or a comparable heavy-duty cleaner to cut through nicotine and grease film
- Seal with a shellac-based primer so trapped odor and residue can’t bleed through your topcoat
If the boxes are swollen, cracked, or the smell persists after the wood dries out completely, replacement is the more honest answer.
Key Takeaways
Smoke stained cabinets refinishing succeeds when cleaning, degreasing, and shellac-based sealing happen in that exact order, with replacement reserved for structurally compromised boxes.
| Point | Details |
|---|---|
| Verdict comes first | Structurally sound cabinets with lingering smoke or nicotine stains are almost always salvageable through refinishing. |
| Follow the three-stage sequence | HEPA vacuum, then heavy degreasing, then shellac-based sealing, in that exact order, prevents stain and odor bleed-through. |
| Seal the interior, not just faces | Skipping the inside of the box lets trapped odor resurface even after a good repaint. |
| Match primer and topcoat to substrate | Laminate and thermofoil need gentler cleaners and different priming than solid wood or veneer. |
| Cabinetsrefinishing offers the pro path | Cabinet Refinishing Denver completes factory-finish jobs in 3 to 5 days for $3,000 to $8,000 when DIY isn’t enough. |
Table of Contents
- How Do You Know If Smoke Damage Is Surface-Level or Deep?
- What Do You Need To Clean Smoke Off Cabinets Safely?
- Why Does Sealing Matter More Than Cleaning Alone?
- What’s the Right Way to Sand Before Refinishing?
- Which Primer and Topcoat Combination Lasts Longest?
- When Should You Call In a Professional Instead?
- How Do You Keep Cabinets From Staining Again?
- What the Research Actually Supports
- Ready to Skip the Guesswork on Your Kitchen?
- Sources
How Do You Know If Smoke Damage Is Surface-Level or Deep?
Surface staining wipes toward clean with a damp microfiber cloth and a mild degreaser; the yellow-brown film lifts, and what’s underneath still looks like healthy wood. Deep damage does the opposite. Wipe it, and the color barely changes, or it comes back within days as oils migrate up from the pores.
A few fast checks tell you which situation you’re in:
- Smell test: Close the cabinet for an hour, then open it. A lingering stale, acrid odor points to penetration, not just a dirty surface.
- Material check: Solid wood and real veneer absorb smoke into open grain; thermofoil and laminate mostly hold residue on the surface but trap it at seams and edge-banding, where laminate and thermofoil substrates are far more sensitive to solvents.
- Particleboard interiors: These soak up odor faster than any other substrate, because the material itself is porous glue and wood fiber.
- Discoloration depth: Sand a hidden test spot lightly. If yellow-brown color persists past the first layer, you’re dealing with penetration, not film.
What Do You Need To Clean Smoke Off Cabinets Safely?
Set up first: open windows, run a fan pulling air outward, and lay down drop cloths. You’re about to stir up decades of nicotine tar and soot, and that stuff shouldn’t end up on your countertops or in your lungs.
- Gear up. Wear an N95 or P100 respirator, nitrile gloves, and eye protection before you touch a degreaser.
- Vacuum dry first. Run a HEPA vacuum over every panel, hinge pocket, and interior corner before any liquid touches the wood. This pulls loose soot out instead of smearing it into the grain.
- Degrease with TSP. Mix trisodium phosphate per the label (usually a couple tablespoons per gallon of warm water), wipe with a coarse sponge, and change your rinse water often since it turns brown fast.
- Use alternatives where TSP is too harsh. Dish soap and baking soda pastes, or diluted vinegar, work fine on light smoke residue but fall short against heavy nicotine buildup that’s had years to set.
- Rinse and dry completely. Wipe with clean water, then let cabinets air dry for at least 24 hours before moving to sealing. Rushing this step traps moisture under your primer.
Pro Tip: On thermofoil or laminate, skip TSP entirely and test a diluted all-purpose degreaser on an inside panel first. TSP can dull or lift the foil coating.
Why Does Sealing Matter More Than Cleaning Alone?
Cleaning removes what you can see. Sealing stops what you can’t. Old smoke residue behaves like a slow leak, oils and tar-like compounds sit deep in the pores and glued joints, and if you paint straight over cleaned wood without a vapor-barrier primer, that residue works its way back through your topcoat within weeks. That’s the “ghosting” effect homeowners describe when a faint yellow stain reappears through fresh white paint.
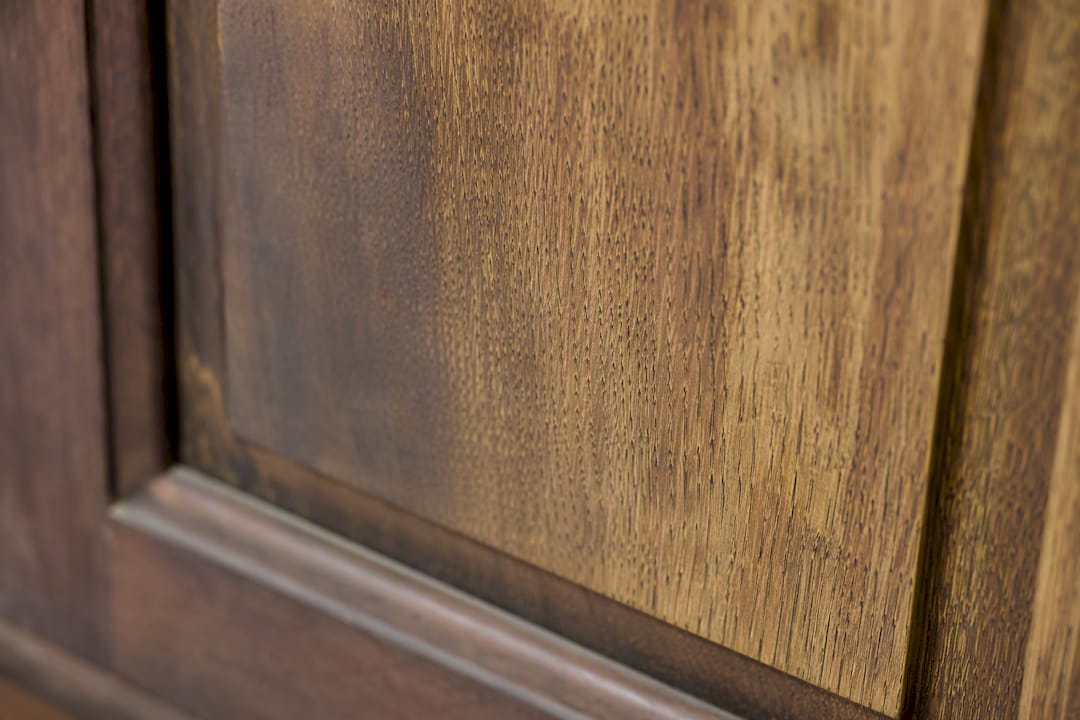
A three-stage restoration sequence, HEPA vacuum, heavy degreasing, then shellac-based sealing, exists specifically because skipping the seal step is the single most common reason smoke-damaged repaints fail within a year.
Shellac-based primers like Zinsser BIN are the standard fix here, because shellac creates a vapor barrier that water-based primers generally can’t match against smoke molecules. Practical notes on application:
- Prime the interior box, not just the visible faces. Sealing only the front risks the smell reappearing from inside the cabinet.
- Expect two coats on heavily stained wood; one thin coat rarely fully blocks tar-darkened grain.
- Shellac dries fast, often recoatable in under an hour, which speeds up a weekend project considerably.
- If shellac’s smell or dry time doesn’t work for your space, an oil-based stain-blocking primer is the fallback, though it blocks odor less reliably.
What’s the Right Way to Sand Before Refinishing?
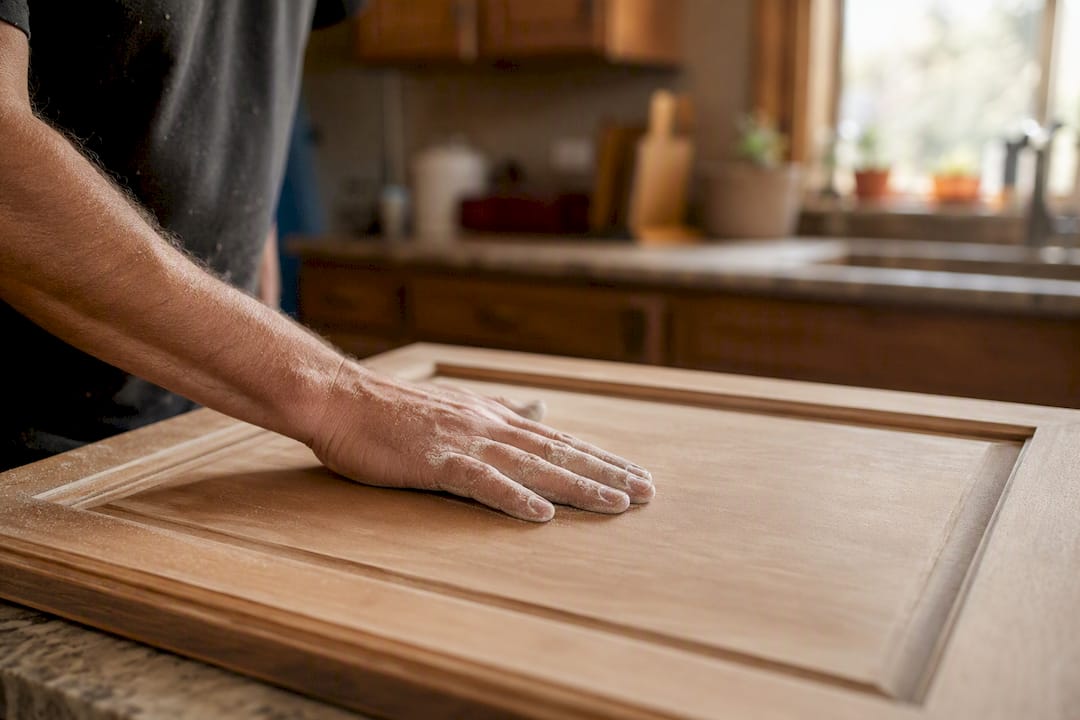
Sanding comes after degreasing and sealing, never before, since sanding bare stained wood just grinds tar deeper into the grain instead of removing it.
- Start with 150 grit to knock down the primer sheen and smooth minor imperfections, then move to 220 for a final scuff before topcoat.
- Attach your sander to a shop vac or use a model with a built-in dust port; smoke-contaminated dust is nastier to breathe than ordinary sawdust.
- Wipe with a tack cloth between grits to catch residue before it gets sealed under your next coat.
- Fill small chips or gouges with wood filler now, and re-glue any lifting veneer edges before you sand over them.
- Go light on laminate and thin veneer. Aggressive sanding can cut through the surface layer entirely, exposing raw substrate underneath.
A full walkthrough of grit sequencing and dust control lives in our sanding cabinets for refinishing guide, if you want the longer version.
Pro Tip: Run your palm over the surface after wiping with the tack cloth. If you feel any grit, you’ll see it under paint. Sand again before priming.
Which Primer and Topcoat Combination Lasts Longest?
Paint beats stain on smoke-damaged cabinets almost every time, because paint’s opacity hides discoloration that stain can’t cover no matter how dark you go. If your cabinets show real staining, plan on painting.
Your sequence: shellac-based primer first, then a cabinet-grade enamel. Sherwin-Williams’ cabinet refinishing guidance and Benjamin Moore’s own cabinet workflow both point to the same core method: clean, prime, light sand between coats, then apply a durable enamel like Benjamin Moore Advance. For medium to heavy staining specifically, KILZ recommends adhesion-grade primers before multiple thin paint coats, rather than one heavy coat that’s more prone to chipping.
- Apply thin coats. Two or three light passes beat one thick one, every time, for even leveling.
- Scuff-sand lightly between coats with 320 grit for adhesion.
- An HVLP sprayer lays down a smoother finish than a brush or roller, though a quality synthetic brush works if you’re careful.
- Let cabinets cure fully, typically several days, before rehanging doors or loading shelves. Enamel that feels dry to the touch can still be soft underneath.
When Should You Call In a Professional Instead?
Some smoke damage is beyond a weekend project. If odor persists after full drying and a second degreasing pass, if particleboard interiors have swollen or delaminated, or if you want a factory-smooth sprayed finish without brush marks, that’s your signal to call a pro.
Professional refinishers work with industrial HEPA extraction, commercial-strength degreasers, and HVLP spray systems in a controlled environment, which produces a factory-smooth surface that’s genuinely hard to replicate with a brush at home. Curing also happens under managed temperature and humidity, which cuts down the tackiness and off-gassing that plague rushed DIY jobs.
Cabinet Refinishing Denver typically completes full kitchens in a few days, with refinishing significantly less expensive than full replacement. For a smoke-damaged kitchen that’s structurally sound, that’s a substantial amount saved without sacrificing the finish quality.
If you’re weighing your options, our factory-finish refinishing guide walks through what that process actually looks like from start to finish.
How Do You Keep Cabinets From Staining Again?
Prevention is cheaper than round two of degreasing. If smoking happens indoors, moving it outside is the single biggest change you can make, since it stops the problem at the source instead of managing it after the fact.
- Run your range hood every time you cook, and clean the filter monthly, grease buildup on the hood eventually drifts onto nearby cabinet faces.
- Wipe cabinets with a mild dish soap and water solution rather than furniture polish, which can build up a sticky film that attracts more grime.
- Choose a durable urethane topcoat on your next refinish. It resists staining and wipes clean far more easily than an unsealed or lacquer-only finish.
What the Research Actually Supports
Most smoke-damaged cabinet advice online treats cleaning as the whole job. It isn’t. The cleaning step gets cabinets looking presentable for maybe a season before old residue starts working its way back through the paint, and that’s the gap between advice that sounds thorough and a process that’s actually chemistry-aware.
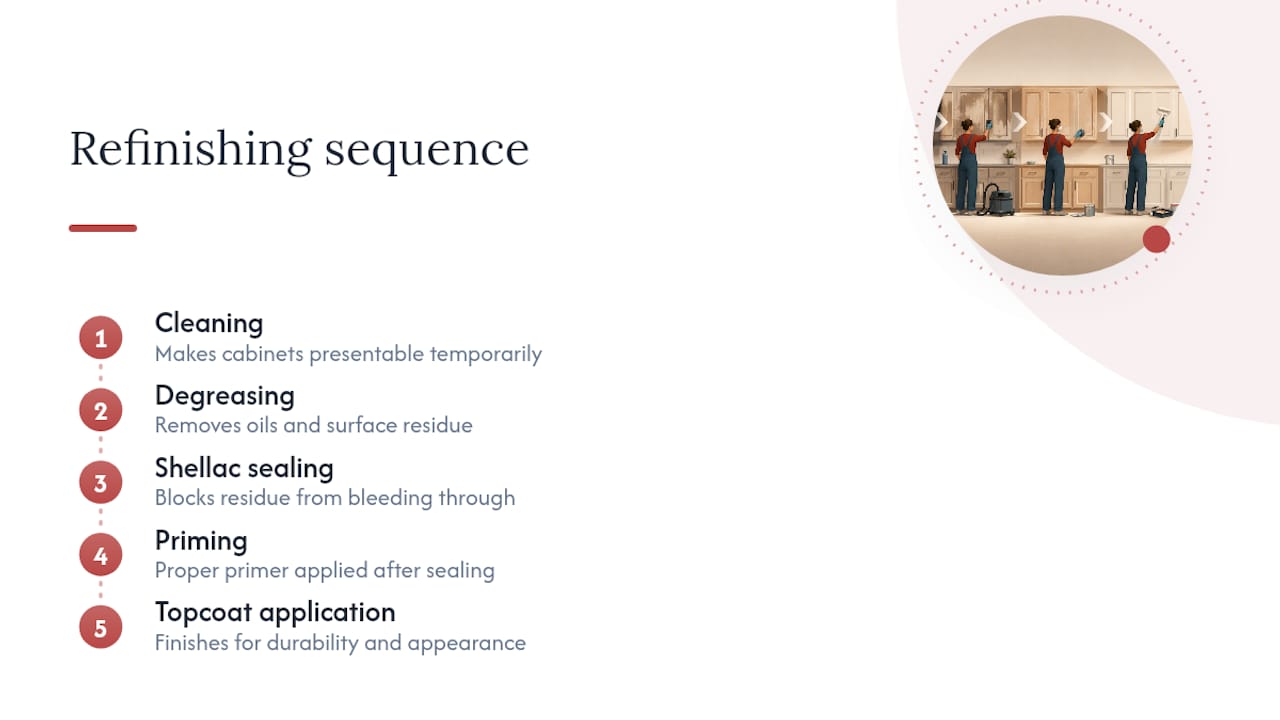
The sequence matters more than any single product. Homeowners fixate on which degreaser or which brand of paint to buy, when the real failure point is almost always skipping the shellac seal or rushing the cure time. A mediocre primer applied correctly, in the right order, beats an expensive one applied to residue that was never fully blocked.
If you take one thing from this, prioritize sealing the interior box, not just the visible faces. That’s the step people skip because it’s invisible once the doors close, and it’s the exact reason smell comes back six months later. DIY-first is the right instinct for cabinets that are structurally sound. Just respect the order, and know that a persistent smell after a genuine cleaning and sealing attempt is your cue that the problem has moved past what surface work can fix.
Ready to Skip the Guesswork on Your Kitchen?
If you’ve read this far and you’re staring at cabinets where the smell won’t quit or the stain keeps bleeding through no matter what primer you try, that’s usually the point where DIY stops being the cheaper option. Cabinetsrefinishing runs the exact three-stage process outlined above, industrial HEPA prep, commercial degreasing, and shellac sealing, but with HVLP spray equipment and controlled curing that a home garage setup can’t match.

For Denver-area homeowners, that means a factory-smooth finish in 3 to 5 days at $3,000 to $8,000, instead of weeks and tens of thousands for full replacement. If your smoke-stained cabinets are structurally sound but the odor or staining has you stuck, get a quote on cabinet refinishing in Denver and find out whether your kitchen is a candidate before you spend another weekend fighting it yourself.
Sources
Sherwin-Williams cabinet guide, Benjamin Moore how-to, KILZ blog, Cabinetsrefinishing services.
- Rapidrepair
- Cabinet Refinishing: A complete guide – Sherwin-Williams
- How to paint kitchen cabinets – Benjamin Moore
- Project spotlight: a step-by-step guide to painting your kitchen cabinets – KILZ (blog)
- How to Remove Smoke Stains From Wood Cabinets | HomeSteady