
What’s the ideal temperature range for cabinet painting?
The sweet spot for cabinet painting is 65°F to 75°F. At that range, solvents evaporate at the right pace, the paint levels out smoothly, and the curing chemistry runs as the manufacturer intended. Go outside that window in either direction and you’re inviting problems that no amount of prep work can fully prevent.
Here’s what happens when temperature control breaks down:
- Below 60°F: Solvents evaporate too slowly, curing stalls, and the finish stays tacky or blotchy
- Above 80°F: Solvents flash off too fast, trapping brush marks and preventing proper film formation
- Poor adhesion: Paint sits on the surface rather than bonding to it
- Extended cure times: What should take days can stretch into weeks
- Surface defects: Blistering, uneven texture, and dull sheen are all common outcomes
Temperature isn’t just a comfort setting. It’s the variable that determines whether your cabinet finish lasts five years or five months.
1. What cold temperatures do to your cabinet paint
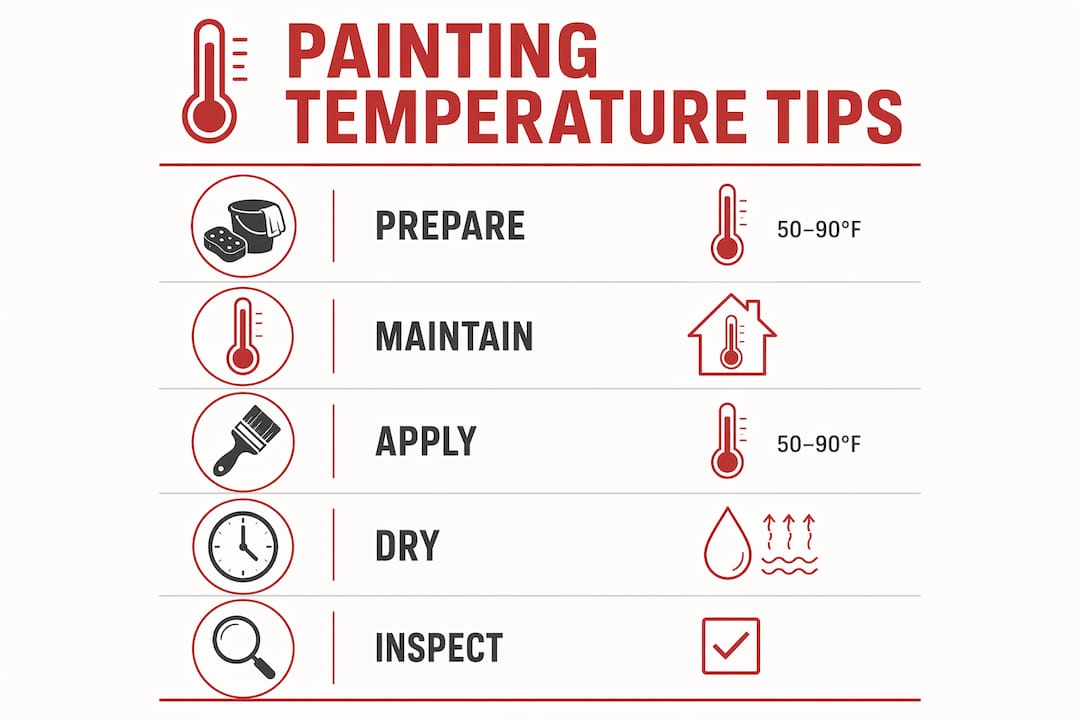
Painting below 60°F is one of the most common DIY mistakes, and the damage isn’t always obvious right away. Professional painters recommend waiting until indoor temperatures reach at least 65°F before applying any interior paint, because below that threshold the paint simply cannot cure correctly.
Cold slows everything down at a molecular level. Solvent evaporation drags, the chemical crosslinking in the binder barely progresses, and you end up with a film that looks dry on the surface but remains soft and vulnerable underneath.
- Incomplete adhesion: The paint never fully bonds, peeling or chipping within months
- Tackiness: Surfaces stay sticky long after they should be dry to the touch
- Blotchy or uneven finish: Uneven evaporation rates across the surface create color and sheen inconsistencies
- Reduced coverage: Cold paint thickens, making it harder to spread evenly
Oil-based paints have a slightly wider working window than latex or water-based formulations, but neither type is immune. Painting a cold cabinet in a chilly garage in January, even with oil-based paint, still risks a compromised finish. Check the paint cure time before you commit to a schedule.
2. How excessive heat wrecks a cabinet finish
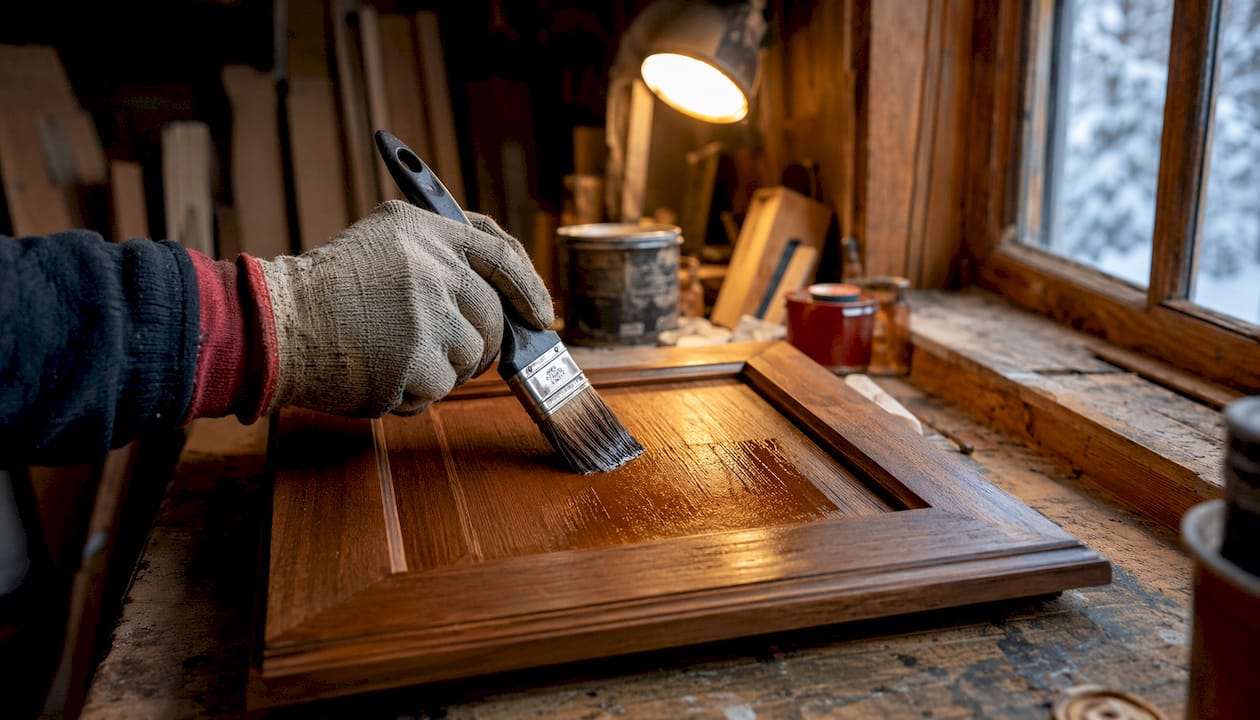
Heat causes the opposite problem, and it can be just as destructive. When temperatures exceed 80°F, solvents flash off so quickly that the paint loses its ability to flow and level before it sets. The result is a finish frozen mid-stroke, with every brush mark and lap line locked in permanently.
The defects from heat are often more visible than cold-weather failures:
- Brush and lap marks: Paint dries before it can self-level, leaving ridges and lines
- Blistering: Rapid solvent loss traps gas beneath the film surface
- Brittle film: Polymer chains don’t crosslink properly, leaving a finish prone to cracking
- Chalking: Binder resins break down faster, releasing loose pigment particles
High temperatures also accelerate the aging of the paint film itself. Heat speeds up oxidation, UV degradation, and hydrolysis in the coating, meaning a cabinet painted in excessive heat may degrade at a much faster rate than one painted under controlled conditions. That’s not a cosmetic concern. It’s a durability concern.
Statistic callout: Most paint manufacturers recommend painting cabinets between 65°F and 75°F for optimal performance, regardless of whether using latex or oil-based paints. Application outside that range increases the risk of defects.
3. How humidity and temperature work together against you
Temperature alone doesn’t tell the whole story. Humidity is the other half of the equation, and the two interact in ways that can catch even experienced DIYers off guard. The ideal relative humidity for cabinet painting is 40%–60%, paired with a temperature in the 65°F–75°F range.
When humidity climbs above 70%, moisture in the air competes with the paint’s own water and solvents, dramatically slowing evaporation. The result is extended cure times, tackiness, bubbling, and poor adhesion. High humidity combined with low temperature is particularly brutal. Both factors independently slow curing, and together they can extend a project timeline by several days.
- High humidity + high heat: Slows water evaporation from latex paints, increases susceptibility to early damage
- High humidity + cold: Double-slows curing, dramatically increases tackiness risk
- Low humidity + high heat: Solvents evaporate too fast, causing cracking and poor leveling
- Ideal pairing: 65°F–75°F with 40%–60% relative humidity for consistent, predictable drying
For homeowners dealing with humid painted interiors, active humidity management isn’t optional. It’s the difference between a finish that lasts and one that fails within a season.
4. Common temperature mistakes that ruin cabinet projects
Most cabinet painting failures trace back to a handful of predictable errors. Knowing them in advance is the cheapest form of insurance.
- Painting in an unheated garage or basement: Ambient temperatures in these spaces routinely drop below 60°F, especially in fall and winter
- Ignoring indoor climate swings: A thermostat set to 68°F doesn’t mean every surface in the room is 68°F, especially near exterior walls or windows
- Using the wrong paint for the conditions: Standard latex in a cold or humid environment performs far worse than a formulation designed for those conditions
- Rushing recoat times: Low temperature extends the time needed between coats; applying the second coat too soon traps solvents and causes adhesion failure
- Skipping a thermometer and hygrometer: Guessing at conditions is how projects go wrong
The professional cabinet painting checklist that serious contractors follow always includes a pre-project environmental check. DIYers rarely do this, and it shows in the results.
5. Practical tips for painting cabinets when conditions aren’t perfect
You don’t always get to choose your timing, but you can control your environment. These steps give you the best shot at a quality finish even when outdoor conditions are working against you.
- Use your HVAC system: Set the thermostat to hold 68°F–72°F and let it run for at least 24 hours before you start painting
- Run a dehumidifier: Maintaining indoor humidity between 40%–60% significantly improves drying speed and reduces tackiness and bubbling
- Time your work: On hot days, paint during cooler morning hours to avoid peak heat buildup
- Choose the right formulation: For lower-temperature applications, look for paints with extended open time; for warmer conditions, fast-dry cabinet enamels handle heat better
- Ventilate carefully: Airflow helps solvents escape, but direct drafts cause uneven drying; use fans aimed at walls, not directly at cabinet surfaces
Pro Tip: Pick up a digital hygrometer (under $20 at most hardware stores) and place it in the room where you’re painting. Check it before every coat. If temperature or humidity is outside the target range, wait. Thirty minutes of patience beats a full repaint.
The best paint for Denver’s climate addresses these exact conditions, where low humidity and temperature swings are the norm rather than the exception.
6. What professional painters know about temperature control
Nick Slavik, a professional painter, puts it plainly:
“Interior paints are formulated to work best for DIYers and pros under normal site circumstances. At these temperatures, between 65 to 70°F, the paint does not dry too fast or too slow — which would both present problems.”
— Nick Slavik, Professional Painter, via The Spruce
That’s not a preference. It’s chemistry. Paint formulations are engineered around a specific evaporation rate, and that rate is calibrated for roughly 65°F–70°F. Deviate significantly and you’re fighting the product’s own design.
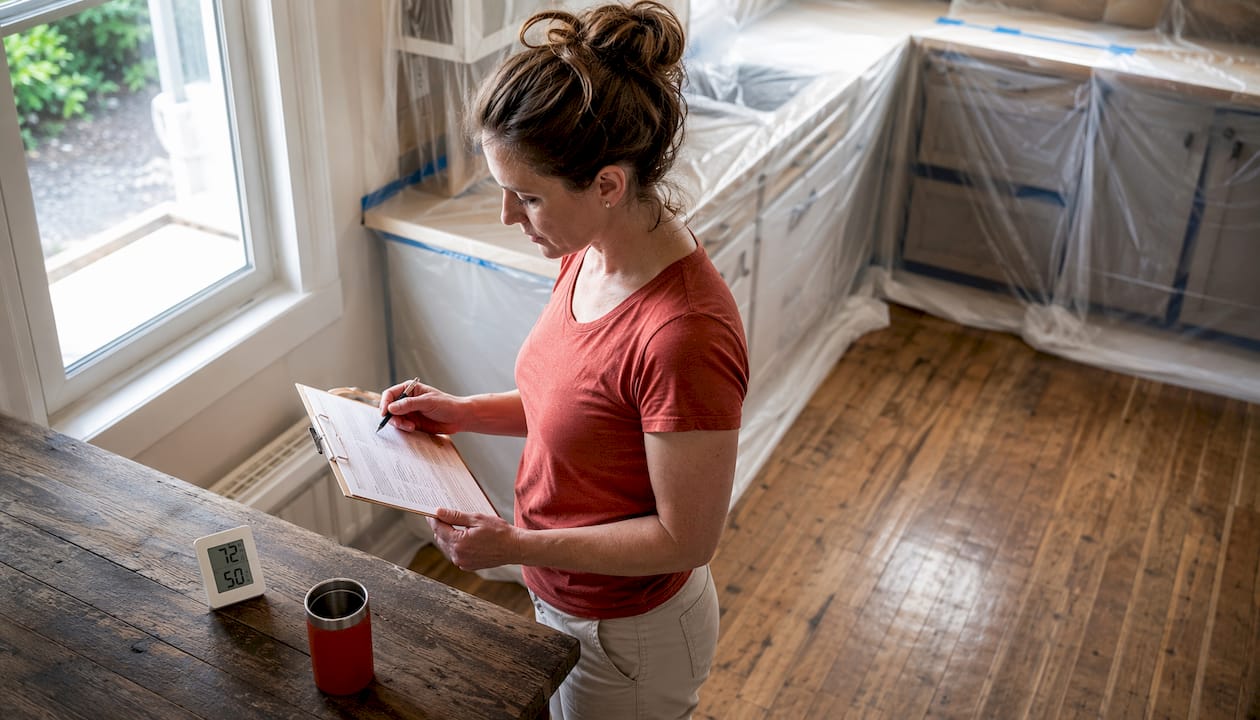
Professional cabinet refinishers use HVAC systems to hold 68°F–75°F with 40%–50% humidity throughout the entire project, not just during application. Curing continues for days after the last coat goes on, and temperature fluctuations during that window can still compromise the finish. A climate-controlled environment removes that variable entirely, which is why controlled indoor projects consistently outperform work done in garages, basements, or during seasonal weather swings.
Cabinetsrefinishing handles the conditions so you don’t have to
Skipping the temperature guesswork is exactly what Cabinetsrefinishing delivers for Denver homeowners. Every project runs inside a climate-controlled environment, with temperature and humidity monitored throughout application and curing. That’s how the factory-finish results hold up, not just on day one, but years later.

Refinishing costs significantly less than a full cabinet replacement, and projects typically complete within a few days. The finish quality comes from the process, and the process starts with getting the environment right. If your cabinets are worn, dated, or showing signs of a previous paint job gone wrong, get a quote from Cabinetsrefinishing and see what a controlled, professional refinish actually looks like.
Key Takeaways
Temperature is the single biggest variable in cabinet painting quality, and staying within 65°F–75°F with 40%–60% relative humidity is the only reliable path to a durable, defect-free finish.
| Point | Details |
|---|---|
| Ideal temperature range | Paint between 65°F and 75°F for proper solvent evaporation, leveling, and curing. |
| Cold weather risk | Below 60°F, paint fails to cure correctly, causing tackiness, poor adhesion, and blotchy coverage. |
| Heat damage | Above 80°F, solvents flash off too fast, locking in brush marks and producing brittle films. |
| Humidity pairing | Hold relative humidity at 40%–60%; above 70% extends cure time by several days and causes bubbling. |
| Cabinetsrefinishing advantage | Cabinetsrefinishing controls temperature and humidity throughout every Denver project, delivering factory-quality finishes in 3–5 days. |
Recommended
- What Type of Paint is Best for Kitchen Cabinets? A Pro’s Guide – Cabinet Refinishing and Cabinet Painting Denver 720-219-9716
- Preventing Yellowing on White Painted Cabinets: The Ultimate Denver Homeowner’s Guide (2026) – Cabinet Refinishing and Cabinet Painting Denver 720-219-9716
- Painting Just Upper or Lower Cabinets: Denver’s Guide to the Two-Tone Kitchen Trend – Cabinet Refinishing and Cabinet Painting Denver 720-219-9716
- What to Expect During Professional Cabinet Painting: A Denver Homeowner’s Guide