
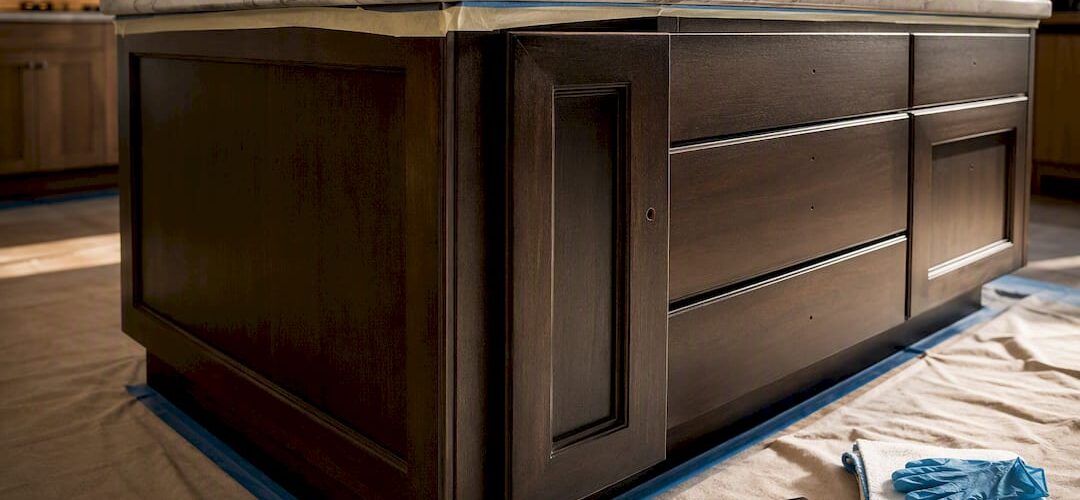
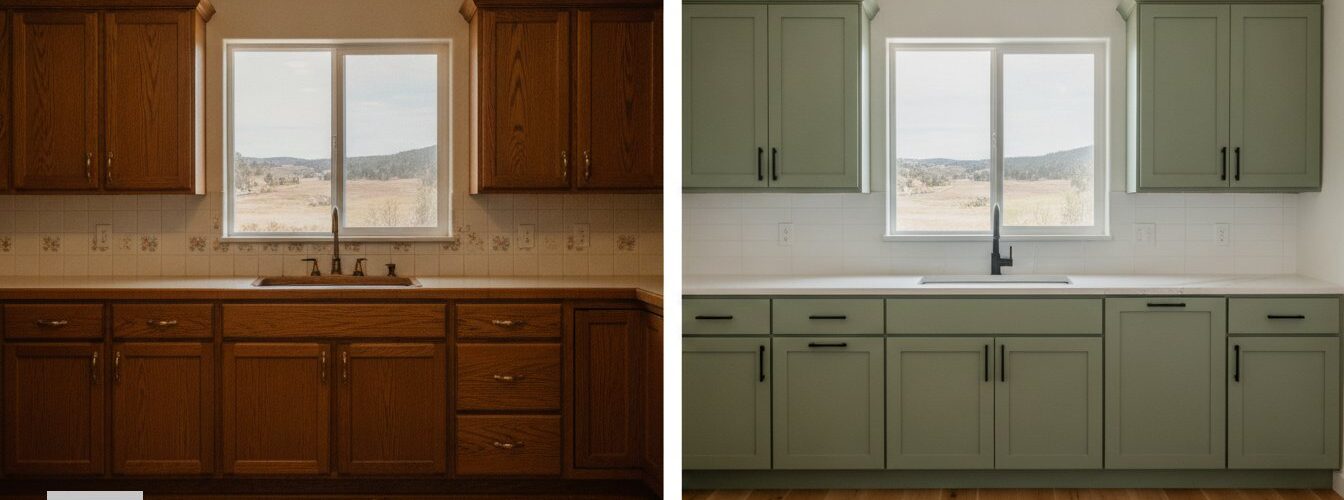

Cabinet glazing is defined as the process of applying a translucent, pigmented layer over a dried base coat to add depth, shadow, and an aged patina to cabinetry surfaces. Understanding what does cabinet glazing technique involve separates homeowners who get a flat, forgettable finish from those who achieve a rich, handcrafted look. Glazing is not painting. It is a decorative finishing method that works on top of paint or stain, pooling in recesses and corners to create dimension. The technique suits traditional, transitional, and rustic kitchen styles best, and it rewards patience and proper preparation over speed.
What does the cabinet glazing process involve step by step?
The cabinet glazing process is a sequential, hands-on method that builds a dimensional finish through layered application and controlled wiping. Skipping any step produces a result that looks uneven in the wrong way, not the artisan way.
- Clean and degrease the cabinet surfaces. Kitchen cabinets collect grease, cooking oils, and dust. Degreasing and sanding to 220 grit removes contaminants that cause finish failure over time. Any residue left behind will prevent the glaze from bonding correctly.
- Sand to 220 grit. Sanding creates a smooth, slightly textured surface the glaze can grip. A proper sanding technique also removes old finish imperfections that would telegraph through the final coat.
- Apply the base coat. Use a paint or stain as your foundation color. Let it dry completely before touching the glaze. Rushing this step is the most common DIY mistake.
- Mix or select your glaze. Pre-made glazes are available in most paint stores. You can also mix a small amount of paint into a clear glaze medium to create a custom tint. Stir gently. Do not shake the container, because shaking introduces air bubbles that show up as pinholes in the dried finish.
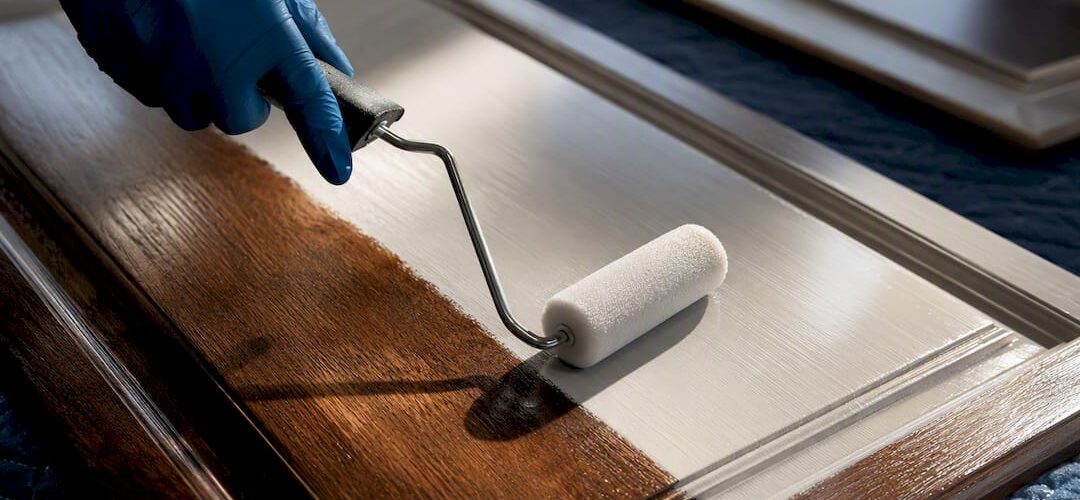
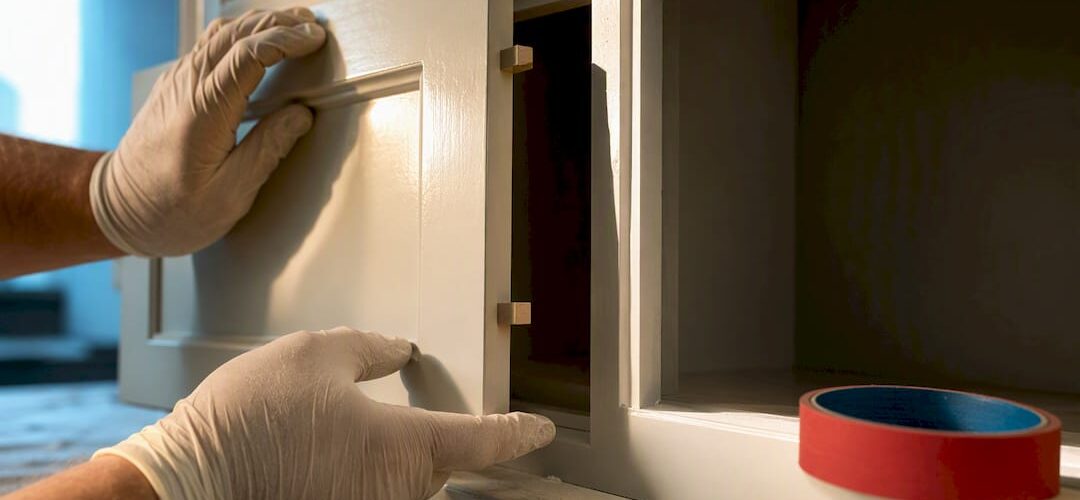
- Apply the glaze with a brush or rag. Load the brush about one-third full and work with the wood grain on flat panels. Use cross-grain strokes on routed profiles and raised details to push glaze into the crevices.
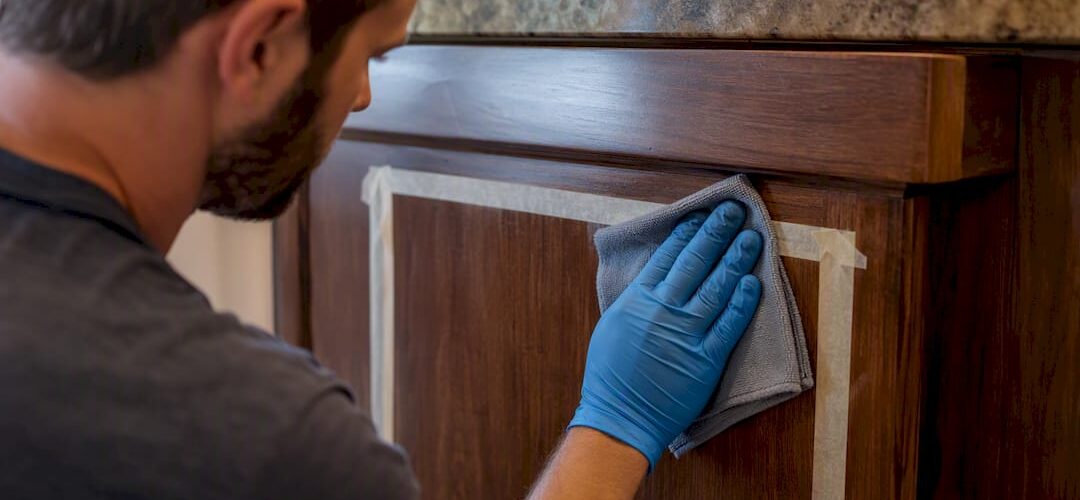
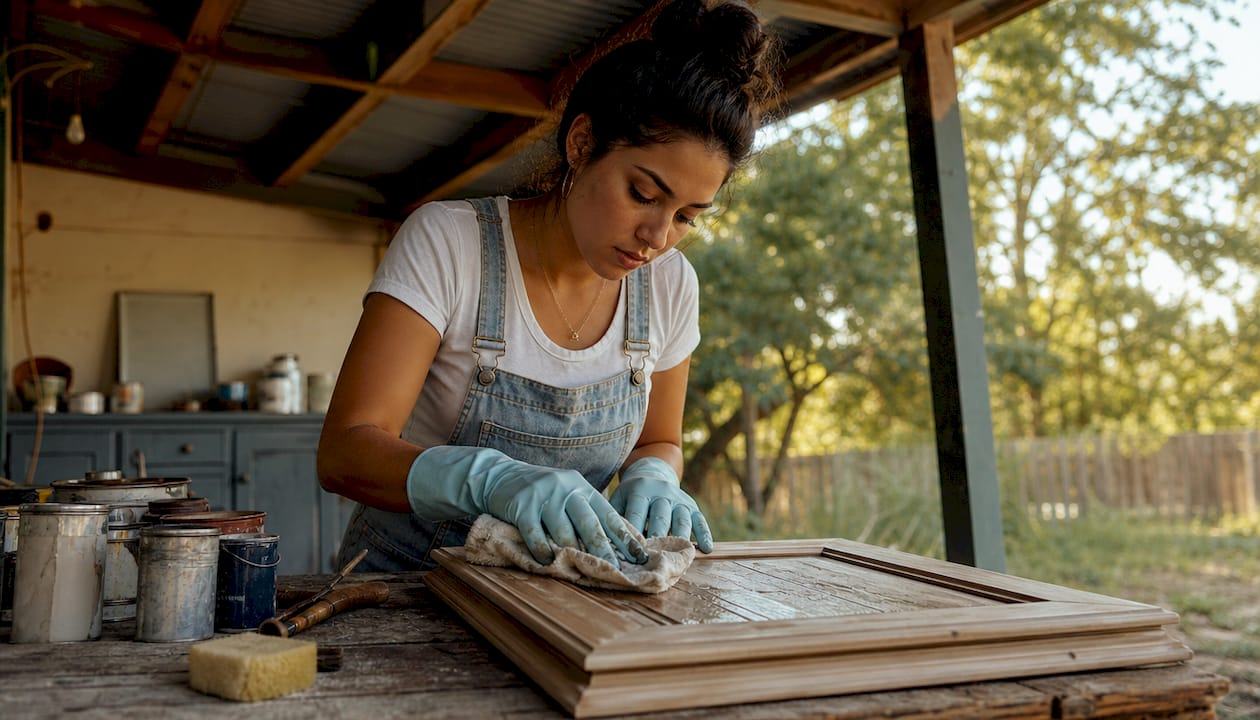
- Wipe back the excess immediately. Use a lint-free rag or cheesecloth to remove glaze from flat surfaces while leaving it concentrated in recesses. The goal is to retain 20–50% of the pigment in recessed areas. This controlled removal is what creates the antique patina effect.
- Allow full drying and add additional coats if needed. One coat of glaze is often enough. A second coat deepens the shadow effect on heavily detailed doors. Always let each coat dry fully before evaluating whether another pass is needed.
Pro Tip: Work in small sections of one or two cabinet doors at a time. Glaze dries faster than you expect, and trying to cover too much area before wiping back leads to a patchy, uncontrolled result.
What glazing techniques produce different visual effects?
Four main glazing techniques exist, and each one produces a distinct visual character on cabinet surfaces. Choosing the right method depends on your kitchen style and how much contrast you want.
Full glaze covers the entire door surface with a uniform wash of color, then gets wiped back evenly. The result is a soft, aged tone across the whole cabinet. This works well in transitional kitchens where you want warmth without heavy contrast.
Brush glaze leaves visible directional streaks in the finish. The brush marks are intentional and create a texture that reads as handmade. This technique suits rustic or farmhouse kitchens where raw character is the goal.
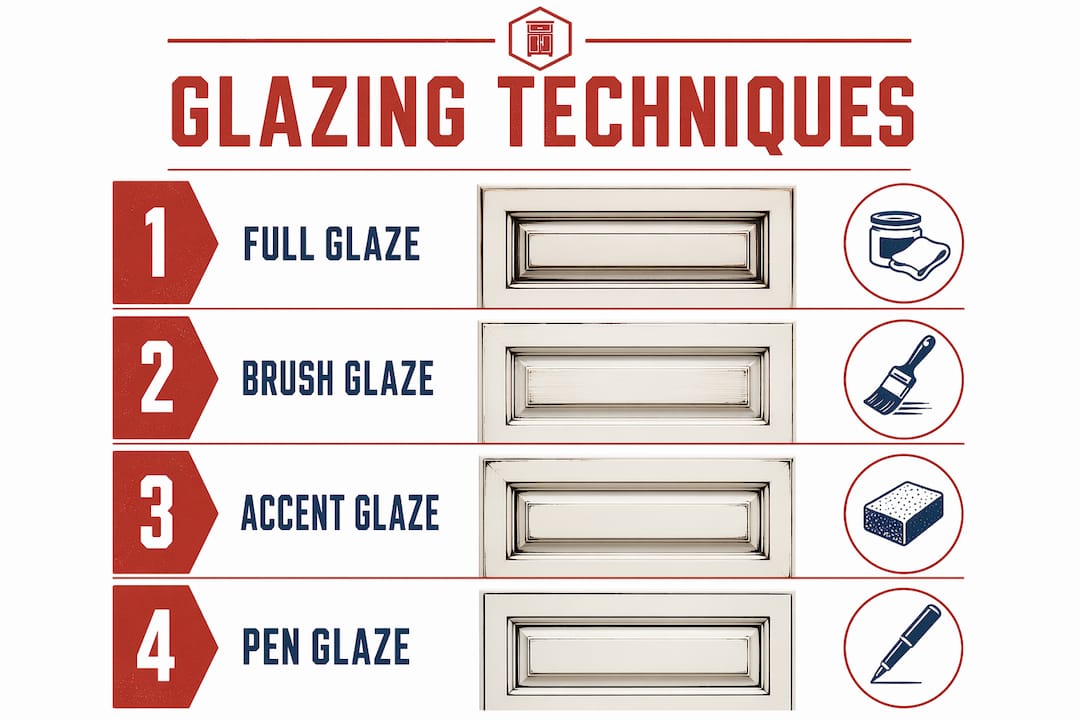
Accent glaze concentrates pigment only on profiles, edges, and raised details while leaving flat panels relatively clean. The contrast between the highlighted edges and the lighter center panel gives cabinets a three-dimensional, furniture-grade appearance. Traditional kitchens with raised-panel doors benefit most from this approach.
Pen glaze uses a fine applicator to deposit glaze only in the deepest crevices and carved details. The effect is subtle and refined, adding shadow without changing the overall color of the cabinet. This technique works best on highly detailed cabinetry in formal or classic kitchen designs.
| Technique | Best for | Visual effect |
|---|---|---|
| Full glaze | Transitional kitchens | Soft, aged overall tone |
| Brush glaze | Rustic, farmhouse kitchens | Visible texture and streaks |
| Accent glaze | Traditional raised-panel doors | High contrast on edges and profiles |
| Pen glaze | Detailed, formal cabinetry | Subtle shadow in deep crevices |
The manual wipe variability across all four techniques is what gives glazed cabinets their handcrafted identity. No two doors look identical, and that is the point.
Why does glazing create non-uniform finishes?
Glazing produces intentionally uneven results because the wipe-back step is done by hand, and no two passes are identical. Glaze settles heavier in recesses and corners than on flat surfaces, creating natural shading and depth that flat paint cannot replicate.
“The non-uniform glaze accumulation that occurs naturally during wipe-back results in the nuanced shading and texture characteristic of high-end handcrafted cabinetry finishes. Variation in glaze hang-up is an intentional trait that signals a crafted rather than manufactured kitchen finish.”
This is the single most important expectation to set before you start a glazing project. Homeowners who expect a perfectly uniform result will be disappointed. Homeowners who understand that variation is the product will be delighted.
Glazing also hides minor surface imperfections such as brush marks or grain telegraphing, which makes it more forgiving than a flat paint finish on older cabinets. The subtle color and texture variations that result from glazing elevate average painted cabinets to showpiece quality.
Pro Tip: If two adjacent doors look noticeably different after glazing, apply a second light coat to the lighter door and wipe back more aggressively. You can blend the depth between doors without starting over.
Tips and best practices for DIY cabinet glazing
Successful DIY glazing comes down to preparation, patience, and technique. Cutting corners on any of these three areas produces a finish that looks amateur rather than artisan.
- Degrease thoroughly before sanding. Use a TSP substitute or a dedicated cabinet cleaner. Skipping this step is the leading cause of glaze peeling within the first year.
- Sand to 220 grit, not coarser. Coarser grits leave scratches that show through the glaze. Finer grits create a surface that is too smooth for the glaze to grip.
- Never shake the glaze container. Stir slowly with a wooden stick. Bubbles from shaking create pinholes in the dried finish that are difficult to fix.
- Load the brush correctly. Dip about one-third of the bristles into the glaze. A fully loaded brush drops excess product onto flat panels and creates uncontrolled pooling.
- Wipe back with cheesecloth, not paper towels. Cheesecloth removes glaze without leaving lint or streaks. Paper towels drag the glaze unevenly and leave fibers in the finish.
- Work in sections. Complete one door at a time from application to wipe-back before moving to the next. Glaze that sits too long becomes tacky and resists wiping.
- Fix mistakes with mineral spirits. If glaze dries before you wipe it back, dampen a rag with mineral spirits and work the area gently. This softens oil-based glaze without damaging the base coat.
- Control your environment. High humidity slows drying. Low humidity speeds it up unpredictably. A consistent temperature between 65°F and 75°F gives you the most working time.
Achieving a rich, high-end finish requires mastering glaze loading, wiping, and section-by-section discipline. Homeowners who practice on a spare door or a piece of primed MDF before touching their actual cabinets get dramatically better results.
Pro Tip: If you are planning a larger kitchen renovation and need to understand permitting requirements for structural changes, kitchen project permits are worth reviewing early so glazing work fits into your overall timeline.
How does glazing compare to other cabinet finishing options?
Glazing is one of several cabinet finishing options available to homeowners, and each finish serves a different aesthetic and functional purpose. Understanding where glazing fits helps you choose the right approach for your kitchen.
Glazing adds depth and shadow and is often paired with distressing to create a vintage or handcrafted appearance not achievable with plain paint or stain. Plain paint delivers a flat, uniform color with no dimensional variation. Stain penetrates the wood grain and shows natural wood character but lacks the layered depth that glaze provides. Distressing adds physical wear marks to simulate age, and glazing is frequently applied over distressed surfaces to reinforce the aged effect.
| Finish type | Aesthetic result | Best kitchen style | Effort level |
|---|---|---|---|
| Paint only | Flat, uniform color | Modern, contemporary | Low |
| Stain | Natural wood grain visible | Craftsman, natural wood | Medium |
| Glaze over paint | Depth, shadow, aged patina | Traditional, transitional, rustic | High |
| Glaze plus distressing | Vintage, heavily handcrafted | Rustic, farmhouse | Very high |
Glazed finishes suit traditional, transitional, or rustic kitchens where a handcrafted look is the goal. They are not the right choice for homeowners who want a clean, uniform modern finish. A flat paint finish in a satin or matte sheen is faster to apply, easier to touch up, and more consistent in appearance. Glazing trades that consistency for character, depth, and a finish that reads as custom rather than off the shelf.
Key Takeaways
Cabinet glazing is the most effective finishing method for homeowners who want depth, shadow, and a handcrafted appearance on traditional or transitional kitchen cabinetry.
| Point | Details |
|---|---|
| Glazing defined | A translucent pigmented layer applied over a base coat to add depth and aged character. |
| Four core techniques | Full, brush, accent, and pen glaze each produce distinct visual effects on cabinet surfaces. |
| Non-uniformity is intentional | Variation between doors signals a crafted finish, not a defect or application error. |
| Preparation is critical | Degreasing and sanding to 220 grit prevents peeling and ensures the glaze bonds correctly. |
| Glazing vs. paint | Glazing suits traditional and rustic kitchens; flat paint suits modern and contemporary styles. |
Why glazing is worth the effort, and when to call a pro
Glazing is the finishing technique I recommend most often to homeowners who feel their kitchen looks flat and forgettable. A painted cabinet in a single color sits on the wall. A glazed cabinet with accent technique on raised-panel doors reads like furniture. That difference in visual weight changes how the entire kitchen feels.
The misconception I hear most often is that the variation between doors is a problem to fix. Homeowners call me worried that two doors look slightly different. That variation is the product. Professional cabinet glazing techniques are designed to produce exactly that kind of nuanced, non-repeating result. A factory-painted cabinet looks the same on every door. A glazed cabinet looks like someone made it by hand, because someone did.
For DIY homeowners, I say this honestly: glazing is learnable, but the learning curve is real. The wipe-back step is where most people go wrong. They either wipe too much and lose the effect, or they wipe too little and end up with muddy, dark cabinets. Practice on a scrap panel first. Get comfortable with how the glaze moves before you touch your actual doors.
Where I consistently recommend professional help is on full kitchens with detailed profiles, multiple cabinet heights, and color-matching requirements across 30 or more doors. The consistency required across that many surfaces is difficult to maintain as a first-time glazer. Cabinetsrefinishing handles exactly these projects, and the factory-finish methodology they use ensures every door matches within the same kitchen. For homeowners who want the glazed look without the learning curve, that is the practical choice.
— Jesse
Professional glazing results for Denver homeowners
Glazing a full kitchen by hand is satisfying when it works. When it does not, the cost of stripping and restarting often exceeds what professional refinishing would have cost from the start.
Cabinetsrefinishing specializes in cabinet refinishing in Denver with a factory-finish methodology that includes meticulous surface preparation, multiple protective layers, and glazing techniques applied by experienced hands. Projects are completed in 3–5 days, and refinishing costs range from $3,000 to $8,000, compared to $15,000 to $40,000 for full cabinet replacement. If you want the depth and character of a glazed finish without the trial and error, Cabinetsrefinishing delivers that result with a durability guarantee. Call or text 720-219-9716 to get started.
FAQ
What is cabinet glazing?
Cabinet glazing is a decorative finishing method that applies a translucent, pigmented layer over a dried base coat of paint or stain. It adds depth, shadow, and an aged patina to cabinet surfaces.
How do you glaze cabinets at home?
Clean and sand the cabinets to 220 grit, apply a base coat, then brush on glaze and wipe back excess with cheesecloth to leave 20–50% pigment in recessed areas. Work one door at a time to control drying.
What are the main types of cabinet glazing techniques?
The four main techniques are full glaze, brush glaze, accent glaze, and pen glaze. Each produces a different level of contrast and texture, from a soft overall tone to concentrated shadow in deep crevices.
Is glazing better than painting cabinets?
Glazing is not better or worse than painting. It is a different finish suited to different styles. Glazing suits traditional and rustic kitchens where depth and character are the goal; flat paint suits modern kitchens where a clean, uniform look is preferred.
Can you fix glazing mistakes?
Yes. If glaze dries before you wipe it back, dampen a rag with mineral spirits and work the area gently to soften and remove the excess without damaging the base coat underneath.
Recommended
- Professional Cabinet Glazing Techniques: Elevating Denver Kitchens in 2026 – Cabinet Refinishing and Cabinet Painting Denver 720-219-9716
- What is Cabinet Glazing? The Denver Homeowner’s Guide to Premium Finishes – Cabinet Refinishing and Cabinet Painting Denver 720-219-9716
- Expert Cabinet Glazing Service in Denver for a Custom Finish
- Cabinet Staining and Glazing in Denver: The 2026 Guide to a Factory-Like Finish – Cabinet Refinishing and Cabinet Painting Denver 720-219-9716