
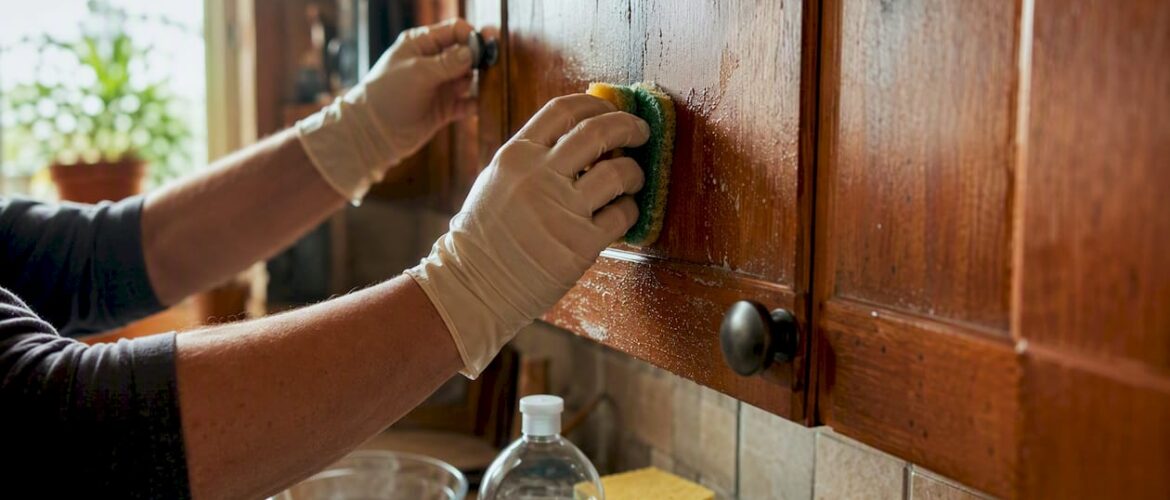
The most reliable way to degrease kitchen cabinets is a staged approach: routine cleaning with mild dish soap, spot treatment with baking soda for stubborn marks, a diluted distilled white vinegar rinse for real grease buildup, and a commercial degreaser reserved strictly for pre-refinishing prep. Jumping straight to the strongest product you own is how finishes get stripped or clouded.
Here’s what that looks like in practice:
- Weekly upkeep: warm water and a few drops of dish soap on a microfiber cloth
- Spot stains: baking soda paste, left on for a couple of minutes, then wiped clean
- Grease film: distilled white vinegar diluted 1:1 or milder with water
- Wood cabinets needing extra care: a small amount of Murphy’s Oil Soap
- Pre-paint or pre-refinish prep: a commercial degreaser like Krud Kutter, followed by sanding
Deep-clean regularly, and always test any solution on an inside edge first. Wear gloves and crack a window when you’re working with anything stronger than soap and water.
Key Takeaways
Cabinet degreasing works best as a staged process, from mild soap for routine care up to a commercial degreaser reserved for pre-refinishing prep.
| Point | Details |
|---|---|
| Match method to the job | Use dish soap for routine cleaning, baking soda for spot stains, vinegar for grease film. |
| Always test first | Try any cleaner on an inconspicuous spot before applying it across a cabinet front. |
| Respect the material | Wood needs minimal moisture and gentle products; laminate tolerates more but watch the edges. |
| Sand before you prime | Scuff sand at 150 to 180 grit after degreasing so primer actually bonds. |
| Call a pro when prep fails | Cabinetsrefinishing’s factory-finish process fixes adhesion and finish issues DIY cleaning can’t solve. |
Table of Contents
- Cabinet Degreasing Best Practices Start With the Right Supplies
- How Do You Degrease Kitchen Cabinets Every Week?
- Which Cleaning Method Fits Your Cabinet Material?
- How Do You Remove Stubborn Grease Stains and Adhesive Residue?
- What Does Pre-Refinishing Degreasing Actually Require?
- How Can You Prevent Grease From Building Up Again?
- Why Are My Cabinets Sticky or Discolored After Cleaning?
- Why Degreasing Properly Changes the Outcome
- When DIY Degreasing Isn’t Enough
- Where to Learn More
- Frequently Asked Questions
- Sources
Cabinet Degreasing Best Practices Start With the Right Supplies
You don’t need a garage full of chemicals. You need a short list of the right ones, plus a workspace that won’t punish you for a spill.
Gather microfiber cloths (several, since you’ll rotate them), a spray bottle, distilled white vinegar, baking soda, mild dish soap, and Murphy’s Oil Soap if you have solid wood cabinets. Add nitrile gloves, a soft sponge, an old toothbrush for hinges and corners, and a stepstool for upper cabinets.
Before you touch a single door, clear the counters and pull off any hardware you plan to keep clean, or that’s coming off for refinishing anyway. Lay down a towel or drop cloth to catch drips. Then test your cleaning solution on an inconspicuous spot, like the inside of a door, and wait a few minutes to check for discoloration or dulling.
- Microfiber cloths, spray bottle, distilled white vinegar, baking soda
- Mild dish soap, Murphy’s Oil Soap (wood only), nitrile gloves
- Soft sponge, toothbrush, stepstool
Pro Tip: Never mix vinegar with any product containing bleach or ammonia. The combination can release harmful fumes, and it happens more often than you’d think when people “double up” on cleaners for a tough spot.
How Do You Degrease Kitchen Cabinets Every Week?
A weekly or monthly routine keeps grease from ever building into the kind of grime that needs a serious intervention. Here’s the workflow that works:
- Dust first. Run a microfiber duster or dry cloth over every surface, top to bottom, so you’re not grinding grit into the finish once it’s wet.
- Mix your solution. A few drops of dish soap in a bowl of warm water is enough for routine degreasing.
- Spray the cloth, not the cabinet. Dampen your microfiber cloth rather than spraying the surface directly. This keeps moisture from pooling in seams and around hardware.
- Work in small sections. Wipe one door or drawer front at a time, rinsing your cloth in clean water as it picks up grease.
- Dry and buff. Finish each section with a dry cloth to prevent streaking and water spots.
A routine wipe-down like this takes a reasonable amount of time for an average kitchen. If dish soap and water aren’t cutting through the film anymore, that’s your signal to move up to diluted vinegar or a baking soda paste rather than reaching for something stronger. Cleaning professionals recommend starting with the mildest method that works and escalating only when needed.
Which Cleaning Method Fits Your Cabinet Material?
Not every cabinet finish tolerates the same treatment, and this is where a lot of well-intentioned DIY cleaning goes wrong.
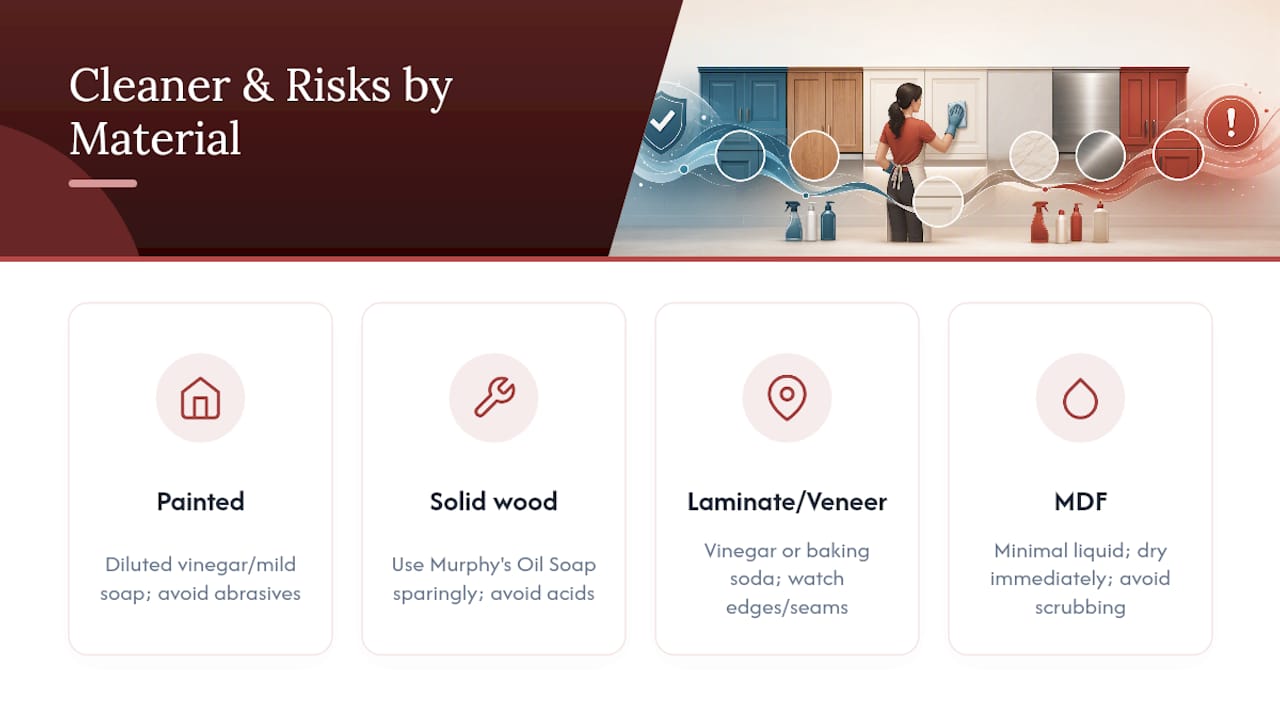
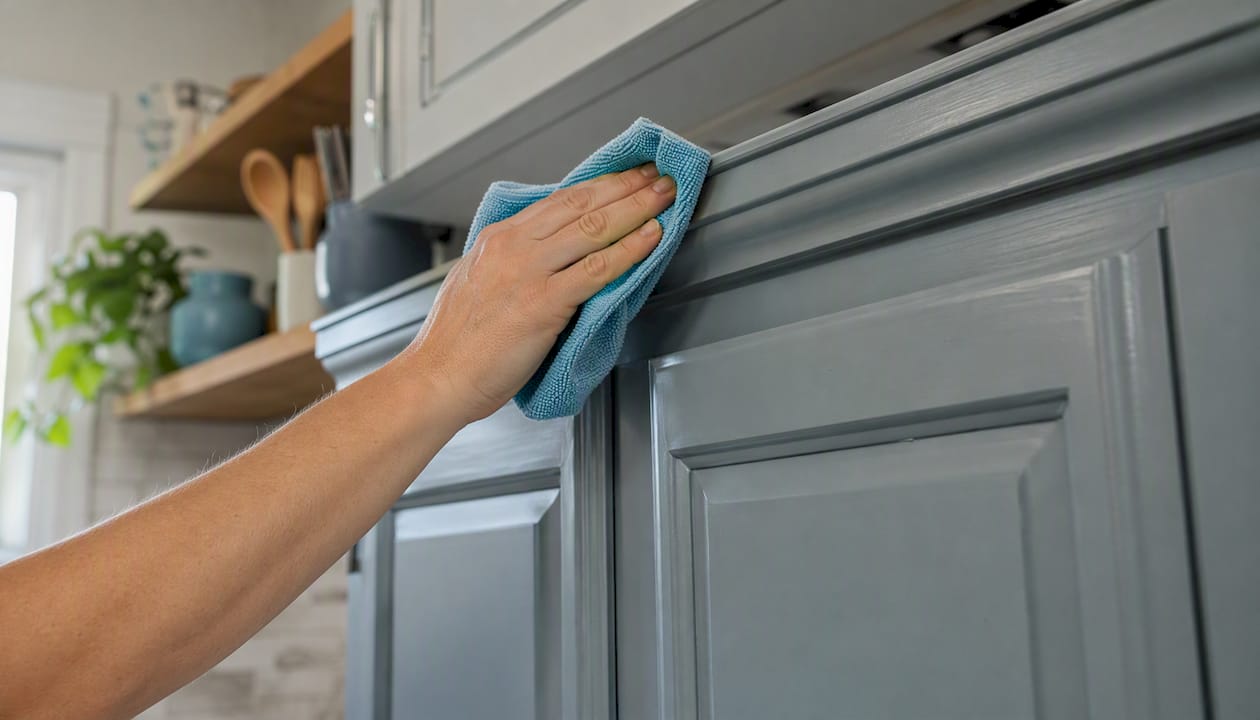
Painted cabinets respond well to diluted distilled white vinegar or mild dish soap, but skip anything acidic at full strength and avoid abrasive pads. Test first, every time, since paint sheens vary in how they react to solvents.
Solid wood is more forgiving in some ways and less in others. Avoid over-wetting it, and steer clear of high-acid cleaners that can dull or discolor the grain over time. Murphy’s Oil Soap works well here, used sparingly and followed immediately by a dry cloth.
Laminate and veneer surfaces generally tolerate vinegar and baking soda without issue, since the surface itself resists moisture better than raw wood. The weak point is the edges and seams, where water can sneak underneath and cause lifting.
MDF has the lowest moisture tolerance of the group. Use minimal liquid, dry immediately, and skip heavy scrubbing that can swell the edges. This matters even more if you’re prepping the cabinets for repainting, since swollen MDF edges are nearly impossible to fix without replacing the piece.
How Do You Remove Stubborn Grease Stains and Adhesive Residue?
Some spots need more than a wipe. Here’s a sequence that handles most of them without damaging the finish underneath:
- Make a baking soda paste with a bit of water for dried food or grease spots.
- Apply it directly to the stain and let it sit for two to three minutes.
- Scrub gently with a soft sponge or toothbrush, never a metal scraper.
- Rinse with a clean, damp cloth and dry immediately.
- For adhesive residue (price stickers, old shelf liner glue), start with white vinegar or rubbing alcohol on a cloth, then add gentle heat from a hairdryer if it’s not lifting.
- Repeat gentle cycles rather than pressing harder or reaching for a stronger solvent right away.
Cleaning experts consistently warn against over-scrubbing painted surfaces. A little patience with a milder product beats brute force with a strong one, every time a finish is on the line.
Don’t over-wet the cabinet during any of this. Don’t use bleach or undiluted acids on wood. And don’t apply an undiluted commercial degreaser to bare or unfinished wood. Diluted solutions also reduce the risk of leaving behind the sticky residue that comes from over-applying a cleaner.
What Does Pre-Refinishing Degreasing Actually Require?
This is where routine cleaning stops and real prep work begins, and it’s the step most DIY paint jobs skip or rush.
Start with a commercial degreaser. Products like Krud Kutter are widely used by painting professionals specifically because they strip oils that soap and water leave behind. Follow the label instructions, ventilate the room, and scrub with a non-scratch pad rather than steel wool.
Once the surface is clean, rinse thoroughly and let it dry completely. Then scuff sand using 150 to 180 grit sandpaper to give the primer something to grip, and wipe every surface with a tack cloth to remove dust.
- Remove doors and hardware; label everything so reassembly is fast
- Deep clean fronts, backs, and cabinet boxes, not just the visible faces
- Sand at 150 to 180 grit, then tack-cloth the dust away
- Prime with a high-bond primer built for cabinet surfaces
Run a quick grease check before you sand: wipe a section with a clean white cloth. If oil transfers onto it, clean again before moving forward. Our guide on removing grease before painting and our sanding walkthrough go deeper on both steps.
Pro Tip: If cabinets still feel slightly tacky after cleaning and sanding, a liquid deglosser can dull the remaining sheen so primer bites properly, especially on factory-finished cabinet doors.
How Can You Prevent Grease From Building Up Again?
The less grease accumulates, the less often you’ll need a deep clean. A few habits make a real difference here.
Run your vent hood every time you cook, not just when something’s smoking. Wipe splatters the moment they happen instead of letting them bake on overnight. A quick weekly wipe with a mild soap solution keeps buildup from ever reaching the point where it needs vinegar or a scrub.
- Use lids on pans and splatter screens when frying
- Cook at lower heat when the recipe allows it
- Rotate clean microfiber cloths instead of reusing a grimy one
- Add shelf liners inside cabinets to catch spills before they reach the wood
Pro Tip: Wipe cabinet hardware separately from the cabinet face. Grease and grime collect faster on handles and pulls simply because they get touched constantly.
Why Are My Cabinets Sticky or Discolored After Cleaning?
Sticky surface after wiping down? That’s almost always leftover residue. Rinse with clean water on a fresh cloth and dry thoroughly. If it’s still tacky, go back over it with a milder, more diluted vinegar solution.
Discoloration you didn’t expect? Stop using whatever product you applied last, and check whether it was tested first. Sun exposure can also cause fading that looks like chemical damage. When you can’t identify the cause, a professional assessment saves you from making it worse.
- Sticky residue: rinse, dry, repeat with a weaker solution
- Discoloration: stop the product, test elsewhere, consider a pro opinion
- Fish-eyes after painting, swelling from moisture, or finish separation: call a specialist
Why Degreasing Properly Changes the Outcome
Proper degreasing is the single prep step professionals rely on most to get paint and finishes to actually hold. Skip it or rush it, and even expensive paint fails early. Homeowners who treat degreasing as optional are usually the ones back at the hardware store within a year, wondering why the finish is peeling.
That’s also the moment to weigh repair against replacement. A cabinet box in good shape rarely needs to be torn out. It needs the right prep.
When DIY Degreasing Isn’t Enough
There are cabinets that respond fine to a weekend of vinegar, baking soda, and elbow grease, and there are cabinets that need more than that to look right again. If the finish is failing, the wood is swollen, or you’ve already tried a full prep cycle and the paint still isn’t bonding, that’s usually a sign the surface needs professional-grade correction, not another round of the same steps.

Cabinetsrefinishing handles that gap. Instead of a full cabinet replacement running $15,000 to $40,000, our factory-finish spray process typically runs $3,000 to $8,000 and wraps up in three to five days, not weeks. We handle the deep degrease, the sanding, the color matching, and the multiple protective coats that a spray gun applies far more evenly than a brush ever could. If your cabinets are past what soap and vinegar can fix, get a quote on cabinet refinishing in Denver and find out whether refinishing makes more sense than replacing.
Where to Learn More
- How to degrease painted kitchen cabinets — The Spruce
- Pro cleaner tips for degreasing cabinets — The Spruce
- Degreasing cabinet tops — Martha Stewart
- Cabinet care guide — US Cabinet Depot
- Kitchen cleaning hacks — Ottawa Cabinet Painting
- For professional help, visit Cabinetsrefinishing
Frequently Asked Questions
What is the best degreaser for wood cabinets?
Murphy’s Oil Soap, used sparingly and dried immediately, works well for solid wood. Diluted distilled white vinegar is a safer bet for painted or laminate surfaces.
Can I use vinegar on all cabinet types?
Vinegar works on most painted, laminate, and veneer surfaces when diluted, but test it first and use it sparingly on solid wood, where repeated acid exposure can dull the finish over time.
How often should I deep clean my cabinets?
Twice a year is a reasonable baseline for most kitchens, with a quick weekly wipe-down in between to keep grease from building up.
Do I need a commercial degreaser like Krud Kutter for everyday cleaning?
No. Save commercial-strength degreasers for pre-refinishing prep. Dish soap and warm water handle routine cabinet degreasing best practices just fine.
Sources
- How To Degrease Painted Kitchen Cabinets the Right Way Without Damaging Them — The Spruce
- 5 Pro Cleaner Tips to Degrease Kitchen Cabinets Fast — The Spruce
- How to Degrease the Tops of Kitchen Cabinets — Martha Stewart
- Project spotlight: A step-by-step guide to painting your kitchen cabinets — Kilz
- How To Clean Kitchen Cabinets Before Painting — Brush & Roll Painting
- Cabinet care guide — US Cabinet Depot (PDF)