
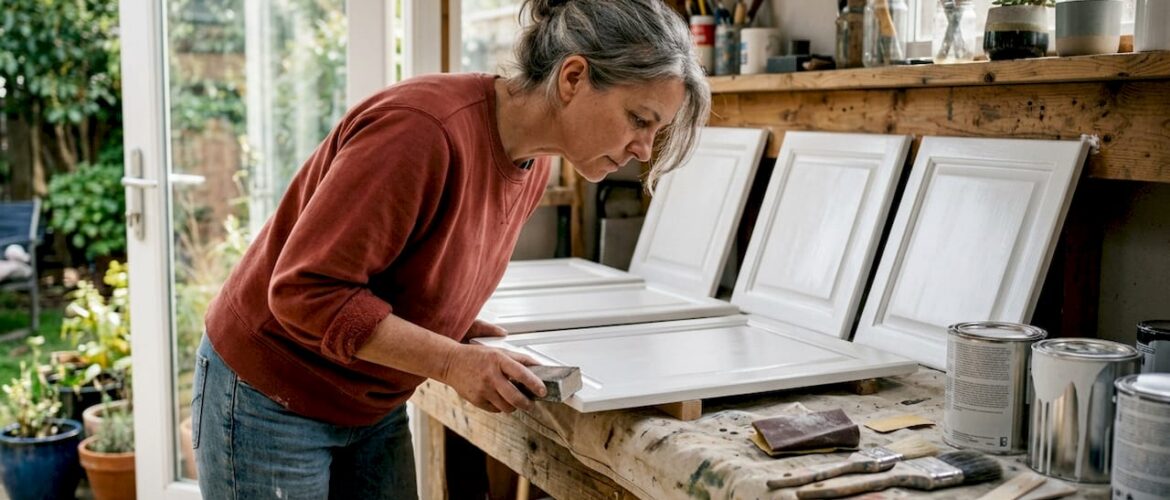
Modernizing dated kitchen cabinets is defined as updating the appearance, finish, or hardware of existing cabinet structures without full replacement. The right method depends entirely on your cabinet condition, budget, and desired outcome. Painting with cabinet-grade enamel, swapping hardware, refacing doors, or combining these approaches can each deliver a dramatic result. Cabinetsrefinishing estimates that professional refinishing costs $3,000–$8,000, compared to $15,000–$40,000 for full cabinet replacement. That gap makes modernization the financially sound choice for most homeowners.
How to modernize dated kitchen cabinets: choosing the right method
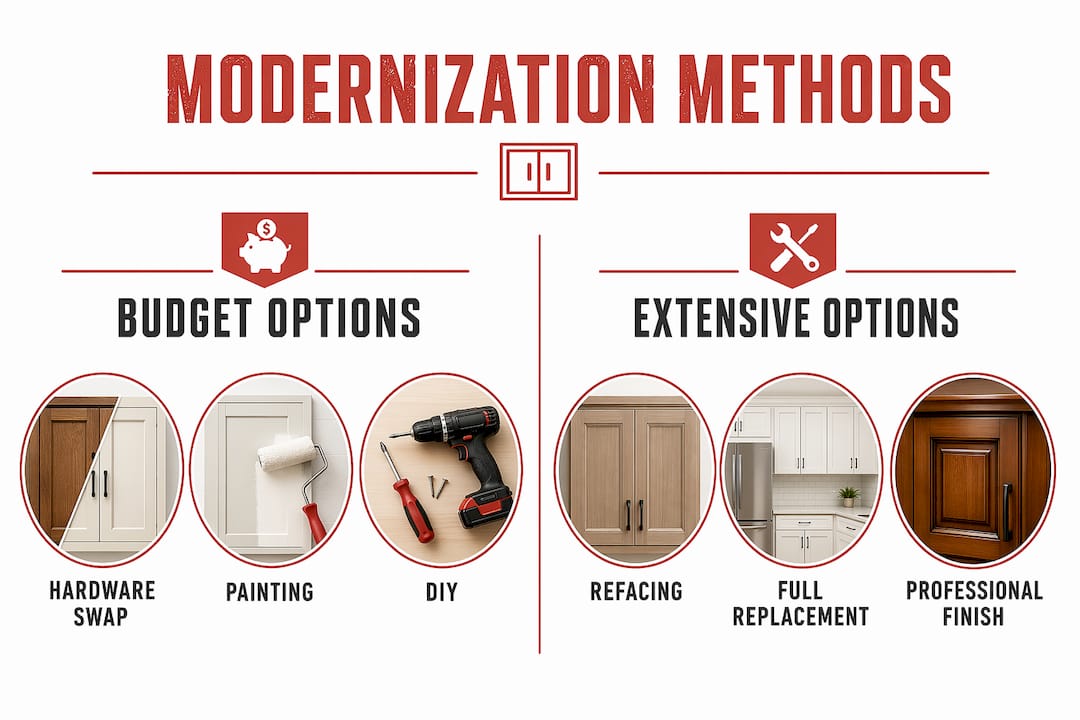
The three-path decision framework for cabinet modernization is paint, reface, or replace. Each path fits a different cabinet condition and budget. Choosing the wrong one wastes money and time.
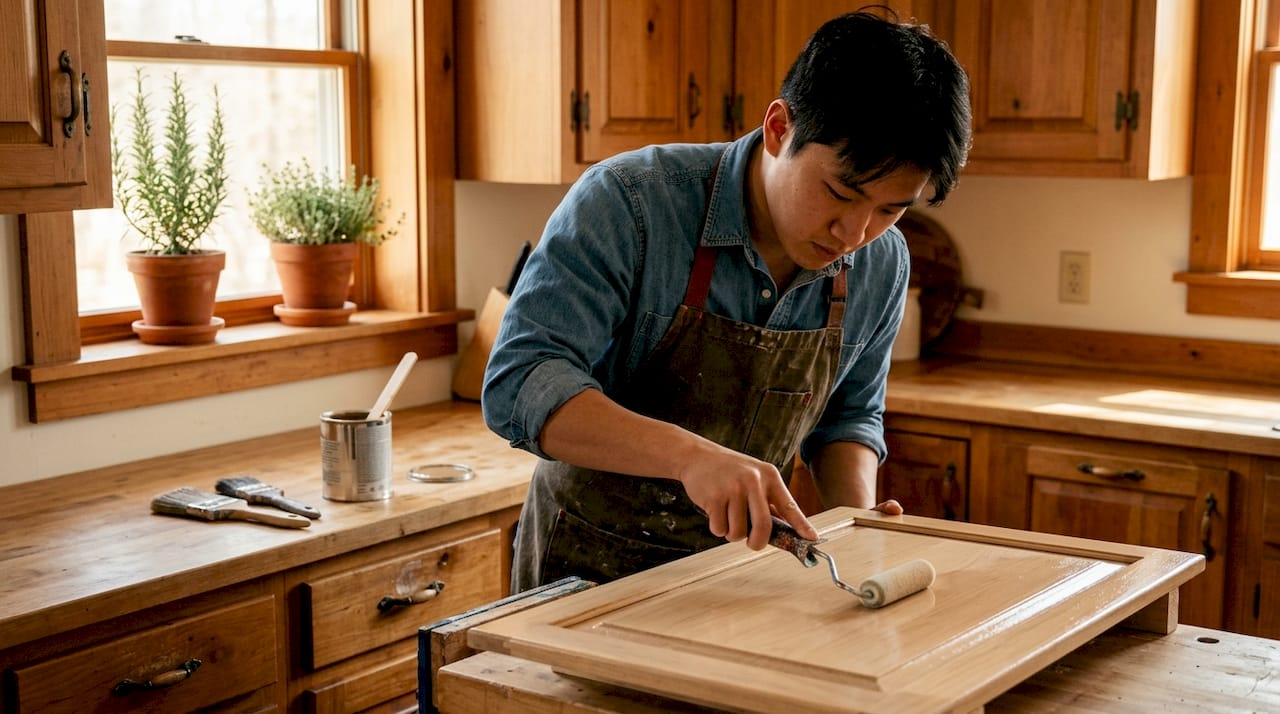
Painting is the most transformative budget option. Cabinet-grade enamel with a bonding primer produces results that last up to a decade. A DIY paint job takes about a weekend and costs a fraction of refacing or replacement. This method works best when your cabinet boxes are structurally sound and the doors are flat or have simple profiles.
Hardware replacement is the fastest and cheapest cosmetic update available. Updating hardware typically costs $30–$80 for a full kitchen set of ten cabinets and takes under one hour to install. The visual impact is immediate. New pulls and knobs in brushed brass, matte black, or satin nickel can shift a kitchen from dated to current without touching a paintbrush.
Cabinet refacing is the right call when your cabinet boxes are square, firmly attached, and functionally sound, but the doors look outdated. Refacing replaces doors, drawer fronts, and hardware while keeping the existing box structure intact. It costs more than painting but far less than full replacement. Think of it as a style update that preserves your kitchen’s layout.
Full replacement is only justified when cabinet boxes are warped, water-damaged, or structurally compromised. If the boxes are solid, replacement is an unnecessary expense.
| Method | Best for | Approximate cost | Time |
|---|---|---|---|
| Hardware swap | Quick cosmetic refresh | $30–$80 | Under 1 hour |
| Painting | Full color transformation | Low to moderate | 1–2 weekends |
| Refacing | Style update, sound boxes | Moderate | Several days |
| Full replacement | Structural damage | $15,000–$40,000 | Weeks |
How to prepare your cabinets for a lasting result
Preparation is the single biggest factor in whether a paint job lasts two years or ten. Skipping prep steps is the leading cause of premature paint failure, according to interior designer Jennifer Maune. No amount of quality paint compensates for a poorly prepared surface.
Follow these steps in order for a durable finish:
- Remove all hardware. Take off every knob, pull, and hinge before you do anything else. Painting around hardware produces uneven edges and traps grime.
- Degrease thoroughly. Kitchen surfaces accumulate cooking grease that prevents paint adhesion. Use a TSP substitute or a dedicated degreaser on every surface you plan to paint.
- Scuff-sand lightly. Scuff-sanding removes the factory sheen and gives paint something to grip. Avoid heavy sanding, which risks cutting through wood veneer and creating an uneven surface.
- Apply a bonding or cabinet-grade primer. Primer is not optional. It seals the surface, blocks stains, and dramatically improves topcoat adhesion.
- Protect adjacent surfaces. Tape off countertops, walls, and appliances before you start painting. Overspray and drips are easier to prevent than to clean.
Pro Tip: Remove cabinet doors and paint them flat on sawhorses. Gravity works against you when painting vertical surfaces, and horizontal painting reduces drips and brush marks significantly.
The most common mistake homeowners make is rushing from degreasing straight to painting. Letting each step fully dry before moving to the next is not optional. Wet surfaces trap moisture under the finish, which causes bubbling and peeling within months.
What are smart design choices for modernizing cabinet appearance?
Color is the most powerful design decision you will make. Painting upper cabinets a lighter shade and lower cabinets a darker tone visually enlarges the kitchen and adds dimension. This two-tone technique is one of the most effective designer tricks for making a small kitchen feel larger without moving a single wall.
For 2026, the strongest cabinet color directions include warm whites, soft sage greens, deep navy, and charcoal gray. Check the 2026 cabinet color trends guide from Cabinetsrefinishing for a full breakdown of what reads as current versus what already looks dated. Committing fully to a color choice produces a more custom, designed feel. Indecision leads to watered-down results that satisfy no one.
Hardware choices matter as much as color. Using pulls on drawers and knobs on doors improves both ergonomics and visual interest. Pulls give you a better grip on wide drawers. Knobs suit the smaller surface area of doors. Mixing the two types intentionally reads as designed rather than mismatched.
A few additional design moves that punch above their weight:
- Add thin trim to flat doors to create a Shaker-style profile. Accurate measurements and hinge clearance checks are critical before you cut anything.
- Install crown molding at the top of upper cabinets to close the gap between cabinets and ceiling. This detail alone makes builder-grade cabinets look custom.
- Resurface exposed cabinet ends with matching veneer or paint to eliminate the raw, unfinished look that dates many kitchens.
Pro Tip: Before committing to a cabinet color, paint a large sample board and live with it for 48 hours under your kitchen’s actual lighting. Colors shift dramatically between natural daylight and evening artificial light.
For broader 2026 home decor context, interior design trends from Livingdeco offer useful reference points for pairing cabinet colors with countertops and backsplashes.
How do you execute a DIY cabinet painting project step by step?
A successful DIY cabinet painting project follows a fixed sequence. Skipping steps or reordering them produces predictable failures. Here is the full process:
- Remove all doors and drawer fronts. Label each door with a number and photograph its original position. Reinstallation is much faster when you know exactly where each piece belongs.
- Degrease all surfaces. Apply degreaser to boxes, doors, and drawer fronts. Wipe clean and allow to dry completely.
- Sand lightly. Use 150-grit sandpaper for a light scuff. Wipe away all dust with a tack cloth before priming.
- Apply primer. Use a bonding primer on all surfaces. Allow full drying time per the manufacturer’s instructions before painting.
- Apply cabinet-grade enamel. Semi-gloss or gloss sheens hold up to daily kitchen use and wipe clean easily. Apply two thin coats rather than one thick coat to avoid drips and brush marks.
- Allow full curing time. Cabinets need 7–14 days to cure fully after painting. Do not clean them with any product during this window. Cleaning too early damages the finish before it hardens.
- Reinstall hardware. Measure the existing hole spacing before purchasing new hardware. Matching center-to-center distance avoids drilling new holes and keeps cabinet faces intact.
Pro Tip: Use a small foam roller for flat door panels and a brush only for detail areas. Rollers produce a smoother finish than brushes on large flat surfaces and reduce visible stroke marks.
For a detailed walkthrough of the full cabinet painting process, Cabinetsrefinishing publishes a pro-level step-by-step guide. If brush marks are your main concern, the brush mark prevention guide covers every technique that matters.
A realistic DIY timeline is one weekend for prep and priming, a second weekend for painting, and then two weeks of curing before the kitchen returns to full use. Budget for quality materials. Cheap paint and primer cost more in the long run when the finish fails within a year.
Key Takeaways
Cabinet modernization delivers the highest return when you match the method to your cabinet condition and commit fully to preparation before any finish is applied.
| Point | Details |
|---|---|
| Match method to condition | Paint for sound cabinets, reface for dated doors, replace only for structural damage. |
| Prep determines durability | Degreasing, scuff-sanding, and priming are non-negotiable steps for a lasting finish. |
| Hardware has outsized impact | A $30–$80 hardware swap updates the look of a full kitchen in under one hour. |
| Color choice shapes perception | Two-tone painting with lighter uppers and darker lowers visually enlarges small kitchens. |
| Curing time protects the finish | Wait 7–14 days after painting before cleaning cabinets to avoid damaging the new surface. |
What I’ve learned after watching hundreds of cabinet projects go right and wrong
Most homeowners underestimate preparation and overestimate paint. I have seen beautifully chosen colors applied over greasy, unprimed surfaces fail within six months. The paint peels at the edges first, then lifts in sheets. The color was never the problem. The surface was.
The other mistake I see constantly is indecision about color. Homeowners pick a safe, watered-down neutral because they are afraid to commit. The result looks timid and unfinished. The kitchens that look genuinely updated are the ones where the homeowner picked a real color and went all in. Sage green on the lowers. Navy on the island. Warm white on the uppers. Commitment reads as confidence.
Hardware placement is the detail most people get wrong. Pulls installed too high on a drawer front look awkward. Knobs placed too close to the edge of a door feel flimsy. Take ten minutes to look at reference photos before you drill a single hole. That ten minutes saves you from filling and repainting mistakes that take hours to fix.
My honest recommendation: if you are comfortable with prep work and patient enough to respect curing times, DIY painting is genuinely achievable. If you are not, or if you want a factory-level finish without the learning curve, professional refinishing is worth every dollar. The gap between a rushed DIY job and a properly executed professional finish is visible from across the room.
— Jesse
When professional refinishing makes more sense than DIY
Some cabinet projects are straightforward weekend jobs. Others require equipment, technique, and experience that most homeowners do not have on hand. Cabinetsrefinishing specializes in exactly those situations.
Cabinetsrefinishing uses a factory-finish methodology that includes meticulous surface preparation and multiple protective layers. Projects complete in 3–5 days rather than weeks. The cost runs $3,000–$8,000, compared to $15,000–$40,000 for full cabinet replacement. That is a significant saving for a finish that holds up to daily kitchen use for years. If you are in the Denver area and want a professional cabinet refinishing result without the DIY risk, Cabinetsrefinishing is the direct path to a durable, high-quality finish. You can also explore the full range of kitchen renovation options on their site to find the right fit for your budget and timeline.
FAQ
What is the cheapest way to update kitchen cabinets?
Hardware replacement is the cheapest update, typically costing $30–$80 for a full kitchen and taking under one hour. It delivers immediate visual impact with no painting or prep required.
How long does a DIY cabinet paint job last?
A properly prepared and painted cabinet using bonding primer and cabinet-grade enamel can last up to a decade. Skipping prep steps significantly shortens that lifespan.
When should I reface instead of paint my cabinets?
Reface when your cabinet boxes are structurally sound but the door style looks dated. Refacing replaces doors, drawer fronts, and hardware while keeping the existing layout intact.
How long do painted cabinets need to cure before use?
Painted cabinets need 7–14 days to cure fully before you clean them. Cleaning too early damages the finish before it hardens completely.
What color works best for modernizing kitchen cabinets?
Two-tone combinations, such as lighter uppers and darker lowers, are the most effective choice for improving space perception and adding visual depth to a kitchen.
Recommended
- Kitchen Cabinet Color Trends 2026: What’s Hot Right Now – Cabinet Refinishing and Cabinet Painting Denver 720-219-9716
- Kitchen Cabinet Color Trends 2026: Denver’s Guide to Modern Refinishing – Cabinet Refinishing and Cabinet Painting Denver 720-219-9716
- Kitchen Cabinet Color Trends Denver 2026: The Homeowner’s Guide to Modern Refinishing – Cabinet Refinishing and Cabinet Painting Denver 720-219-9716
- Cabinet Color Selection Refinishing Guide for 2026 – Cabinet Refinishing and Cabinet Painting Denver 720-219-9716