
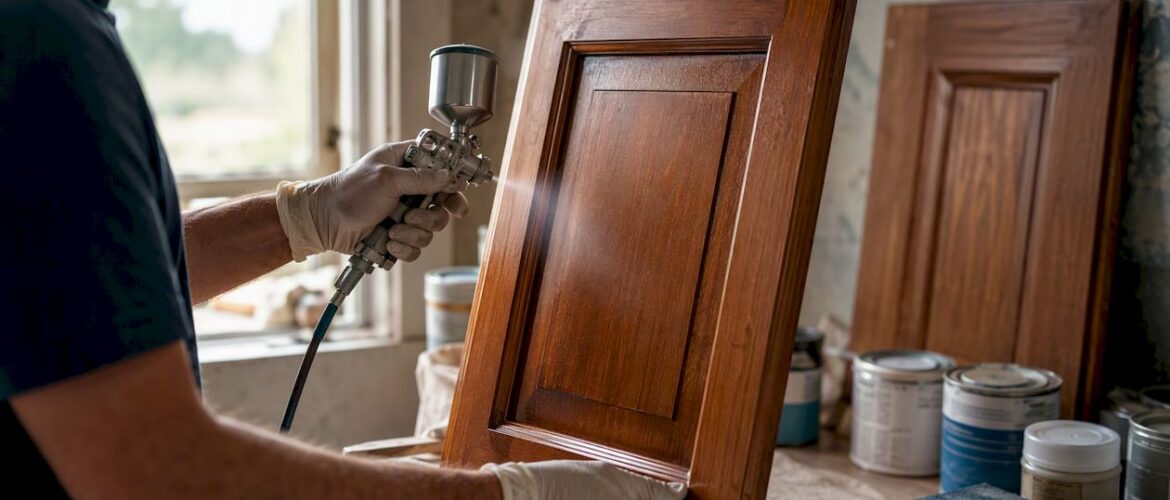
You can update a kitchen on a budget for anywhere from $0 to under $1,200 by focusing on six high-impact moves: declutter and deep clean (free), paint or refinish cabinets ($50–$500+ DIY), swap hardware and faucet ($30–$150), update lighting ($20–$150), add a peel-and-stick backsplash ($50–$200), and refresh textiles and styling ($0–$50 repurposed). According to Lowe’s budget kitchen guide, a carefully planned refresh using paint, hardware, lighting, and small finishes can come in under $1,200 — and cleaning alone is often the single most effective zero-cost move you can make.
Start this weekend:
- Spend 2–3 hours clearing counters, editing cabinet contents, and deep-cleaning every surface
- Pull one cabinet door and test a paint sample (HGTV Home by Sherwin-Williams has excellent cabinet-specific colors)
- Measure your existing hardware hole spacing before ordering new knobs or pulls
- Pick one visible swap: a new faucet, a light fixture, or a peel-and-stick backsplash panel
The six moves above are not random. They target the surfaces people see and touch first — cabinet faces, hardware, counters, and light — while leaving layout, plumbing runs, and appliances exactly where they are. That discipline is what keeps a kitchen refresh from becoming a $30,000 remodel.
Key Takeaways
A kitchen update on a budget works best when you spend on visible surfaces first — cabinets, hardware, lighting, and backsplash — and leave layout, plumbing, and appliances exactly where they are.
| Point | Details |
|---|---|
| Free updates first | Declutter, deep clean, and restyle open shelves before spending a dollar — it’s the highest-impact move available. |
| Hardware and lighting under $100 | Swapping cabinet pulls and adding plug-in LED strips changes the kitchen’s look faster than any other paid upgrade. |
| Peel-and-stick backsplash | A $50–$150 peel-and-stick backsplash on a properly prepped surface delivers near-tile results without tile labor. |
| Full refresh under $1,200 | A mix of paint, hardware, lighting, and small finishes can refresh a kitchen for under $1,200 when sequenced correctly. |
| Cabinetsrefinishing | For structurally sound cabinets, professional refinishing ($3,000–$8,000) delivers a factory-grade finish in 3–5 days — far below the cost of full replacement. |
Table of Contents
- How to update kitchen on budget: what to do first
- What free updates make the biggest difference?
- What can you upgrade for under $50?
- What visible upgrades stay under $100?
- What upgrades fall under $500 and still look expensive?
- What gets you near-remodel results for under $1,000?
- Why professional cabinet refinishing is often the smartest mid-budget move
- How to paint your cabinet doors over a weekend
- What renter-friendly updates leave no trace?
- Where should you buy supplies and which apps help?
- What mistakes blow a kitchen budget?
- Professional cabinet refinishing: a faster path to a finished kitchen
- Sources
How to update kitchen on budget: what to do first
Sequencing matters more than most guides admit. Spend money in the wrong order and you’ll repaint a wall only to cover it with a backsplash, or buy hardware before you know your cabinet color. The right order follows one rule: fix what you see before you detail what you touch.
The practical sequence:
- This weekend (free to $50): Declutter, deep clean, restyle open shelves, replace burned-out bulbs with consistent color-temperature LEDs
- Short projects, 1–2 weeks out ($50–$200): Swap cabinet hardware, install a peel-and-stick backsplash, add a plug-in under-cabinet light strip, hang IKEA RIBBA frames with printable art
- Mid-budget moves ($200–$1,000): Paint or professionally refinish cabinets, replace a faucet, update a pendant light fixture, refresh counters with grout recolor or an overlay kit
The Spruce’s kitchen remodeling basics make the case plainly: focus on visual layers — hardware, lighting, surface finishes — rather than moving plumbing or changing the layout. Every dollar spent rerouting a drain is a dollar that could have painted every cabinet in the kitchen.
DIY vs. hire: a quick decision rule
- DIY confidently: hardware swaps, peel-and-stick backsplash, painting cabinet doors, plug-in lighting, styling
- Hire for: hardwired electrical (new circuits or junction boxes), any plumbing relocation, structural cabinet repairs, spray-finish refinishing that requires a controlled environment
- Check permit risk: adding a new circuit or moving a gas line almost always requires a permit; cosmetic work generally does not
A budget checklist before you spend anything: measure hardware hole spacing, note your existing faucet hole count, photograph your current lighting fixture’s junction box, and confirm your cabinet boxes are structurally sound (no water damage, no delaminating frames).
What free updates make the biggest difference?
Nothing in a kitchen produces a bigger perceived improvement per dollar than a thorough declutter and deep clean. Zero dollars, two to four hours, and the kitchen looks like a different room.
What to edit and how to clean:
- Remove everything from counters. Put back only what you use daily — coffee maker, knife block, one cutting board. The rest goes in a cabinet or out of the kitchen entirely.
- Pull everything from open shelves. Edit to a third of what was there. Group by color or material: matching containers, a small plant, one or two pieces of art. Uniform clear bins from a dollar store work as well as anything from a specialty shop.
- Degrease cabinet faces with a TSP substitute or a dish-soap-and-warm-water solution before any painting or adhesive work. Surface prep is non-negotiable — adhesives and paints fail on greasy surfaces.
- Clean grout lines with a stiff brush and a baking-soda paste. White grout that’s gone gray reads as neglect; clean grout reads as new.
- Wipe down the inside of the refrigerator door and the stovetop. These are the first things a visitor’s eye lands on.
Styling swaps with what you already own:
- Move a plant from another room to the counter near the window
- Stack cookbooks spine-out on an open shelf for color
- Fold dish towels in a consistent color and hang them on the oven handle
- Frame a piece of art or a printable download and lean it against the backsplash
Pro Tip: Take a photo of your kitchen before you start, then another after. The camera flattens the space and makes the difference far more visible than your eye does standing in the room. That before-and-after comparison is also useful if you’re staging to sell.
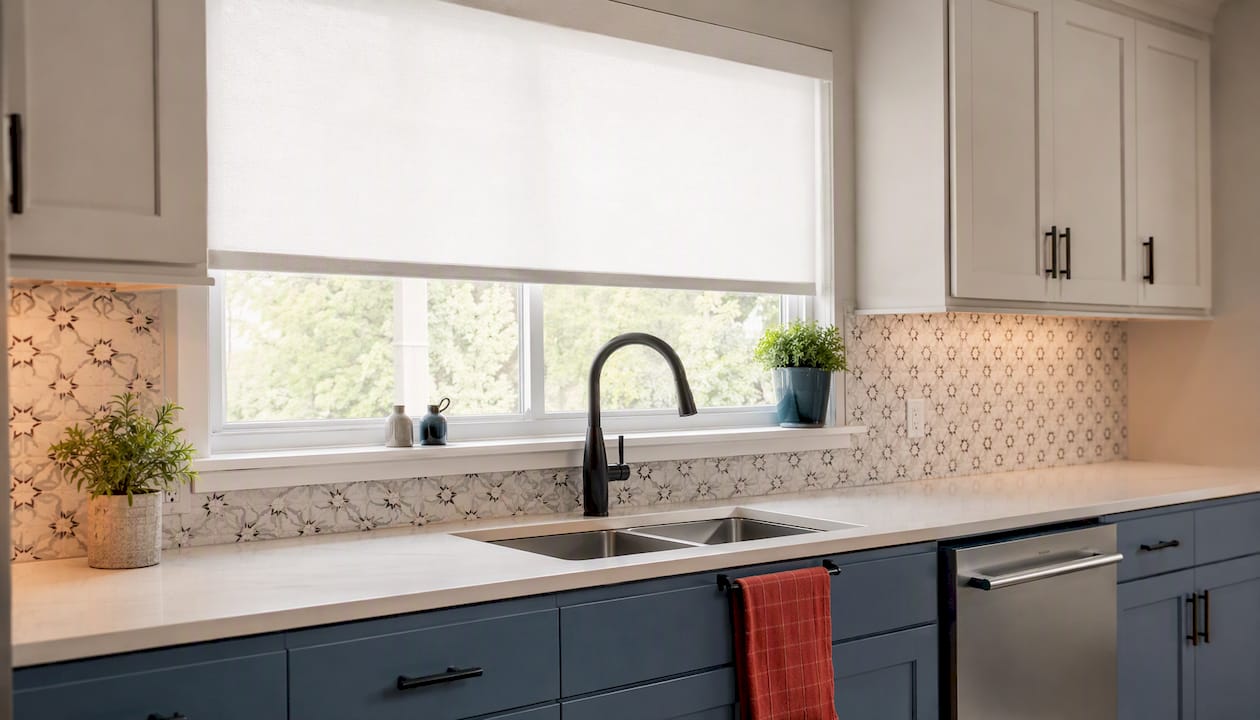
To maximize perceived space and light, clear the windowsill completely and replace any dark or mismatched window treatment with a simple white roller shade. Natural light is free and it does more for a kitchen’s appearance than almost any paid upgrade.
What can you upgrade for under $50?
Small swaps in this range deliver some of the best visual ROI in the whole budget spectrum. The key is picking items that are visible every time someone walks into the room.
Top picks under $50:
- Cabinet knobs and pulls: A 25-pack of brushed-nickel bar pulls runs $25–$40 on Amazon or at Home Depot. Difficulty: easy. Time: 1–2 hours for a full kitchen. Measure your existing hole spacing (most are 3" or 3.75" center-to-center) before ordering — wrong spacing means drilling new holes.
- Peel-and-stick shelf liners: $10–$20 for a roll. Lining cabinet interiors in a clean white or wood-grain pattern makes the inside of every cabinet look intentional when doors are open.
- Replacement LED bulbs: $15–$25 for a 6-pack. Match color temperature across every fixture — kitchens read as cohesive in the 2700K–4000K range, depending on whether you want warm or cool light. Mixing 2700K and 5000K bulbs in the same kitchen is one of the most common and most fixable mistakes.
- Clear bins and uniform labels: $15–$30 for a starter set. Pull-out organizers and uniform clear bins reduce counter clutter and make the inside of cabinets look designed rather than stuffed.
- A small rug or runner: If you have one in another room that fits the color palette, move it. If not, IKEA carries basic runners under $30 that hold up well in kitchen traffic.
Pro Tip: Buy one extra knob or pull when you order. Cabinet hardware gets discontinued fast, and having a spare saves a frustrating search six months later when one gets damaged.
What visible upgrades stay under $100?
This tier is where a kitchen starts to look genuinely refreshed rather than just tidied. The best picks here change a surface or a fixture — something with real visual weight.
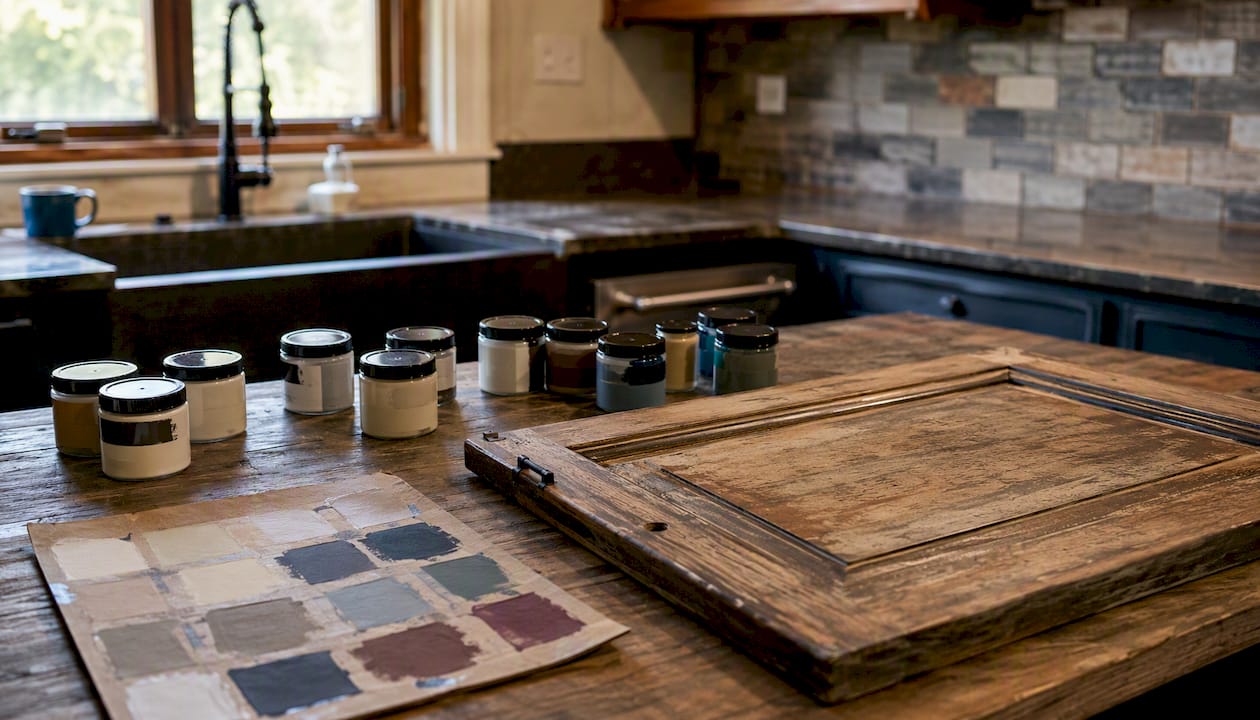
Cabinet paint sample kits: Before committing to a full gallon, buy two or three sample pots of cabinet-specific paint. HGTV Home by Sherwin-Williams makes colors designed for cabinetry, and a sample pot ($5–$8 each) lets you test on an actual door before you buy a quart or gallon. Paint the sample on a piece of cardboard, hold it against your cabinets in both natural and artificial light, and live with it for a day.
Peel-and-stick backsplash panels: A 10-square-foot pack runs $30–$60 at Home Depot or Lowe’s. These work best on a flat, clean, grease-free wall — prep is everything. Careful surface prep prevents edge-lift and early failure, which is the main reason peel-and-stick backsplashes get a bad reputation. For renters, they peel off cleanly from a properly prepped surface.
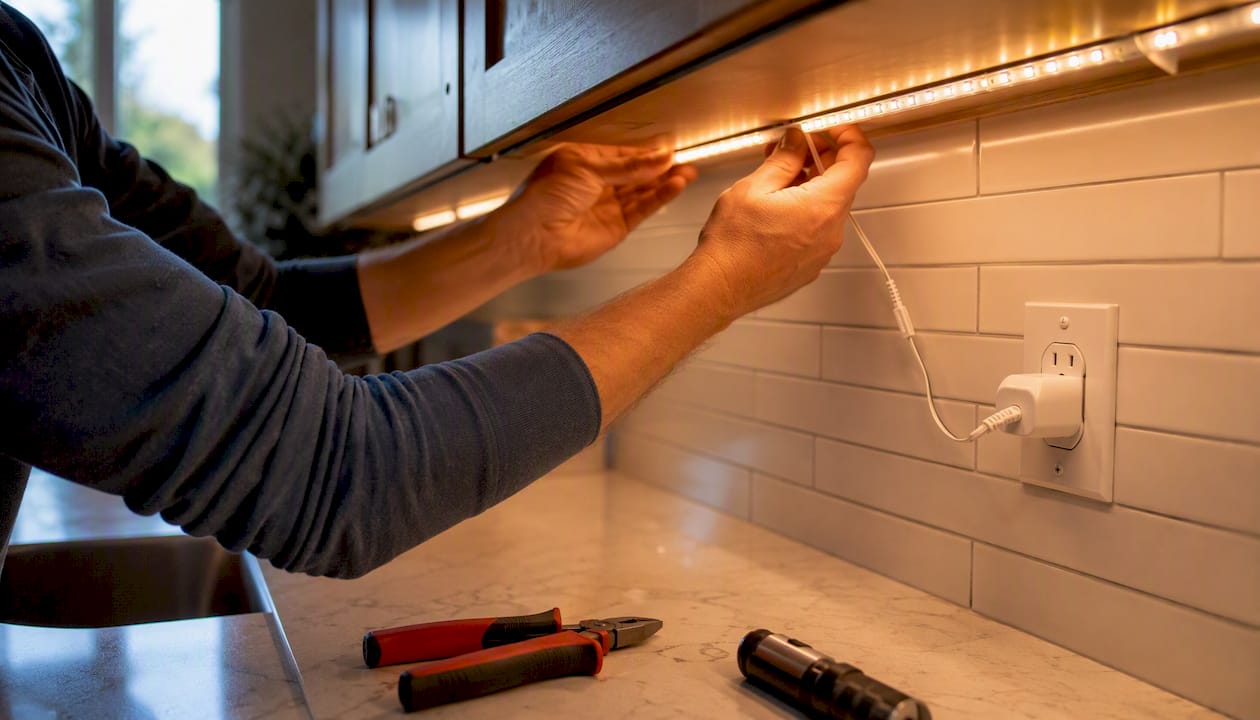
Under-cabinet plug-in LED strip lights: $20–$50 on Amazon. No wiring required. Plug-in LED strips are among the highest-ROI lighting upgrades because they improve task lighting and make the kitchen look more finished. Stick them to the underside of upper cabinets and plug into an existing outlet inside the cabinet.
IKEA RIBBA frames with printable art: A set of three RIBBA frames costs under $20. Download a free print from a site like Printables or Unsplash, print at a local copy shop for $2–$5, and hang above a counter or on an empty wall. It’s the fastest way to add personality without paint.
Basic faucet replacement: A clean, single-handle faucet from Delta’s entry line runs $60–$90 at Home Depot or Lowe’s. Before buying, count the holes in your sink deck — a single-hole faucet won’t fit a three-hole deck without an escutcheon plate. Swapping a faucet is a 45-minute job with basic plumbing tools if the supply lines are accessible.
Shopping tip: Check the clearance aisle at Lowe’s and Home Depot for open-box lighting fixtures and faucets.
What upgrades fall under $500 and still look expensive?
This is the tier where a kitchen stops looking refreshed and starts looking renovated. The moves here take a weekend or two but don’t require a contractor.
Backsplash options:
- Peel-and-stick tile: $50–$150 for a typical kitchen backsplash area. Best for flat surfaces and renters. Prep the wall with a degreaser, let it dry completely, and work from the center out.
- Real ceramic or subway tile: $150–$400 for materials plus $30–$60 for thinset, grout, and tools. Tile makes sense when you want permanence and a surface that holds up to steam and splatter for 20+ years. The labor is DIY-able over a weekend if you’ve tiled before; first-timers should budget an extra day.
Counter refresh options: Replacing counters is expensive — measuring, fabrication, and plumbing disconnects add up fast. Refreshing existing counters avoids all of that. Options include:
- Grout recoloring with a pen or liquid ($10–$25) — makes old tile counters look new in an afternoon
- Laminate overlay kits ($200–$400) — bond directly over existing laminate without demolition
- Sanding and re-oiling a butcher-block counter ($20–$40 in supplies) — restores the surface to near-new condition
Lighting swaps: A new pendant light over an island or peninsula runs $60–$200 at Home Depot or Lowe’s. Swapping a fixture is a 30-minute job if the junction box is already there. If it’s not, hire an electrician — adding a new circuit is not a DIY job in most jurisdictions.
Mid-range faucet upgrade: Delta’s mid-range pull-down faucets run $120–$180 and look significantly more expensive than they are. Finishing details like consistent hardware finish and clean caulk and grout lines make low-cost projects read as high-end — this is one of the most consistent findings from kitchen design professionals.
A full under-$500 refresh combining a peel-and-stick backsplash, new hardware, under-cabinet lighting, and a grout recolor can produce results that look like a $2,000 job. The discipline is doing each step well rather than rushing.
What gets you near-remodel results for under $1,000?
At this budget, you’re making choices that change the kitchen’s character, not just its cleanliness. Spend strategically: put the most money on surfaces people touch and see at eye level, and leave the layout and appliances alone if they function.
High-impact moves in this range:
- Cabinet painting (full DIY): $150–$350 in materials for a typical kitchen (primer, cabinet-grade paint, sandpaper, brushes, tack cloths). Time-intensive but the single highest-impact visual change available. Combining cabinet painting with hardware and backsplash updates can produce a near-remodel effect at a fraction of the cost.
- Open shelving (partial): Remove one or two upper cabinet doors, sand and paint the interior, and style the shelf. Materials cost $20–$50; the visual effect is significant.
- Butcher-block counter section: A 4-foot butcher-block section from IKEA runs $80–$150 and can replace a small section of counter (over a base cabinet, not near a sink) without plumbing work.
- Higher-end peel-and-stick tile or small-area real tile: Premium peel-and-stick options from brands like Aspect or Smart Tiles run $4–$8 per square foot and look closer to real stone or subway tile than budget panels.
- Sink replacement (same cutout): A new stainless or composite sink that fits the existing cutout runs $100–$250 at Home Depot. Pair it with a new faucet and the sink area looks completely new.
How to split a $1,000 budget for maximum impact:
| Category | Suggested Allocation | Why |
|---|---|---|
| Cabinets (paint + hardware) | $250–$400 | Largest visual surface in the kitchen |
| Lighting (pendant + under-cabinet) | $100–$200 | Changes mood and perceived quality |
| Backsplash | $100–$200 | Adds color and texture behind the main work area |
| Counter refresh or new sink | $100–$250 | Surfaces people touch every day |
| Textiles, art, styling | $50–$100 | Finishes the look without structural work |
The Realtor.com case study on a sub-$5K kitchen transformation makes a useful point: refreshing surfaces rather than replacing them saves on demolition and disposal costs, which are often the hidden expenses that blow a remodel budget. Staying under $1,000 means staying in the refresh lane entirely.
Why professional cabinet refinishing is often the smartest mid-budget move
Cabinets cover more visual square footage than any other surface in a kitchen. They’re also the most expensive thing to replace — full cabinet replacement typically runs a large investment once you factor in boxes, doors, hardware, installation, and the plumbing and electrical adjustments that come with moving anything. Professional refinishing costs $3,000–$8,000 for a typical kitchen and produces a factory-quality finish on the existing cabinet boxes.
That gap is significant. For a homeowner with structurally sound cabinets — no water damage, no delaminating frames, no broken hinges that can’t be repaired — refinishing is the rational choice. You keep the layout, skip the demolition, and end up with a durable finish that looks like new cabinetry.
DIY painting vs. professional refinishing vs. full replacement:
| Method | Typical Cost | Timeline | Finish Quality | Best For |
|---|---|---|---|---|
| DIY cabinet painting | $150–$350 (materials) | 2–3 weekends | Good with prep | Budget-first, patient DIYers |
| Professional refinishing | $3,000–$8,000 | 3–5 days | Factory-grade | Homeowners wanting durable, high-end results |
| Full cabinet replacement | $15,000–$40,000 | 2–6 weeks | New | Structural damage or complete layout change |
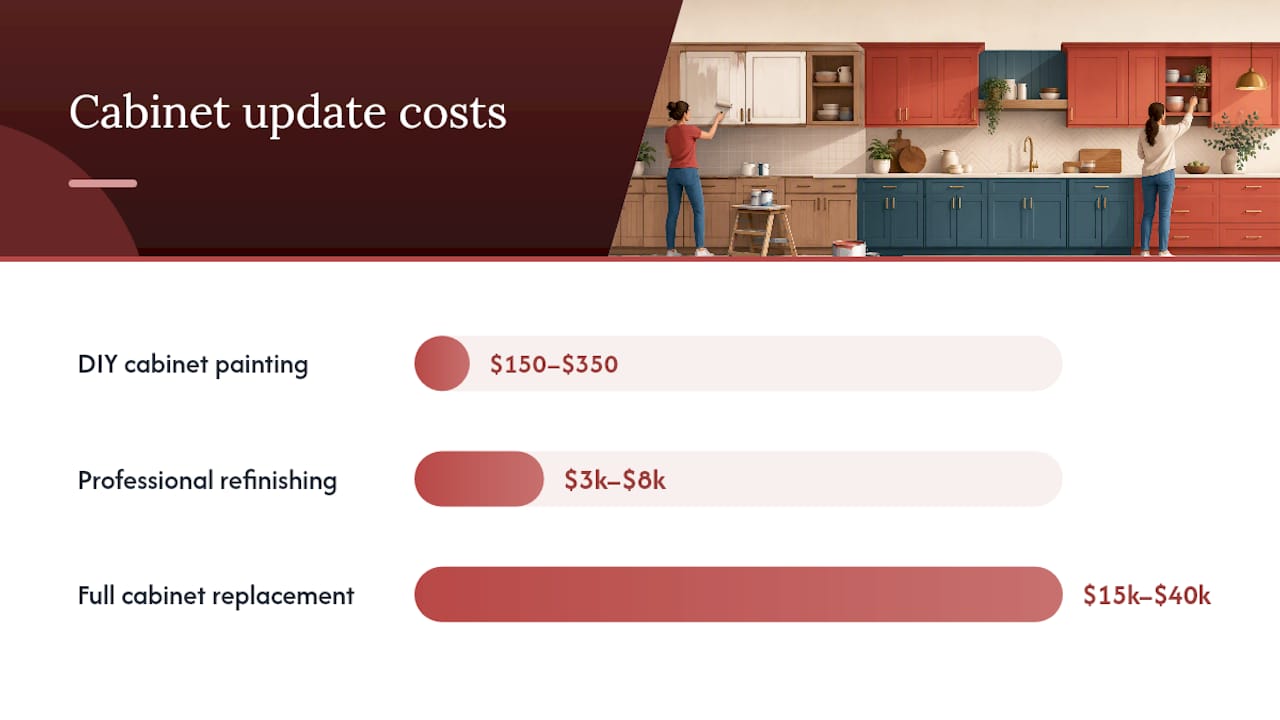
The timeline difference alone matters for most homeowners. A professional factory-finish refinishing job is done in 3–5 days. Full replacement means weeks of a non-functional kitchen, contractor scheduling, and the disruption of demolition.
What to ask a refinishing pro:
- What prep process do you use? (Sanding, degreasing, and a bonding primer are non-negotiable for adhesion)
- Do you spray or brush-and-roll? (Spray produces a smoother, more factory-like finish)
- How many coats of topcoat do you apply, and what’s the product?
- What’s the cure time before I can use the cabinets normally?
- Do you offer color matching?
When refinishing is not appropriate: If cabinet boxes show active water damage, significant warping, or structural delamination, refinishing won’t fix the underlying problem. In those cases, targeted box replacement or full replacement is the right call. Check for soft spots near the sink base and under the dishwasher before committing to any finish work.
Pro Tip: Ask to see a sample board finished in the color you’re considering before the job starts. A reputable refinishing company will show you the actual product and sheen level on a real substrate — not just a paint chip.
Cabinetsrefinishing uses a factory-finish spray methodology with meticulous surface preparation and multiple protective layers. For homeowners in the Denver metro area who want a professional cabinet refinishing result without the cost or timeline of replacement, it’s worth understanding the signs your cabinets are a good candidate for refinishing before deciding.
How to paint your cabinet doors over a weekend
This is the most impactful DIY project in the under-$500 tier, and it’s achievable in a single weekend if you prep correctly. The most common failure point isn’t the painting — it’s skipping or rushing the prep.
Materials list:
- Bonding primer (Zinsser Bulls Eye 1-2-3 or equivalent): $20–$30/quart
- Cabinet-grade enamel paint (urethane-acrylic or alkyd): $35–$55/quart
- 120-grit and 220-grit sandpaper: $8–$12
- Tack cloths: $5
- TSP substitute degreaser: $8–$12
- Foam rollers (4-inch) and a 2-inch angled brush: $10–$15
- New hardware (optional, but worth installing at the same time): $25–$60
- Painter’s tape: $6–$8
Step-by-step:
- Remove doors and hardware (30–45 min): Number each door and its corresponding cabinet opening with a piece of tape on the inside edge. Remove hinges and set hardware aside.
- Clean and degrease (30–45 min): Wipe every surface with a TSP substitute solution. Kitchen cabinet faces accumulate years of grease that will prevent paint from bonding. Let dry completely — at least 30 minutes.
- Sand (45–60 min): Scuff the surface with 120-grit to give the primer something to grip. Wipe with a tack cloth. Don’t skip this step even on already-painted cabinets.
- Prime (1–2 hours + dry time): Apply one coat of bonding primer with a foam roller. Let dry per the manufacturer’s instructions — typically 1–2 hours. Light-sand with 220-grit after drying, wipe with tack cloth.
- Paint (2–3 hours + dry time): Apply two thin coats of cabinet-grade enamel, letting each coat dry fully between applications. Thin coats prevent drips and brush marks. A foam roller on flat panels and a brush on edges gives the cleanest result.
- Cure (24–72 hours): Cabinet-grade enamel needs time to harden fully. Don’t rehang doors for at least 24 hours, and treat them gently for 72 hours after that. Full cure takes up to 30 days — avoid harsh cleaners until then.
- Rehang and install hardware (30–60 min): Rehang doors using the numbered tape as a guide. Install new hardware at the same time.
Safety: Work in a ventilated space. Open windows, run a fan, and wear an N95 mask when sanding. Alkyd paints require mineral spirits for cleanup and have stronger fumes — water-based urethane-acrylic is easier for most DIYers.
Common problems:
- Drips: Apply thinner coats. If a drip dries, sand it smooth with 220-grit before the next coat.
- Poor adhesion: Almost always a prep failure. The surface wasn’t clean or wasn’t sanded. Strip back to bare wood or scuff thoroughly and re-prime.
- Brush marks: Switch to a foam roller for flat panels. Thin the paint slightly with water (for water-based) per the label.
Pro Tip: Paint the cabinet boxes (the frames that stay on the wall) while the doors are off and drying. You’ll never get better access, and painting both at the same time gives a uniform result.
For a deeper look at how to modernize dated kitchen cabinets or guidance on when to DIY versus hire a professional, those resources walk through the decision in more detail.
What renter-friendly updates leave no trace?
Renters have fewer options but more than most people think. The key is choosing updates that bond temporarily and remove cleanly — and knowing which ones actually hold up versus which ones fail and take wall paint with them.
Renter-safe moves that actually work:
- Peel-and-stick backsplash: Prep the wall with rubbing alcohol, not water, before applying. This removes grease without leaving residue and gives the adhesive a clean surface. Remove by warming the panel with a hair dryer on low and pulling slowly from a corner.
- Removable contact paper on counters: Covers dated laminate or tile counters temporarily. Works best on flat surfaces; edges near the sink need extra adhesive to stay sealed. Remove with a hair dryer and patience.
- Stick-on cabinet hardware: Adhesive-backed knobs and pulls exist, but the quality varies widely. Better option: use Command strips to hang small hooks inside cabinets for organization without drilling.
- Plug-in under-cabinet lighting: No wiring, no holes. LED strip lights with a peel-and-stick backing and a cord that routes to an outlet inside the cabinet are completely reversible.
- Temporary rugs and runners: No installation required. A runner in a warm color or pattern changes the feel of the kitchen floor without touching it.
- Framed printable art: IKEA RIBBA frames hung with Command picture-hanging strips leave no wall damage. Printable art from free sites costs $2–$5 to print at a copy shop.
Staging ideas for tenants: If you’re preparing the kitchen to impress a landlord or prospective buyer, the highest-impact moves are the free ones — declutter, deep clean, consistent lighting, and styled open shelves. A clean, well-lit kitchen photographs dramatically better than a cluttered one, regardless of the finishes. Quick refreshes without full renovation are well within reach for most renters.
Removal tips: Before removing any adhesive product, test a small corner first. If the wall paint lifts, use a hair dryer to soften the adhesive further before pulling. Goo Gone removes adhesive residue without damaging most painted surfaces — test in an inconspicuous spot first.
Where should you buy supplies and which apps help?
Design decisions are faster when you can visualize the result before spending money. A few free tools make that possible.
Free design apps worth using:
- RoomSketcher: Free tier lets you draw a floor plan and place cabinets, appliances, and furniture. Useful for visualizing open shelving or a layout change before committing.
- Sherwin-Williams ColorSnap Visualizer: Upload a photo of your kitchen and paint the cabinets or walls virtually. Free, and more accurate than holding a paint chip up to the wall.
- IKEA’s kitchen planner: Free online tool for planning cabinet configurations and seeing how IKEA pieces fit your space.
Where to buy by upgrade tier:
- Hardware (knobs, pulls, hinges): Home Depot and Amazon for bulk packs; Lowe’s for individual pieces with in-store matching. Buy a 25-pack when you need more than six pieces — the per-unit price drops significantly.
- Peel-and-stick backsplash and contact paper: Home Depot, Lowe’s, and Amazon all carry these. Check the square footage per pack against your measured area before buying.
- Lighting fixtures and LED strips: Home Depot and Lowe’s for fixtures; Amazon for plug-in LED strip kits. Compare lumens per dollar rather than wattage.
- Cabinet paint and primer: Lowe’s carries HGTV Home by Sherwin-Williams cabinet paint in-store. Home Depot carries Rust-Oleum cabinet paint. Both are solid options for DIY cabinet painting.
- Affordable decor (frames, rugs, bins): IKEA for RIBBA frames, KALLAX inserts, and TROFAST bins. Dollar stores for uniform clear containers and labels.
Pricing tips:
- Check the clearance section at Lowe’s and Home Depot first — open-box lighting fixtures and faucets at 30–50% off are common.
- Time hardware purchases around holiday weekends (Memorial Day, Labor Day, Black Friday) when home improvement retailers run 20–30% off sales.
- Compare unit pricing on bulk hardware packs: a 25-pack of pulls at $35 is $1.40 each; individual pulls at the same store often run $4–$6 each.
What mistakes blow a kitchen budget?
Most budget overruns come from the same handful of decisions. Knowing them in advance is the cheapest insurance you can buy.
The biggest cost traps:
- Moving plumbing or electrical: Relocating a drain, adding a circuit, or moving a gas line can add $500–$3,000+ to a project instantly. The Spruce’s guidance is direct on this: keep the layout. Work with what’s there.
- Wrong hardware hole spacing: Ordering pulls with a 3.75" center-to-center on cabinets drilled for 3" means drilling new holes — or returning everything. Measure twice before ordering.
- Skipping primer on cabinets: Paint applied directly to a greasy or glossy cabinet surface will peel within weeks. Bonding primer is not optional. See the DIY pitfalls guide from One Day Doors & Closets for a detailed breakdown of what goes wrong when prep is skipped.
- Poor surface prep before adhesives: Peel-and-stick backsplash and contact paper fail on surfaces with any grease or moisture. Clean with rubbing alcohol, let dry fully, then apply.
- Buying paint before testing: A color that looks warm on a chip can read orange under kitchen lighting. Always test a sample on the actual surface in the actual light.
- Underestimating cure time: Cabinet paint that hasn’t cured fully will stick to itself when doors close, pulling the finish off. Wait the full cure time before rehanging.
When to hire a pro — no exceptions:
- Any new electrical circuit or junction box work
- Plumbing relocation (even moving a drain a few inches)
- Structural cabinet repairs (rotted boxes, water-damaged frames)
- Gas line work of any kind
Quick checklist to prevent the most common DIY finish failures:
- Clean and degrease before any paint or adhesive application
- Sand before priming; prime before painting
- Use cabinet-grade paint, not wall paint
- Let each coat dry fully before applying the next
- Wait the full cure time before putting cabinets back in service
- Match hardware hole spacing to existing holes before ordering
The practical case for spending on what you see
Most kitchen budgets get wasted on things behind walls or under floors — things that improve function but don’t change how the kitchen looks or feels. The most effective approach is the opposite: spend on finishes, surfaces, and light. A kitchen with clean, freshly painted cabinets, consistent hardware, good lighting, and a crisp backsplash reads as renovated even if the layout, appliances, and plumbing are exactly as they were. That’s not a compromise. It’s the right strategy for anyone who wants results without a remodel.
Professional cabinet refinishing: a faster path to a finished kitchen
If your cabinets are structurally sound and you want a result that looks genuinely new rather than DIY-painted, professional refinishing is the most efficient mid-budget move available.

Cabinetsrefinishing delivers a factory-finish spray result on existing cabinet boxes, completed in 3–5 days rather than the weeks a full replacement requires. The cost range — $3,000–$8,000 for a typical kitchen — sits well below the $15,000–$40,000 that full cabinet replacement typically costs, and the finish quality is comparable to new cabinetry. The process includes meticulous surface preparation, bonding primer, multiple protective topcoat layers, and custom color matching, so you get the color you actually want rather than whatever the stock cabinet line offers.
This service is the right fit for homeowners with solid cabinet boxes who want a durable, high-end finish without the disruption of demolition. For Denver-area homeowners ready to move forward, get a quote for professional cabinet refinishing or call 720-219-9716 to discuss your project.
Sources
- Budget-Friendly Kitchen Makeover
- Kitchen Remodeling on a Budget: 5 Basics
- I transformed my dingy kitchen for less than $5K using easy DIY hacks
Recommended
- Updating Kitchen For Home Resale Value: 7 Amazing Ways To
- Why a Kitchen Remodel Adds Real Home Value
- Modernizing Kitchen Cabinets on a Budget: The Denver Homeowner’s Guide to High-End Results
- Kitchen Makeover on a Budget: Professional Cabinet Refinishing in Denver (2026) – Cabinet Refinishing and Cabinet Painting Denver 720-219-9716