
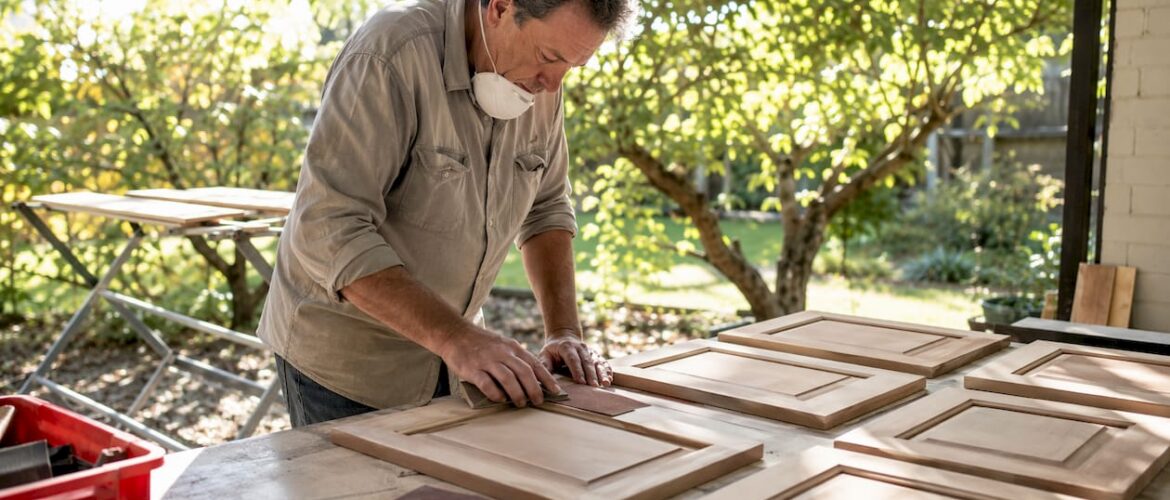
Batching cabinet refinishing projects is defined as grouping all sanding, priming, painting, and drying steps across multiple cabinet parts into coordinated phases rather than finishing one door at a time. This assembly-line method reduces total refinishing time by 30–40% compared to sequential processing. That time savings is the difference between two weekends and a full month of disrupted kitchen access. Professional refinishing costs run $3,000–$8,000, while DIY material costs stay in the $300–$1,000 range. Batching keeps you firmly in that lower bracket by cutting wasted setup time and idle drying gaps.
How to batch cabinet refinishing projects: tools and workspace setup
The right equipment makes or breaks a batch refinishing workflow. Buying cheap tools and improvising your workspace adds hours of rework and uneven results.
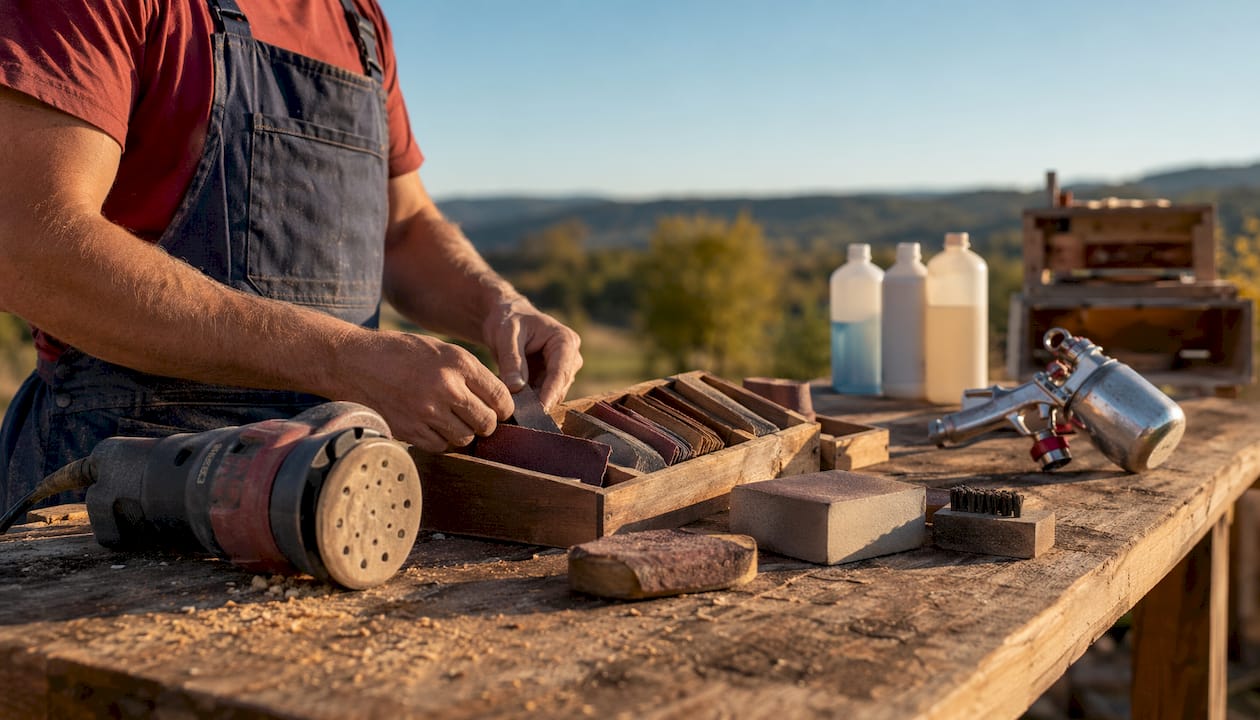
Sanding and surface prep tools
You need an orbital sander for flat door faces, sanding blocks for detail areas, and a range of sandpaper grits from 80 to 220. Scotch-Brite pads work better than standard sandpaper for light sanding between coats. Standard sandpaper clogs quickly and can cut too deep, which ruins the finish you just built.
Cleaning and priming supplies
TSP substitutes are the standard degreaser for cabinet surfaces before any sanding begins. You also need a shellac-based or bonding primer, a self-leveling topcoat paint, and a clear protective finish. An HVLP (high-volume, low-pressure) sprayer is the best tool for batch priming and painting. It delivers a uniform coat across many doors in one pass and reduces cleanup time significantly.
Workspace and drying setup
Vertical drying racks let you stand doors upright after coating, which maximizes floor space and keeps wet surfaces from touching anything. A garage or basement with cross-ventilation works well. Tape plastic sheeting around the spray zone to contain overspray. Good storage during renovation also matters: clear bins and labeled shelving keep hardware and doors organized throughout the project.
| Supply Category | Recommended Items |
|---|---|
| Sanding | Orbital sander, 80/120/180/220 grit paper, Scotch-Brite pads |
| Cleaning | TSP substitute, clean rags, bucket |
| Priming | Shellac or bonding primer, HVLP sprayer |
| Painting | Self-leveling topcoat, foam roller, brush for detail |
| Drying | Vertical racks, hanging poles, S-hooks |
Pro Tip: Label each drying rack position with a number before you start. When doors come off the rack, they go straight to the matching cabinet box without guessing.
How do you prep and sand cabinet doors in batches?
Preparation accounts for 90% of the effort behind a durable finish. Skipping or rushing this phase causes paint to peel within months, no matter how good your topcoat is.
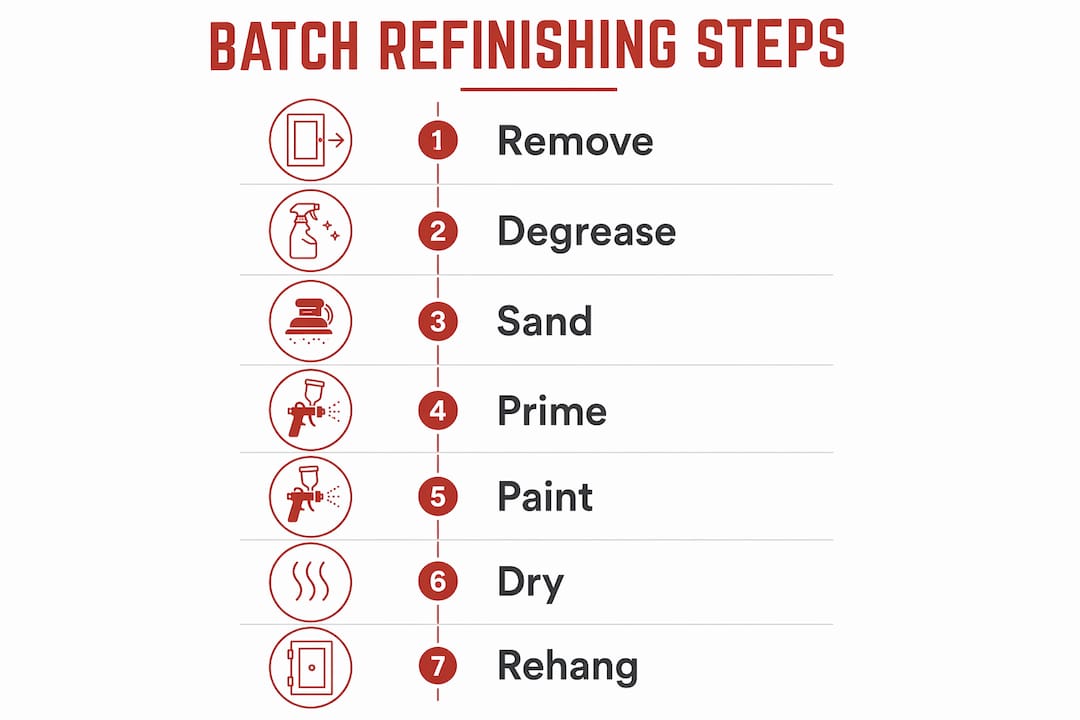
- Remove everything at once. Take off all doors, drawer fronts, and hardware in a single session. Do not refinish one door and rehang it before moving to the next.
- Label every piece immediately. Use painter’s tape and a marker to number each door and its matching cabinet box. Write the same number on a labeled bag for the hinges and screws from that door. Numbering doors and hardware during removal is the best practice for error-free reassembly.
- Degrease all surfaces before sanding. Apply a TSP substitute to every door and frame face. Skipping degreasing is the leading cause of paint adhesion failure. Grease pushed deeper by sanding bonds with the wood and blocks primer from sticking.
- Sand in grit stages across the full batch. Run every door through 80 grit first, then 120, then 180, and finish with 220. Complete each grit stage on all doors before moving to the next. This keeps your workflow moving in one direction and prevents you from switching tools constantly.
- Wipe down all surfaces after sanding. Use a tack cloth or a damp microfiber rag to remove dust from every piece. Inspect each surface under a raking light to catch scratches or raised grain before priming.
Pro Tip: Sand with the grain on wood doors. Cross-grain scratches show through primer and paint, especially under gloss or satin finishes.
Many DIYers sand too aggressively, which damages the surface veneer and creates low spots that catch light unevenly. Use the lightest grit that removes the old finish, and let the progression do the work. For a deeper look at sanding cabinet surfaces the right way, Cabinetsrefinishing covers the full technique in detail.
What is the best way to batch prime and paint cabinets?
Priming and painting in batches is where the assembly-line mindset pays off most. You set up once, coat everything, and let the whole batch cure together.
Priming the full batch
Apply primer to all doors and frames in one session. Hang doors on poles or lay them flat on sawhorses, and prime one side of every door before flipping any of them. Waterborne primers dry in about one hour, so by the time you finish the last door, the first one is ready to flip. Priming both sides in a single session and hanging doors on vertical racks cuts rework by roughly 15% and produces more consistent coverage.
- Use shellac-based primer on previously painted or stained surfaces.
- Use bonding primer on laminate or slick factory finishes.
- Use high-build primer on surfaces with minor dents or grain texture.
Applying topcoats
Apply topcoats in thin, even passes. Two thin coats always outperform one thick coat. Thick coats sag, take longer to cure, and trap solvent that causes bubbling. Between coats, lightly scuff each surface with a Scotch-Brite pad, wipe off the dust, and apply the next coat. Wait the full dry time listed on the product label before scuffing.
Pro Tip: Spray in a consistent pattern: start off the edge of the door, sweep across, and end off the other edge. This prevents heavy buildup at corners, which is the most common spray defect on cabinet doors.
Ambient temperature and humidity affect curing speed. Aim for 65–75°F and below 50% relative humidity in your workspace. Cold or humid conditions extend dry times and can cause the finish to blush or stay tacky. Waiting 24–48 hours after the final topcoat before handling doors is the minimum standard for preventing finish damage.
Avoiding common paint defects
- Runs and sags: caused by too much product in one pass. Thin your coats.
- Orange peel texture: caused by spraying too far from the surface or low air pressure. Adjust distance to 8–12 inches.
- Fish eyes: caused by silicone contamination. Clean surfaces thoroughly before coating.
For guidance on avoiding cabinet painting mistakes, Cabinetsrefinishing has a detailed breakdown of the most common errors and how to prevent them.
How do you manage hardware removal and reassembly in bulk?
Hardware management is where batch projects fall apart for most DIYers. Mixing up hinges or reinstalling doors before the finish cures causes scratches, sticking, and misaligned doors.
- Use a numbered bag system. Place the hinges, screws, and knobs from each door into a zip-lock bag labeled with the door number. Store all bags in a single container so nothing gets lost during the project.
- Photograph hinge positions before removal. A quick phone photo of each cabinet box shows exactly where hinges were mounted. This saves time during alignment and prevents guesswork.
- Wait for full cure before reinstalling. Waiting 24–48 hours after the final coat is the minimum. Reinstalling doors too early crushes the finish where hinges contact the door back, leaving permanent marks.
- Use rubber grommets on hinge screws. Rubber grommets act as a buffer between the metal screw head and the fresh finish. They prevent the screw from grinding into the coating during installation and adjustment.
- Adjust doors after hanging. Most European-style hinges have three adjustment screws: up/down, left/right, and in/out. Adjust all doors after hanging rather than trying to get each one perfect before moving to the next.
Pro Tip: Hang all doors loosely first, then do a final alignment pass across the whole run. Adjusting doors as a group produces a more consistent reveal gap than adjusting them one at a time.
Key Takeaways
Batching cabinet refinishing projects cuts total labor time by 30–40% and produces more consistent results by treating prep, priming, painting, and curing as coordinated phases rather than isolated tasks.
| Point | Details |
|---|---|
| Batch all prep together | Remove, label, degrease, and sand every door before priming any of them. |
| Degreasing is non-negotiable | Skipping TSP substitute treatment causes adhesion failure regardless of primer quality. |
| Prime and paint in one session | Coat all doors in sequence so drying time overlaps and no piece sits idle. |
| Cure before reassembly | Wait 24–48 hours after the final topcoat to prevent finish damage during hinge installation. |
| Label hardware from the start | Numbered bags for hinges and screws eliminate reassembly errors on large batches. |
Why the production-line mindset changes everything
Most DIYers approach cabinet refinishing the wrong way. They remove one door, sand it, prime it, paint it, wait for it to dry, and rehang it before touching the next one. That method feels organized, but it multiplies your setup and cleanup time by the number of doors you have.
The shift that made the biggest difference for me was treating the kitchen like a small factory floor. Every door goes through the same station at the same time. Sanding day is sanding day for all 20 doors, not just the first three. That single change is what cuts labor by 30–40%. The math is simple: you set up your sprayer once instead of 20 times.
The other mistake I see constantly is skipping degreasing because the cabinets “look clean.” Kitchen cabinets accumulate a thin film of cooking grease that is invisible until paint starts peeling six months later. A TSP substitute costs a few dollars and 20 minutes. Skipping it costs you the entire project.
Curing time is the hardest part for most people. You finish the last coat on a Friday evening and want your kitchen back by Saturday morning. Rehang those doors too early and you will see hinge impressions pressed into the finish by Sunday. Wait the full 24–48 hours. The finish you spent a weekend building deserves that patience.
The cabinet refinishing preparation steps are not glamorous, but they are what separate a finish that lasts two years from one that lasts ten.
— Jesse
When a professional finish is worth the call
DIY batching works well for homeowners who have the time, workspace, and patience to follow each phase correctly. For kitchens with 30 or more doors, heavily damaged surfaces, or factory-finish quality goals, professional equipment and experience close the gap fast.

Cabinetsrefinishing completes projects in 3–5 days using a factory-finish methodology with multiple protective layers. That timeline and finish quality are difficult to match without a spray booth and professional-grade HVLP equipment. If your Denver kitchen needs a professional cabinet refinishing service or you want a consultation before committing to a DIY project, Cabinetsrefinishing offers both. Refinishing runs $3,000–$8,000 compared to $15,000–$40,000 for full cabinet replacement. That cost gap makes refinishing the clear choice for most homeowners, whether you do it yourself or bring in a pro.
FAQ
How much time does batching save on a cabinet refinishing project?
Batch processing reduces total refinishing time by 30–40% compared to working door by door. The savings come from overlapping dry times and reducing repeated setup and cleanup cycles.
What grit sandpaper should I use for cabinet doors?
Start with 80 grit to remove old finish, progress through 120 and 180, and finish with 220 grit before priming. Use Scotch-Brite pads for light scuffing between topcoats to avoid cutting through the finish.
How long should I wait before rehanging cabinet doors?
Wait at least 24–48 hours after the final topcoat before reinstalling doors. Rehanging too early crushes the finish at hinge contact points and causes permanent marks.
Do I need to degrease cabinets if they look clean?
Yes. Kitchen cabinets carry an invisible grease film from cooking that blocks primer adhesion. Skipping degreasing is the leading cause of paint peeling, even when sanding and priming are done correctly.
What primer works best for a batch cabinet refinishing project?
Use shellac-based primer on previously painted or stained wood, bonding primer on laminate surfaces, and high-build primer on surfaces with minor damage. Waterborne primers dry in about one hour, which keeps batch cycles moving efficiently.
Recommended
- Sanding Cabinets for Refinishing: A DIY Success Guide – Cabinet Refinishing and Cabinet Painting Denver 720-219-9716
- Cabinet Refinishing, Painting Preparation Steps: A DIY Guide
- How Multi-Unit Cabinet Refinishing Works: Clear Guide value.
- Cabinet Refinishing Between Tenant Turnovers: A Landlord’s Guide – Cabinet Refinishing and Cabinet Painting Denver 720-219-9716