
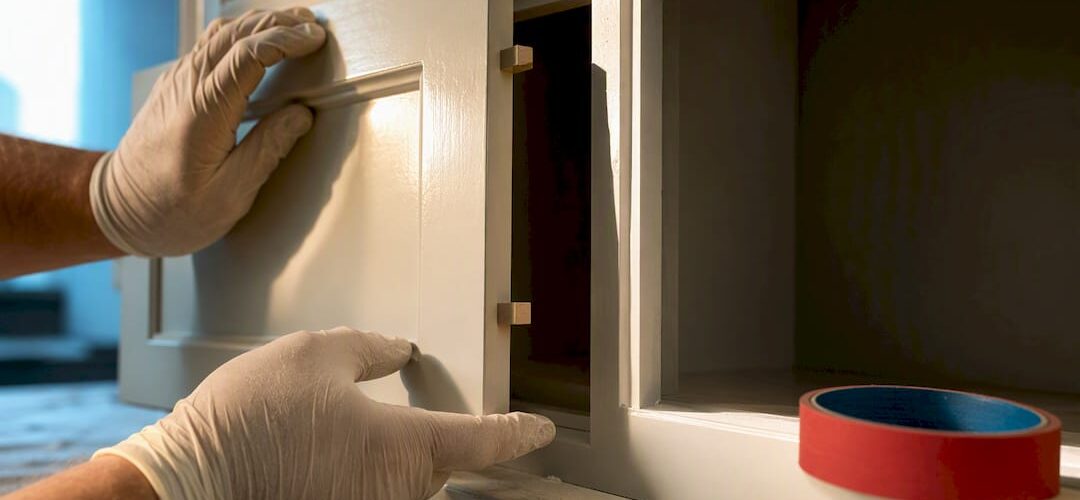
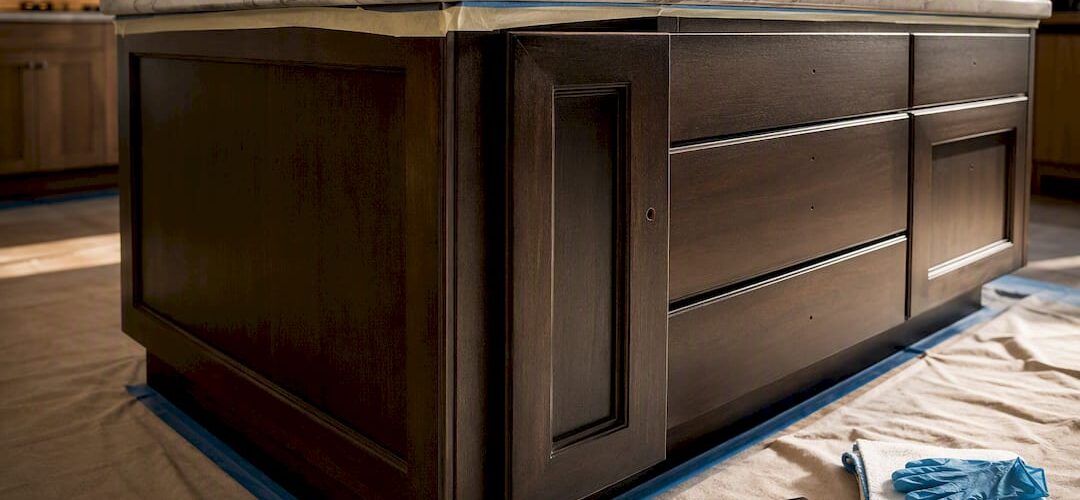
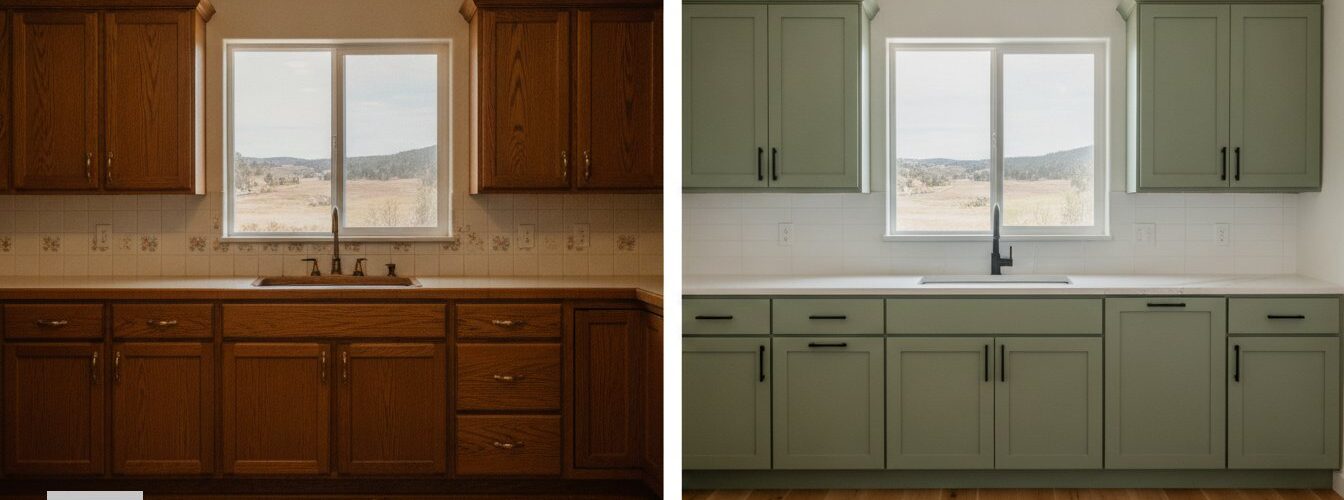
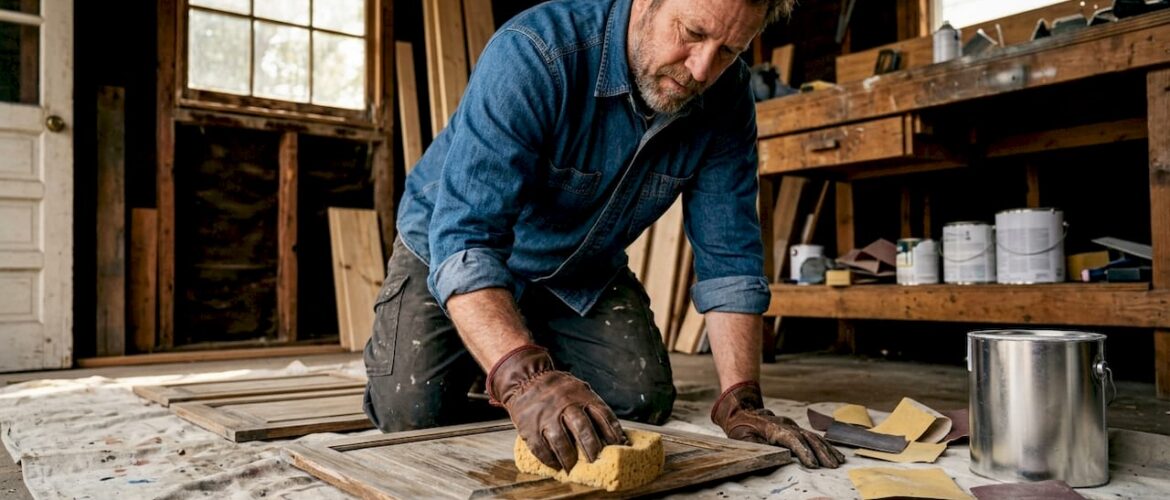
Proper preparation is the single factor that determines whether cabinet paint adheres, lasts, and looks professional. Without it, even the best primer fails on a dirty or glossy surface. Prep work for cabinet painting, known in the trade as surface preparation, covers degreasing, sanding, repairing, and priming before a single coat of finish goes on. Kitchens are brutal environments: aerosolized grease, moisture, and constant hand contact break down paint fast without a properly prepared surface underneath. Get prep right, and your finish lasts years. Skip it, and you are repainting within months.
Why prep work matters in cabinet painting
Surface preparation creates two things paint needs to stick: cleanliness and mechanical bite. A clean surface lets primer bond chemically. A lightly sanded, deglossed surface gives primer something to grip physically. Both conditions must exist at the same time. Miss either one, and the finish sits on top of the cabinet rather than bonding to it. That is why professional cabinet painters treat prep as the most important phase of the entire project, not a warm-up act.
The kitchen’s harsh environment demands a systemic approach that goes far beyond what you would do for a bedroom wall. Cabinets face daily grease mist from cooking, steam from boiling water, and repeated touching near handles. Each of those forces attacks a poorly bonded finish from the moment you start using the kitchen again. A systemic prep sequence, clean, degloss, prime, and cure, is the only way to build a finish that holds up to all of it.
What does prep work for cabinet painting involve?
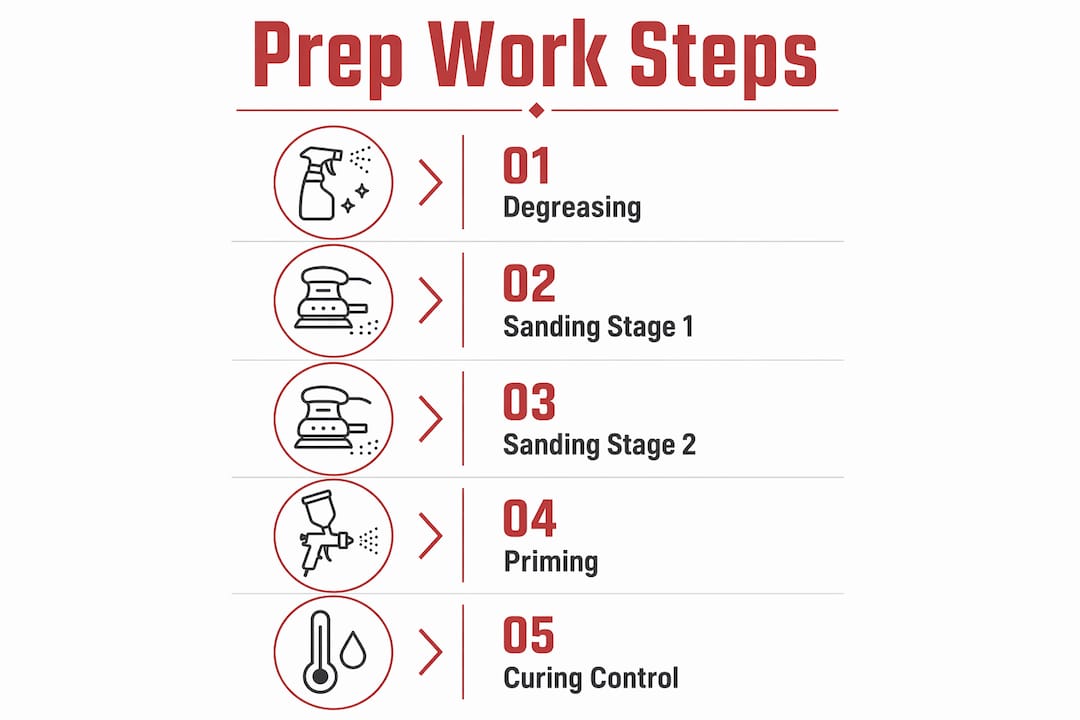
A thorough prep sequence follows a clear order. Skipping or reordering steps undermines the ones that follow.
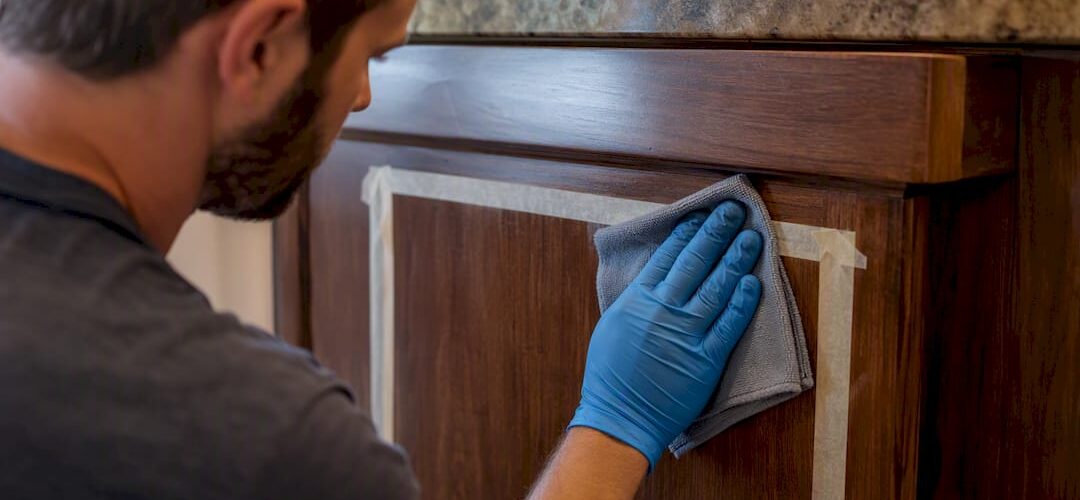
- Degrease the surface. Use a cleaner specifically formulated to cut kitchen grease, not just a damp cloth. Wiping alone leaves contaminants that cause primer and paint to fail from the inside out. Pay extra attention to areas around the stove and near handles where grease buildup is heaviest. Avoid common cleaning mistakes, such as using too much water or the wrong product type, which can raise wood grain or leave residue. A resource like proper surface cleaning covers the kind of errors that seem minor but compound during painting.
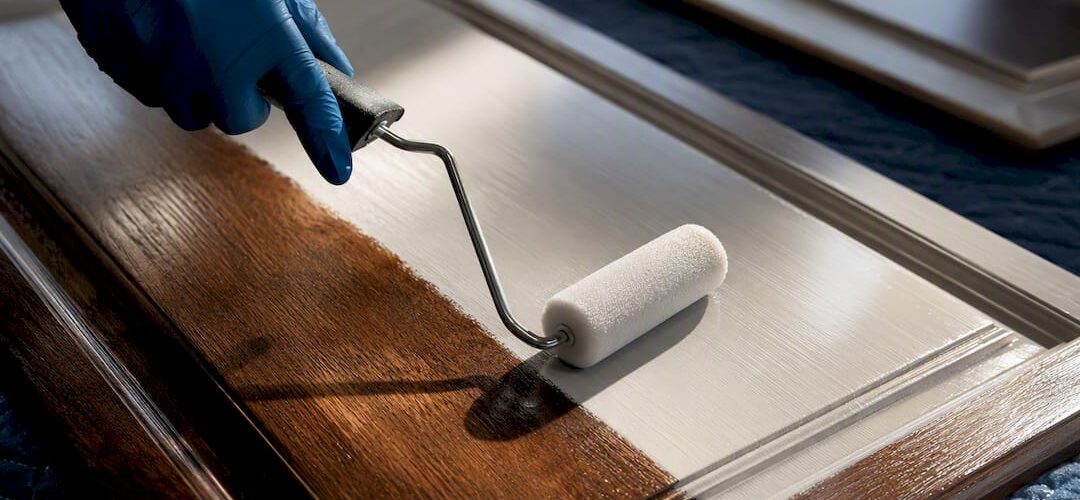
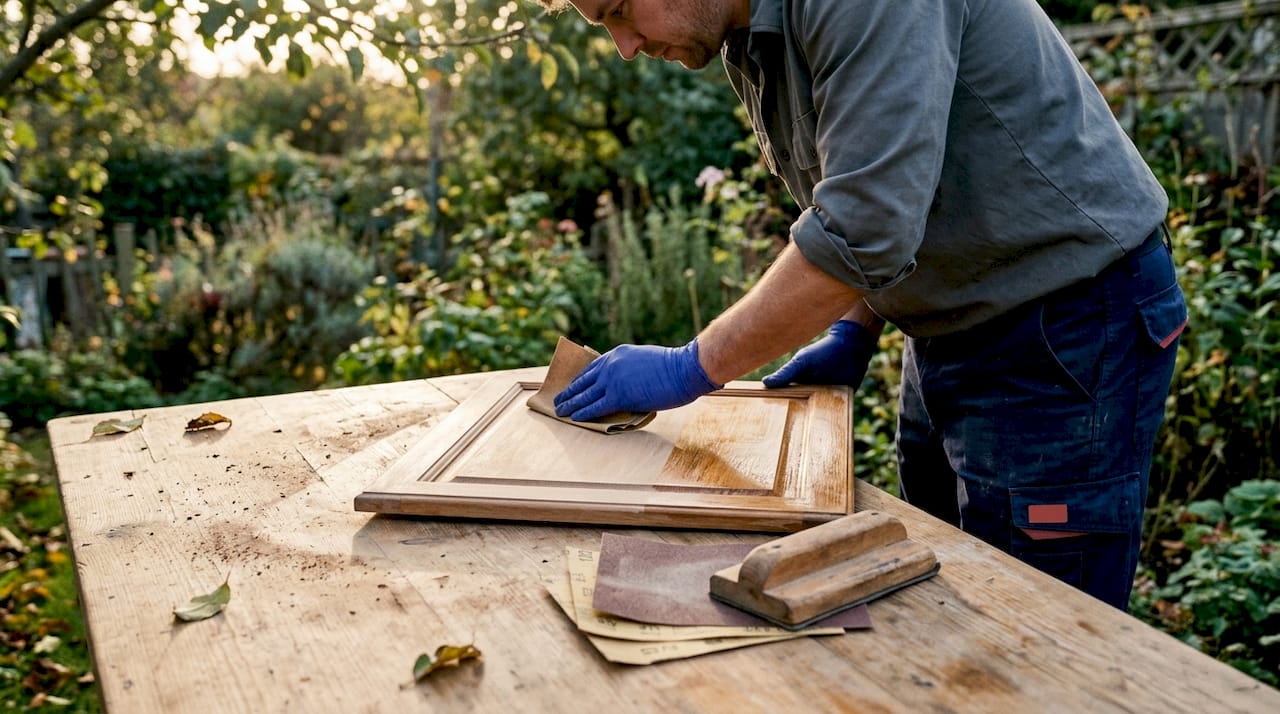
- Sand with 120-grit, then 220-grit. The two-stage sanding process removes factory shine and creates mechanical bite with 120-grit, then smooths the surface for primer with 220-grit. This sequence matters because 120-grit alone leaves scratches visible through paint, while 220-grit alone may not fully break the gloss. Hand sanding combined with deglossing is necessary on glossy surfaces to prevent paint from sitting on top instead of bonding properly.
- Remove all sanding dust. Wipe every surface with a tack cloth or a damp microfiber cloth before priming. Dust particles trapped under primer create a rough, contaminated base that shows through the final coat.
- Repair chips, dents, and gaps. Fill imperfections with a lightweight wood filler or spackling compound. Sand repairs smooth once dry. Skipping this step leaves visible flaws that paint will highlight rather than hide.
- Apply a bonding primer. Bonding primers, including oil-based or shellac types, block tannin bleed-through, seal repairs, and improve adhesion across different cabinet materials. Choose the primer based on your cabinet substrate: shellac works well on stained wood prone to bleed-through, while a high-quality water-based bonding primer suits most factory-painted or previously painted surfaces.
Pro Tip: After sanding, run your hand across the surface in a raking light. If you feel any grit or see any sheen, sand again. Primer applied over residual gloss will peel at the edges within weeks.
What happens when you skip or rush prep?
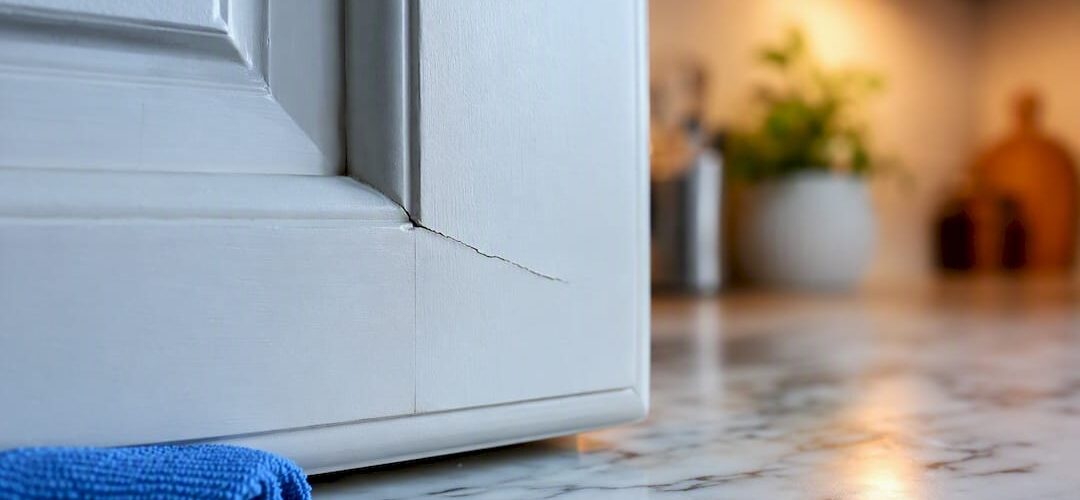
Paint failure on cabinets follows a predictable pattern when prep is inadequate. Poor prep triggers peeling, flaking, and fingerprint marks in high-contact zones first, specifically near hardware, edges, and the areas around handles where hands touch most. Those spots fail earliest because they receive the most mechanical stress and were never properly bonded to begin with.
Common signs of rushed preparation include:
- Peeling and flaking near hinges and pulls. Paint lifts at edges because the surface was not fully deglossed before priming.
- Orange peel texture. Uneven sanding or painting over a contaminated surface creates a bumpy texture that no amount of additional coats will fix.
- Stain bleed-through. Tannins from wood or old stains migrate through paint when no proper primer was applied, leaving yellow or brown patches.
- Uneven sheen. Inconsistent sanding leaves some areas glossy and others dull, causing the topcoat to reflect light differently across the same door.
- Shortened paint life. A finish that should last 7–10 years may start failing in under a year when prep was skipped.
“Preparation is not merely a tedious delay but a strategic positioning phase that heavily influences whether a paint project yields durable success or costly early failure. Skipping it does not save time. It borrows time from the future at a very high interest rate.”
Contamination and gloss both interfere with bonding in different ways. Grease blocks chemical adhesion between primer and the cabinet surface. Gloss prevents mechanical adhesion by leaving nothing for primer to grip. When both problems exist together, the finish has no chance of lasting through normal kitchen use.
How do professional painters approach cabinet prep?
Professional cabinet painters treat prep as a system, not a checklist. Each step feeds the next, and the conditions during prep matter as much as the steps themselves.
Cleaning goes deeper than it looks
Professionals use specialized degreasers formulated for kitchen surfaces, not general-purpose cleaners. They clean every surface twice: once to break down grease, and again to remove the cleaner residue. This level of cleaning is rarely done in DIY projects, and it is one of the biggest reasons professional finishes outlast DIY ones.
Sanding is controlled and consistent
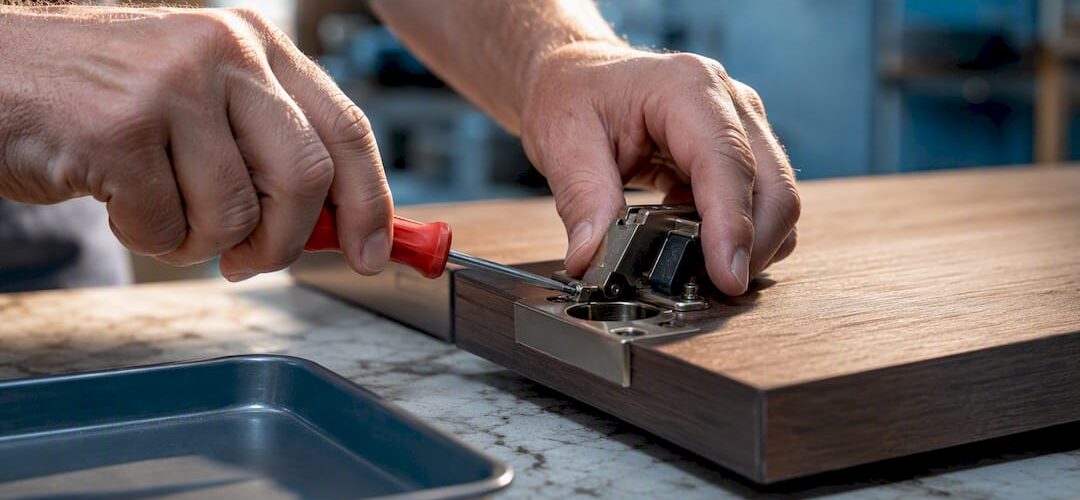
Experienced painters sand every face, edge, and profile of every door and drawer front. They do not spot-sand or skip the inside edges of frame-and-panel doors. Complete disassembly of hardware and labeling of cabinet parts before prep gives full access to every surface. That access is what separates a consistent finish from one with soft spots and missed areas.
Primer selection matches the substrate
The right primer depends on what the cabinet is made of and what is already on it. Laminate cabinets need a bonding primer with strong adhesion to non-porous surfaces. Stained wood needs shellac or an oil-based primer to block tannins. Previously painted cabinets in good condition may accept a water-based bonding primer. Using the wrong primer type is a common error that causes adhesion failure even when every other prep step was done correctly.
Environmental controls during curing
Indoor humidity and temperature swings affect how paint dries and cures. High humidity slows drying and can cause blushing or soft spots. Low humidity in dry climates like Denver can cause paint to dry too fast, leading to brush marks and poor flow. Professionals maintain stable temperatures and adequate ventilation throughout the painting and curing process.
| Condition | Recommended Range | Why It Matters |
|---|---|---|
| Temperature | 65–85°F | Paint flows and levels correctly |
| Relative humidity | 40–60% | Prevents blushing and soft spots |
| Ventilation | Consistent airflow | Removes solvent vapors, speeds cure |
| Cure time before use | 7–30 days | Prevents chips and soft spots from early contact |
Pro Tip: “Dry to the touch” is not the same as fully cured. Full cure times range from 7 to 30 days depending on paint type and conditions. Reinstalling hardware or loading cabinets before full cure causes soft spots and chips, even with a quality paint.
Practical tips and common mistakes to avoid
Most DIY cabinet paint jobs fail not because of the paint but because of what happened before the paint. These are the errors that show up most often.
- Painting over hardware holes without masking. Paint seeps into hinge holes and screw openings, making hardware reinstallation difficult and leaving visible drips.
- Spotty sanding. Sanding only the flat faces and skipping edges, profiles, and inside corners leaves glossy patches that peel within months. Sand every surface you plan to paint.
- Using the wrong grit sequence. Jumping straight to 220-grit on a factory-finished cabinet does not remove enough gloss. Start with 120-grit to break the surface, then smooth with 220-grit. Read more about grit selection for cabinets before you start.
- Painting over old caulk without sealing. Old caulk around cabinet frames can be oily or contaminated. Clean and seal it before painting or replace it entirely.
- Rushing cure time. Loading dishes back into cabinets the day after painting crushes the finish. Wait the full cure period before heavy use or hardware reinstallation.
- Ignoring the cabinet material. Laminate, stained wood, and factory-painted surfaces each need different primers and prep approaches. Treating them all the same produces inconsistent results. A guide to common DIY prep mistakes covers material-specific errors in detail.
Pro Tip: Label every door and drawer with painter’s tape and a marker before removing them. Numbering them to match their cabinet position saves hours of guesswork during reinstallation and prevents misaligned doors.
Key Takeaways
Thorough surface preparation, including degreasing, two-stage sanding, correct primer selection, and full cure time, is the single factor that separates a lasting cabinet finish from one that fails within a year.
| Point | Details |
|---|---|
| Degreasing is non-negotiable | Kitchen grease blocks both chemical and mechanical adhesion; use a dedicated degreaser, not just water. |
| Two-stage sanding builds adhesion | Sand with 120-grit to remove gloss, then 220-grit to smooth before primer. |
| Primer type must match the substrate | Shellac for stained wood, bonding primer for laminate, water-based for previously painted surfaces. |
| Cure time differs from dry time | Full cure takes 7–30 days; loading cabinets early causes soft spots and chips regardless of paint quality. |
| Environmental conditions affect results | Keep temperature at 65–85°F and humidity at 40–60% during painting and curing for a stable finish. |
Why I think prep is the real secret to a lasting cabinet finish
I have seen dozens of DIY cabinet paint jobs up close, and the pattern is always the same. The ones that fail within a year were not painted with bad paint. They were painted over surfaces that were never truly ready.
The most common story goes like this: a homeowner spends a weekend painting, the cabinets look great on Monday, and by the following spring the finish is peeling near every handle. The paint was fine. The prep was not. No amount of quality topcoat compensates for grease left on the surface or gloss that was never broken.
What changes the outcome is treating prep as the main event, not the opening act. When you spend more time cleaning and sanding than you do painting, you are doing it right. That mindset shift is what separates a finish that lasts a decade from one that needs redoing in 18 months. The paint is almost the easy part.
— Jesse
Professional cabinet prep in Denver that delivers lasting results
Cabinetsrefinishing applies a factory-finish methodology to every project, starting with the prep work that most DIY attempts underestimate.
Every cabinet surface goes through a full degreasing, two-stage sanding, and bonding primer sequence before any topcoat is applied. The result is a finish that holds up to daily kitchen use, not just looks good on day one. Projects complete in 3–5 days, and refinishing costs range from $3,000 to $8,000 compared to the $15,000 to $40,000 typically required for full cabinet replacement. If you want a finish that lasts without the cost of replacement, professional refinishing in Denver is the place to start.
FAQ
Why does prep work matter so much for cabinet painting?
Prep creates the clean, textured surface that primer and paint need to bond. Without it, paint sits on top of the cabinet rather than adhering to it, and peeling begins quickly in high-contact areas.
What grit sandpaper should I use on cabinets?
Start with 120-grit to remove factory gloss and create mechanical bite, then follow with 220-grit to smooth the surface before primer. Skipping the 120-grit step leaves too much gloss for primer to grip.
How long should I wait before using cabinets after painting?
Paint may feel dry to the touch within hours, but full cure takes 7–30 days depending on paint type and conditions. Reinstalling hardware or loading cabinets before full cure causes soft spots and chips.
Do I need a special primer for kitchen cabinets?
Yes. The right primer depends on your cabinet material. Shellac or oil-based primers block tannin bleed-through on stained wood. Bonding primers work best on laminate and previously painted surfaces.
Can I paint over laminate cabinets without sanding?
Laminate requires both a dedicated bonding primer and light sanding to give the primer something to grip. Skipping either step on laminate almost always results in peeling within a few months.
Recommended
- Professional Cabinet Painting Prep Work in Denver: The Secret to a Flawless Factory Finish – Cabinet Refinishing and Cabinet Painting Denver 720-219-9716
- Professional Cabinet Painting Preparation Process: The Secret to a Factory Finish – Cabinet Refinishing and Cabinet Painting Denver 720-219-9716
- What Type of Paint is Best for Kitchen Cabinets? A Pro’s Guide – Cabinet Refinishing and Cabinet Painting Denver 720-219-9716
- Removing Grease From Cabinets Before Painting: The Key to a Factory Finish