
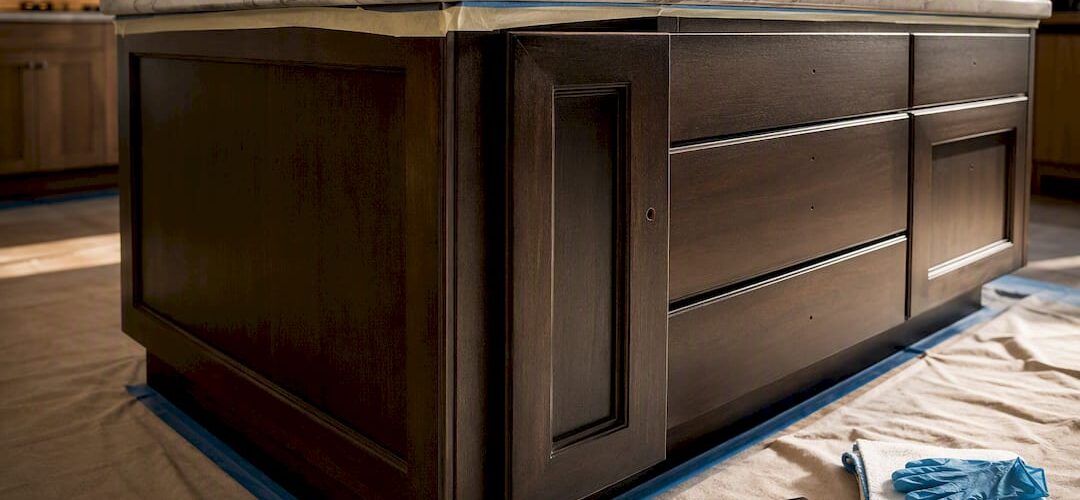
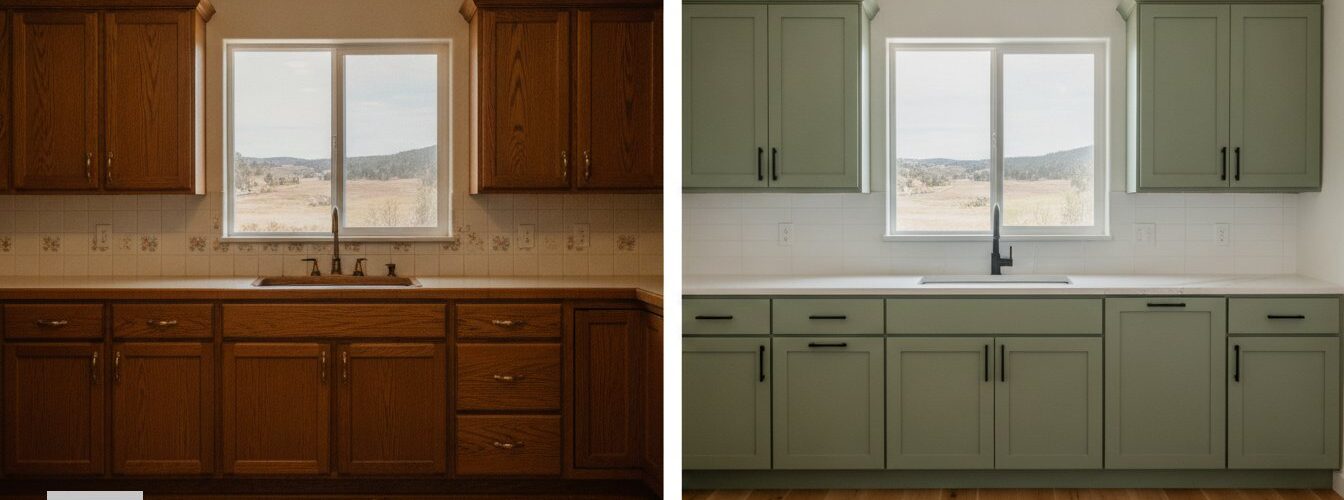
Cabinet refinishing preparation steps are the systematic process of disassembling, cleaning, sanding, repairing, and priming cabinet surfaces to create the adhesion base that determines how long your finish lasts. Skip or rush any one of these steps and the paint will peel within months. Follow them correctly and a refinished kitchen can look factory-fresh for years. This guide walks you through every stage of the cabinet prep process in the order professionals use, with the tools, timing, and techniques that separate a durable result from a disappointing one. If your home was built before 1978, check EPA RRP lead paint rules before disturbing any painted surface larger than 6 square feet indoors.
What tools do you need for cabinet refinishing prep?
The right tools make every prep stage faster and more consistent. Buying cheap sandpaper or skipping a tack cloth adds hours of rework later.
Cabinet Refinishing Preparation Steps: A DIY Guide
| Tool | Purpose |
|---|---|
| Screwdrivers (flathead and Phillips) | Remove hinges, handles, and drawer pulls cleanly |
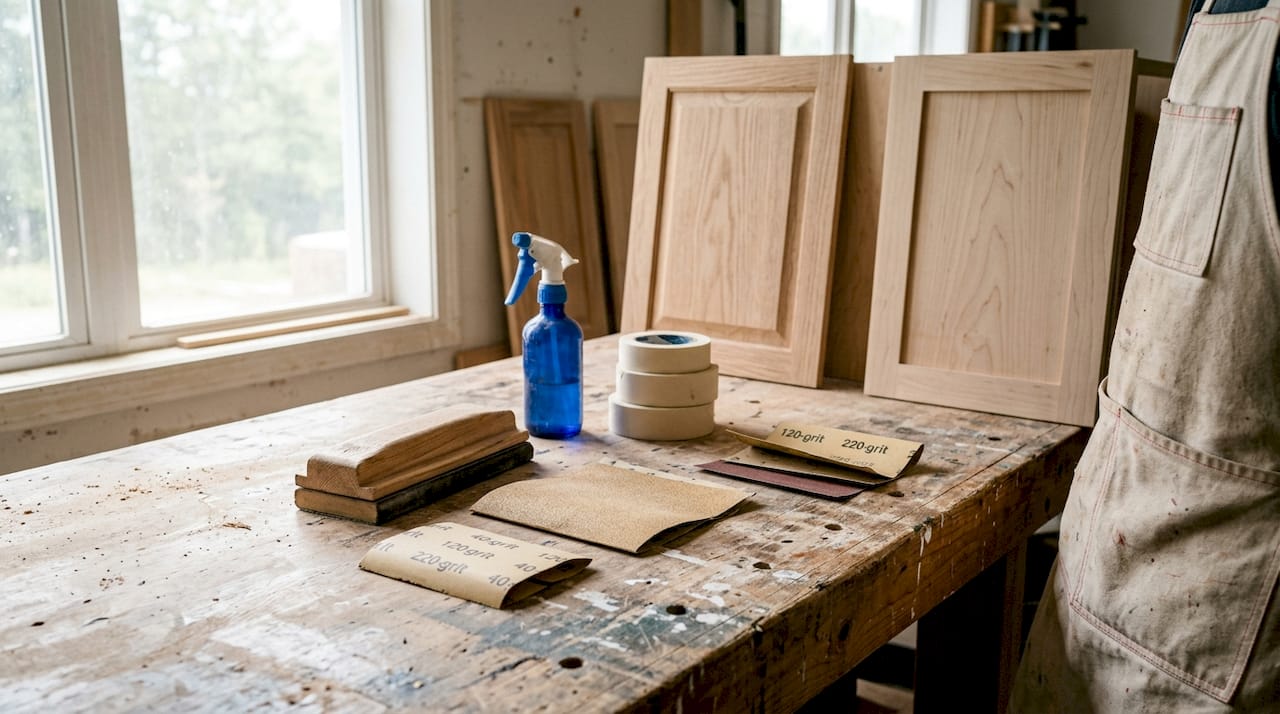
| Sandpaper: 120, 150, and 220 grit | Scuff existing finish, then smooth to a primer-ready surface |
| Sanding blocks and sponges | Keep even pressure on flat panels and curved profiles |
| TSP or TSP substitute | Degrease surfaces so primer bonds to wood, not grease |
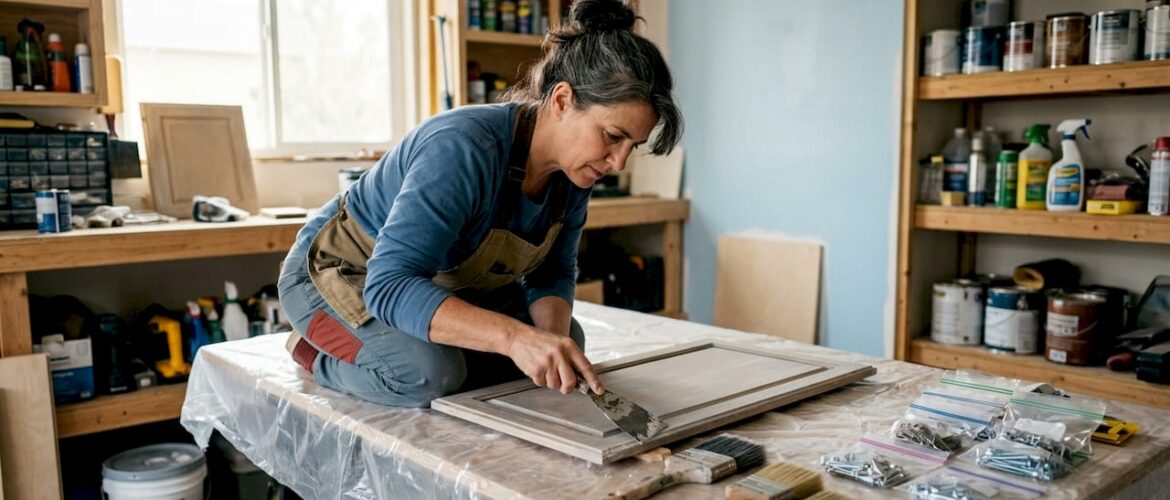
| Wood filler and putty knife | Fill dents, nail holes, and cracks before sanding |
| Tack cloths | Lift fine sanding dust that vacuums leave behind |
| Foam rollers and angled brushes | Apply primer in thin, even coats without brush marks |
| Painter’s tape and a marker | Label every door, drawer, and hardware bag for reassembly |
| Nitrile gloves and safety glasses | Protect skin and eyes from TSP and primer fumes |
Bonding primers for laminate surfaces and shellac-based or waterborne primers for previously painted wood are not interchangeable. Buy the right one for your cabinet material before you start. Matching primer to material is the single most common mistake DIYers make, and it causes lift and peel within the first year.
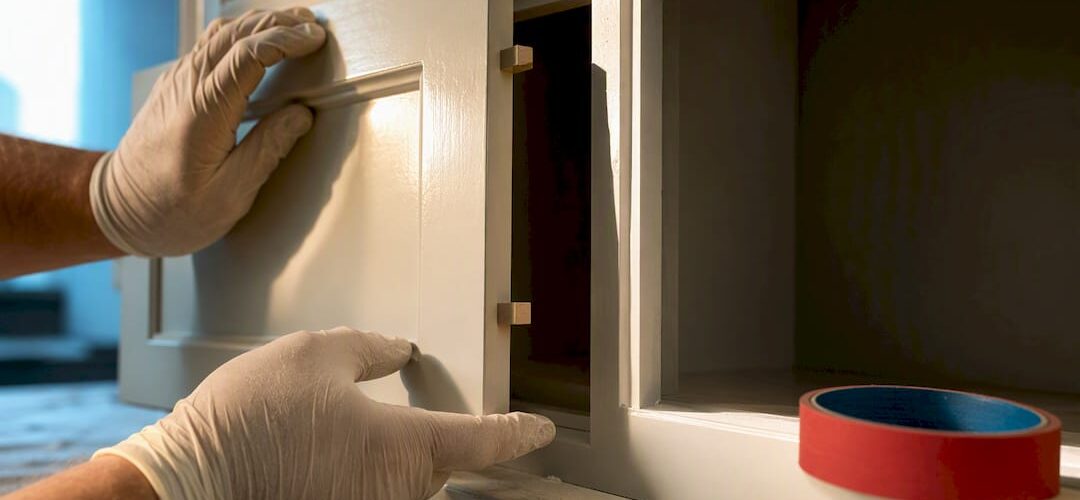
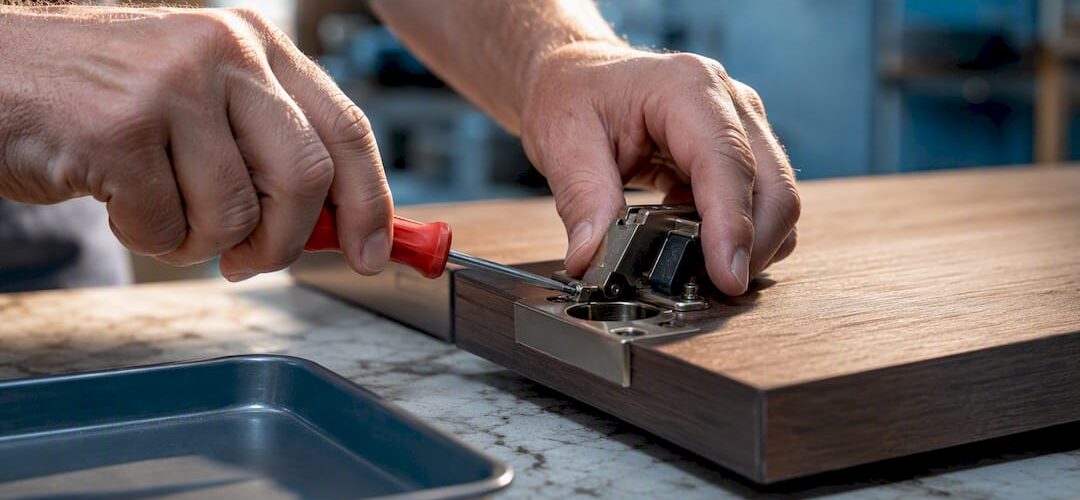
How to disassemble and label kitchen cabinets before refinishing
Systematic disassembly prevents the frustration of holding a door in one hand and a bag of mystery screws in the other at reassembly time. Labeling each piece before removal saves hours of confusion, especially when upper and lower cabinet doors look nearly identical.
- Photograph everything first. Take wide shots of the full kitchen and close-ups of each cabinet run. These photos are your reassembly map.
- Label doors and drawers with painter’s tape. Use a simple code: “U” for upper cabinets, “L” for lower, then a number left to right. A door labeled “U3” goes back in the third upper position from the left.
- Remove doors, then drawers. Unscrew hinges from the door first, not the cabinet box. Keep each door’s hardware in a labeled zip-lock bag taped to the back of that door.
- Pull drawer fronts separately if they detach. Many drawer fronts are screwed on from inside the drawer box. Remove them as individual pieces and label them the same way.
- Store everything flat. Lean doors against a wall on their edges or lay them on sawhorses. Stacking flat risks scratching the faces you are about to refinish.
Pro Tip: Write the label code on painter’s tape placed on the back of each door. Never write directly on the wood surface. The tape peels off cleanly after reassembly.
Once everything is removed, clear the kitchen of loose items and lay drop cloths over countertops and appliances. A clean, uncluttered workspace reduces the chance of contaminating a freshly sanded surface.
What is the correct cleaning and degreasing process before sanding?
Degreasing is the most skipped and most consequential step in the entire prep sequence. Sanding alone does not remove the invisible film of cooking oil and silicone residue that coats kitchen cabinet surfaces. Primer applied over grease will not bond. The finish will peel.
TSP (trisodium phosphate) or a TSP substitute is the proven degreasing agent for this job. Mix it according to the package ratio, usually one tablespoon per gallon of warm water for light grease, stronger for heavy buildup near the stove.
The correct cleaning sequence:
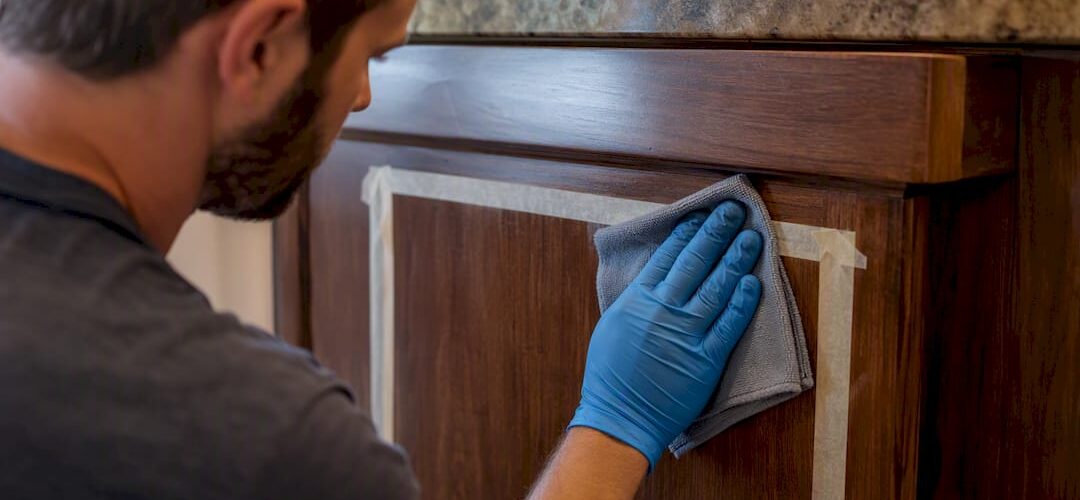
- Wipe all surfaces with the TSP solution using a clean sponge or cloth, working in sections.
- Scrub areas near the stove and above the range hood with extra attention. These zones accumulate the heaviest grease deposits.
- Rinse every surface with clean water immediately after scrubbing. Leaving TSP residue on the wood is as damaging as leaving grease.
- Let surfaces dry fully before sanding. Allow at least 30 minutes in a dry climate. In humid environments, wait up to 24 hours.
“Invisible residues such as kitchen oils and silicone contamination cause most adhesion failures. Degrease, rinse, dry, and dust wipe must act as a single adhesion system, not separate optional steps.” — Painters Solutions
Skipping the rinse step is a common error. TSP left on the surface creates its own adhesion barrier. Treat the rinse as part of the degreasing process, not an afterthought.
How to sand and repair cabinets for optimal primer adhesion
Sanding creates a mechanical profile on the surface. That profile gives primer something physical to grip. The goal is not to strip the cabinet to bare wood. The goal is to dull the existing finish so primer locks in at a microscopic level.
Follow this sequence for every door, drawer front, and cabinet box face:
- Start with 120–150 grit sandpaper. This scuffs the existing finish and removes any raised grain or old brush marks. Use a sanding block on flat panels to keep pressure even.
- Always sand with the grain. Cross-grain scratches show through primer and paint. They are nearly impossible to correct without starting over.
- Vacuum all dust immediately. Use a shop vac with a brush attachment. Get into corners and along edges where dust collects.
- Wipe with a tack cloth. Vacuuming and tack cloth wiping together remove the fine particles that settle back onto the surface after vacuuming alone.
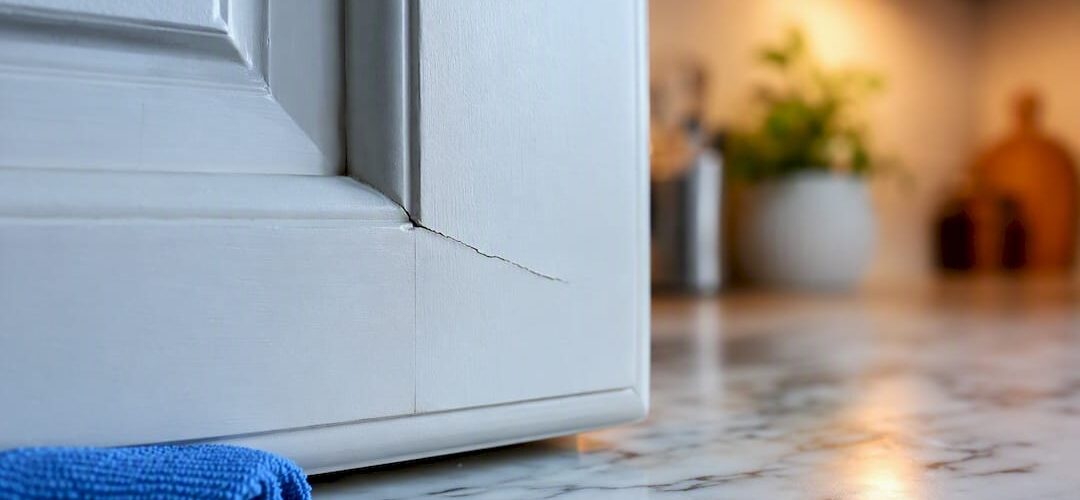
- Fill all imperfections with wood filler. Apply filler to dents, nail holes, and cracks with a putty knife. Overfill slightly because filler shrinks as it dries.
- Let filler dry per label instructions, then sand flush with 220 grit. The repair should be invisible to the touch before you prime.
- Do a final pass with 220 grit across all surfaces. This smooths the scuff marks left by the coarser grit and leaves a consistent texture for primer.
Pro Tip: Hold a work light at a low angle (raking light) across each surface after your final sanding pass. Shadows reveal scratches, unfilled spots, and uneven repairs that look invisible under overhead lighting. Fix them now, not after priming.
Proper preparation quality directly determines how long your finish lasts. Rushed prep causes peeling and chipping far earlier than the finish coat itself ever would. The paint is rarely the failure point. The adhesion underneath is.
How do you choose and apply the right primer for cabinets?
Primer selection depends entirely on what your cabinets are made of and what condition they are in. Using the wrong primer is the fastest way to undo every hour of prep work you just completed.
- Laminate or thermofoil cabinets require a bonding primer specifically formulated for non-porous surfaces. Standard primers will not stick to laminate.
- Previously painted wood cabinets work best with a waterborne alkyd or shellac-based primer. Shellac-based primers also block tannin bleed from oak and other open-grain woods.
- Cabinets with stain risk (oak, cherry, knotty pine) need a stain-blocking primer. Without it, tannins migrate through the topcoat and create yellow or brown blotches.
- Never use standard drywall primer on cabinets. Drywall primer is too porous and soft for a surface that gets daily contact, moisture, and cleaning.
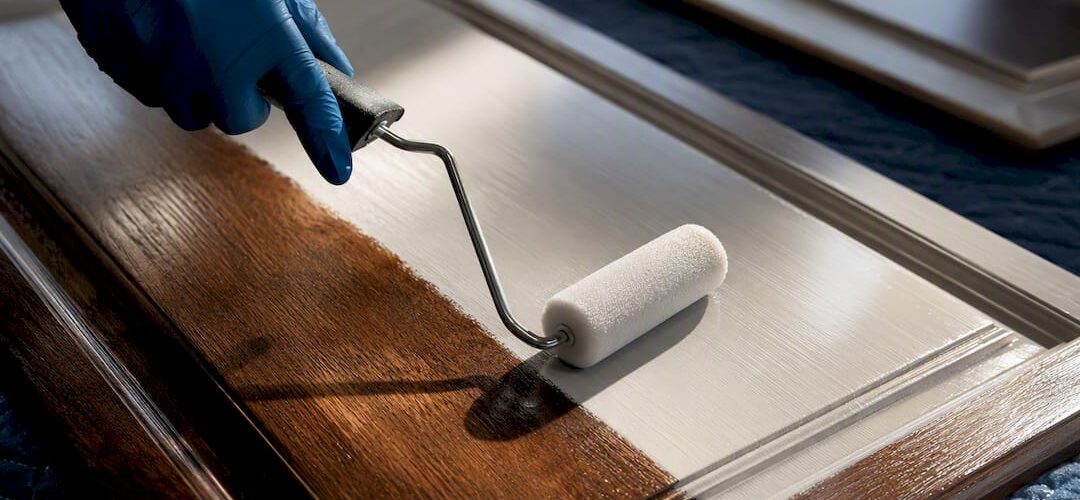
Apply primer in thin, even coats. Use a foam roller on flat panels and an angled brush on edges, profiles, and inside corners. Thin coats dry faster and sand more cleanly than thick ones. One heavy coat is not better than two thin coats. It is worse.
Let the first coat dry fully per the manufacturer’s time, then lightly sand with 220 grit before applying the second coat. This knocks down any raised grain or roller texture and gives the second coat a clean surface to bond to. Wipe with a tack cloth after sanding the primer, just as you did after sanding the wood.
After the final primer coat cures, your cabinets are ready for paint. Keep in mind that curing after finishing takes 7–14 days before the surface can handle normal use. Rehang doors and replace hardware only after the topcoat has fully dried, but treat the surface gently for the first two weeks.
Key takeaways
Thorough cabinet refinishing preparation, covering degreasing, sanding, repair, and correct primer selection, is the only factor that determines whether your finish lasts years or peels within months.
| Point | Details |
|---|---|
| Degrease before sanding | TSP or a TSP substitute removes invisible grease that sanding alone cannot eliminate. |
| Label everything at disassembly | Use a simple code on painter’s tape to prevent reassembly confusion with similar-looking doors. |
| Follow the sanding grit sequence | Start with 120–150 grit to scuff, finish with 220 grit to smooth before priming. |
| Match primer to cabinet material | Bonding primer for laminate, shellac-based for wood; never use drywall primer on cabinets. |
| Allow full dry and cure time | Wait at least 30 minutes after cleaning before sanding, and 7–14 days after topcoat before normal use. |
What I’ve learned after watching hundreds of DIY refinishing jobs go wrong
The most common mistake I see is treating prep as a formality before the “real work” of painting begins. Homeowners spend days picking the perfect color and then rush through cleaning and sanding in an afternoon. The finish looks fine for two weeks. Then it starts lifting at the edges near the sink.
The second most common mistake is skipping the raking light inspection after sanding. You will not see shallow scratches or unfilled spots under normal overhead lighting. They only show up when light hits the surface at a low angle. Every professional I know does this check without exception. It takes five minutes and saves a complete repaint.
One thing that surprises most homeowners: the paint itself is almost never the reason a refinished cabinet fails. Adhesion failure starts underneath, from grease that was not fully removed or primer that was not matched to the surface. The topcoat is just the visible symptom.
If you are working on a kitchen that has seen heavy cooking use for more than a decade, budget extra time for the degreasing stage. One pass with TSP solution is often not enough near the stove. Two passes with a full rinse and dry between them is the standard I recommend. The extra hour spent there is worth more than any premium paint product you could buy.
— Jesse
Cabinetsrefinishing: professional prep and finishing for Denver homeowners
Some prep challenges are harder to manage on your own, particularly on laminate surfaces, heavily damaged doors, or kitchens with decades of grease buildup. Cabinetsrefinishing handles the full process for Denver homeowners, from disassembly and degreasing through sanding, priming, and a factory-quality topcoat finish.

Projects are typically completed in 3–5 days, compared to the weeks a full cabinet replacement requires. Refinishing costs range from $3,000 to $8,000, a fraction of the $15,000 to $40,000 replacement price. If you want a professional refinishing result without the risk of DIY prep errors, Cabinetsrefinishing offers free consultations and quotes for the Denver metro area. Call or text 720-219-9716 to get started.
FAQ
What are the cabinet refinishing preparation steps in order?
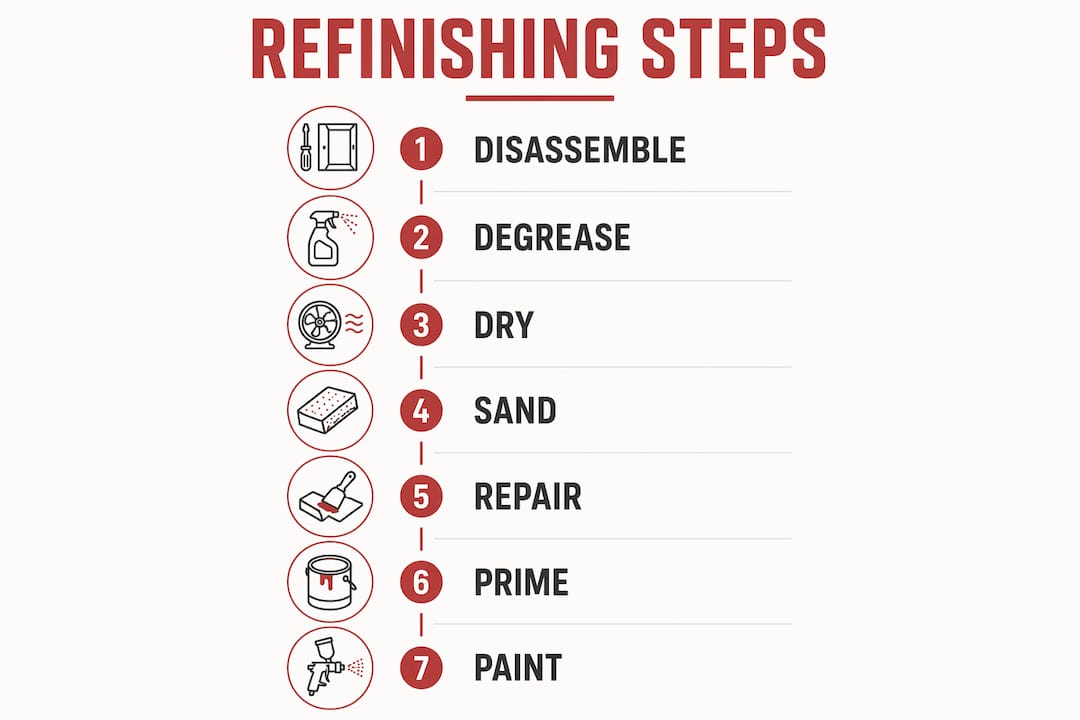
The correct order is: disassemble and label, degrease with TSP, dry fully, sand with 120–150 grit then 220 grit, fill repairs, wipe with tack cloth, and apply the correct primer. Skipping or reordering any step reduces finish durability.
How long does cabinet refinishing prep take for a full kitchen?
Prep for an average kitchen typically takes one to two full days. Degreasing, drying, sanding, filling, and priming each require their own time, and humid conditions can extend drying phases to 24 hours between steps.
What is the cabinet refinishing turnaround time for a complete project?
A professional refinishing project runs 3–5 days from disassembly to reinstallation. DIY projects often take longer because drying and curing phases cannot be rushed without risking adhesion failure.
How long does a properly prepared cabinet refinish last?
A finish applied over correctly prepped surfaces lasts significantly longer than one applied over rushed prep. Rushed prep halves finish lifespan and causes peeling or chipping far earlier than the topcoat material itself would fail.
Do I need to sand cabinets before priming if they look smooth?
Yes. Even smooth cabinets need scuff sanding to create the mechanical profile that primer bonds to. A surface that looks smooth is still too slick for primer adhesion without at least a 150 or 220 grit pass.
Recommended
- Sanding Cabinets for Refinishing: A DIY Success Guide – Cabinet Refinishing and Cabinet Painting Denver 720-219-9716
- Kitchen Cabinet Painting Process: A Pro’s Step-by-Step Guide – Cabinet Refinishing and Cabinet Painting Denver 720-219-9716
- Professional Cabinet Painting Preparation Process: The Secret to a Factory Finish – Cabinet Refinishing and Cabinet Painting Denver 720-219-9716
- Cabinet Refinishing Process Explained: A Denver Homeowner’s Guide to Factory-Like Results – Cabinet Refinishing and Cabinet Painting Denver 720-219-9716